
Project TJ Gear Box
Goal:
To construct a simple and secure box fitted to the rear area of a 99 stock TJ- sans rear seat, for the containment of trail gear. The following pre-shop considerations were part of the construction specifications:
- inexpensive build
- simple construction with use of limited resources
- lightweight for one person handling
- easily slides into place, and out again as needed
- not require any modification to the vehicle, only the removal of the rear seat (so that it may be returned for additional passengers)
- lockable with no exposure of fastener heads at the hinges
- "trail & travel rated"
- able to support additional overtop-weight
- have D-shackles to secure additional cargo/gear
- lighted
- incorporate an exterior map rack within arm’s reach of the driver
The Build:
(Note that this article will not show you hot to build a gear box. You will however, realize various considerations and ideas)
The build process began with the need. A desire derived from organization skills and knowledge that loose items in the cab must be secured for safety and property-loss protection reasons. Other factors that initiated the project included dissatisfaction with use of consumer and after-market products (particularly concern with the available storage size and shape of these products versus available vehicle cargo space) and a very low budget to work with. 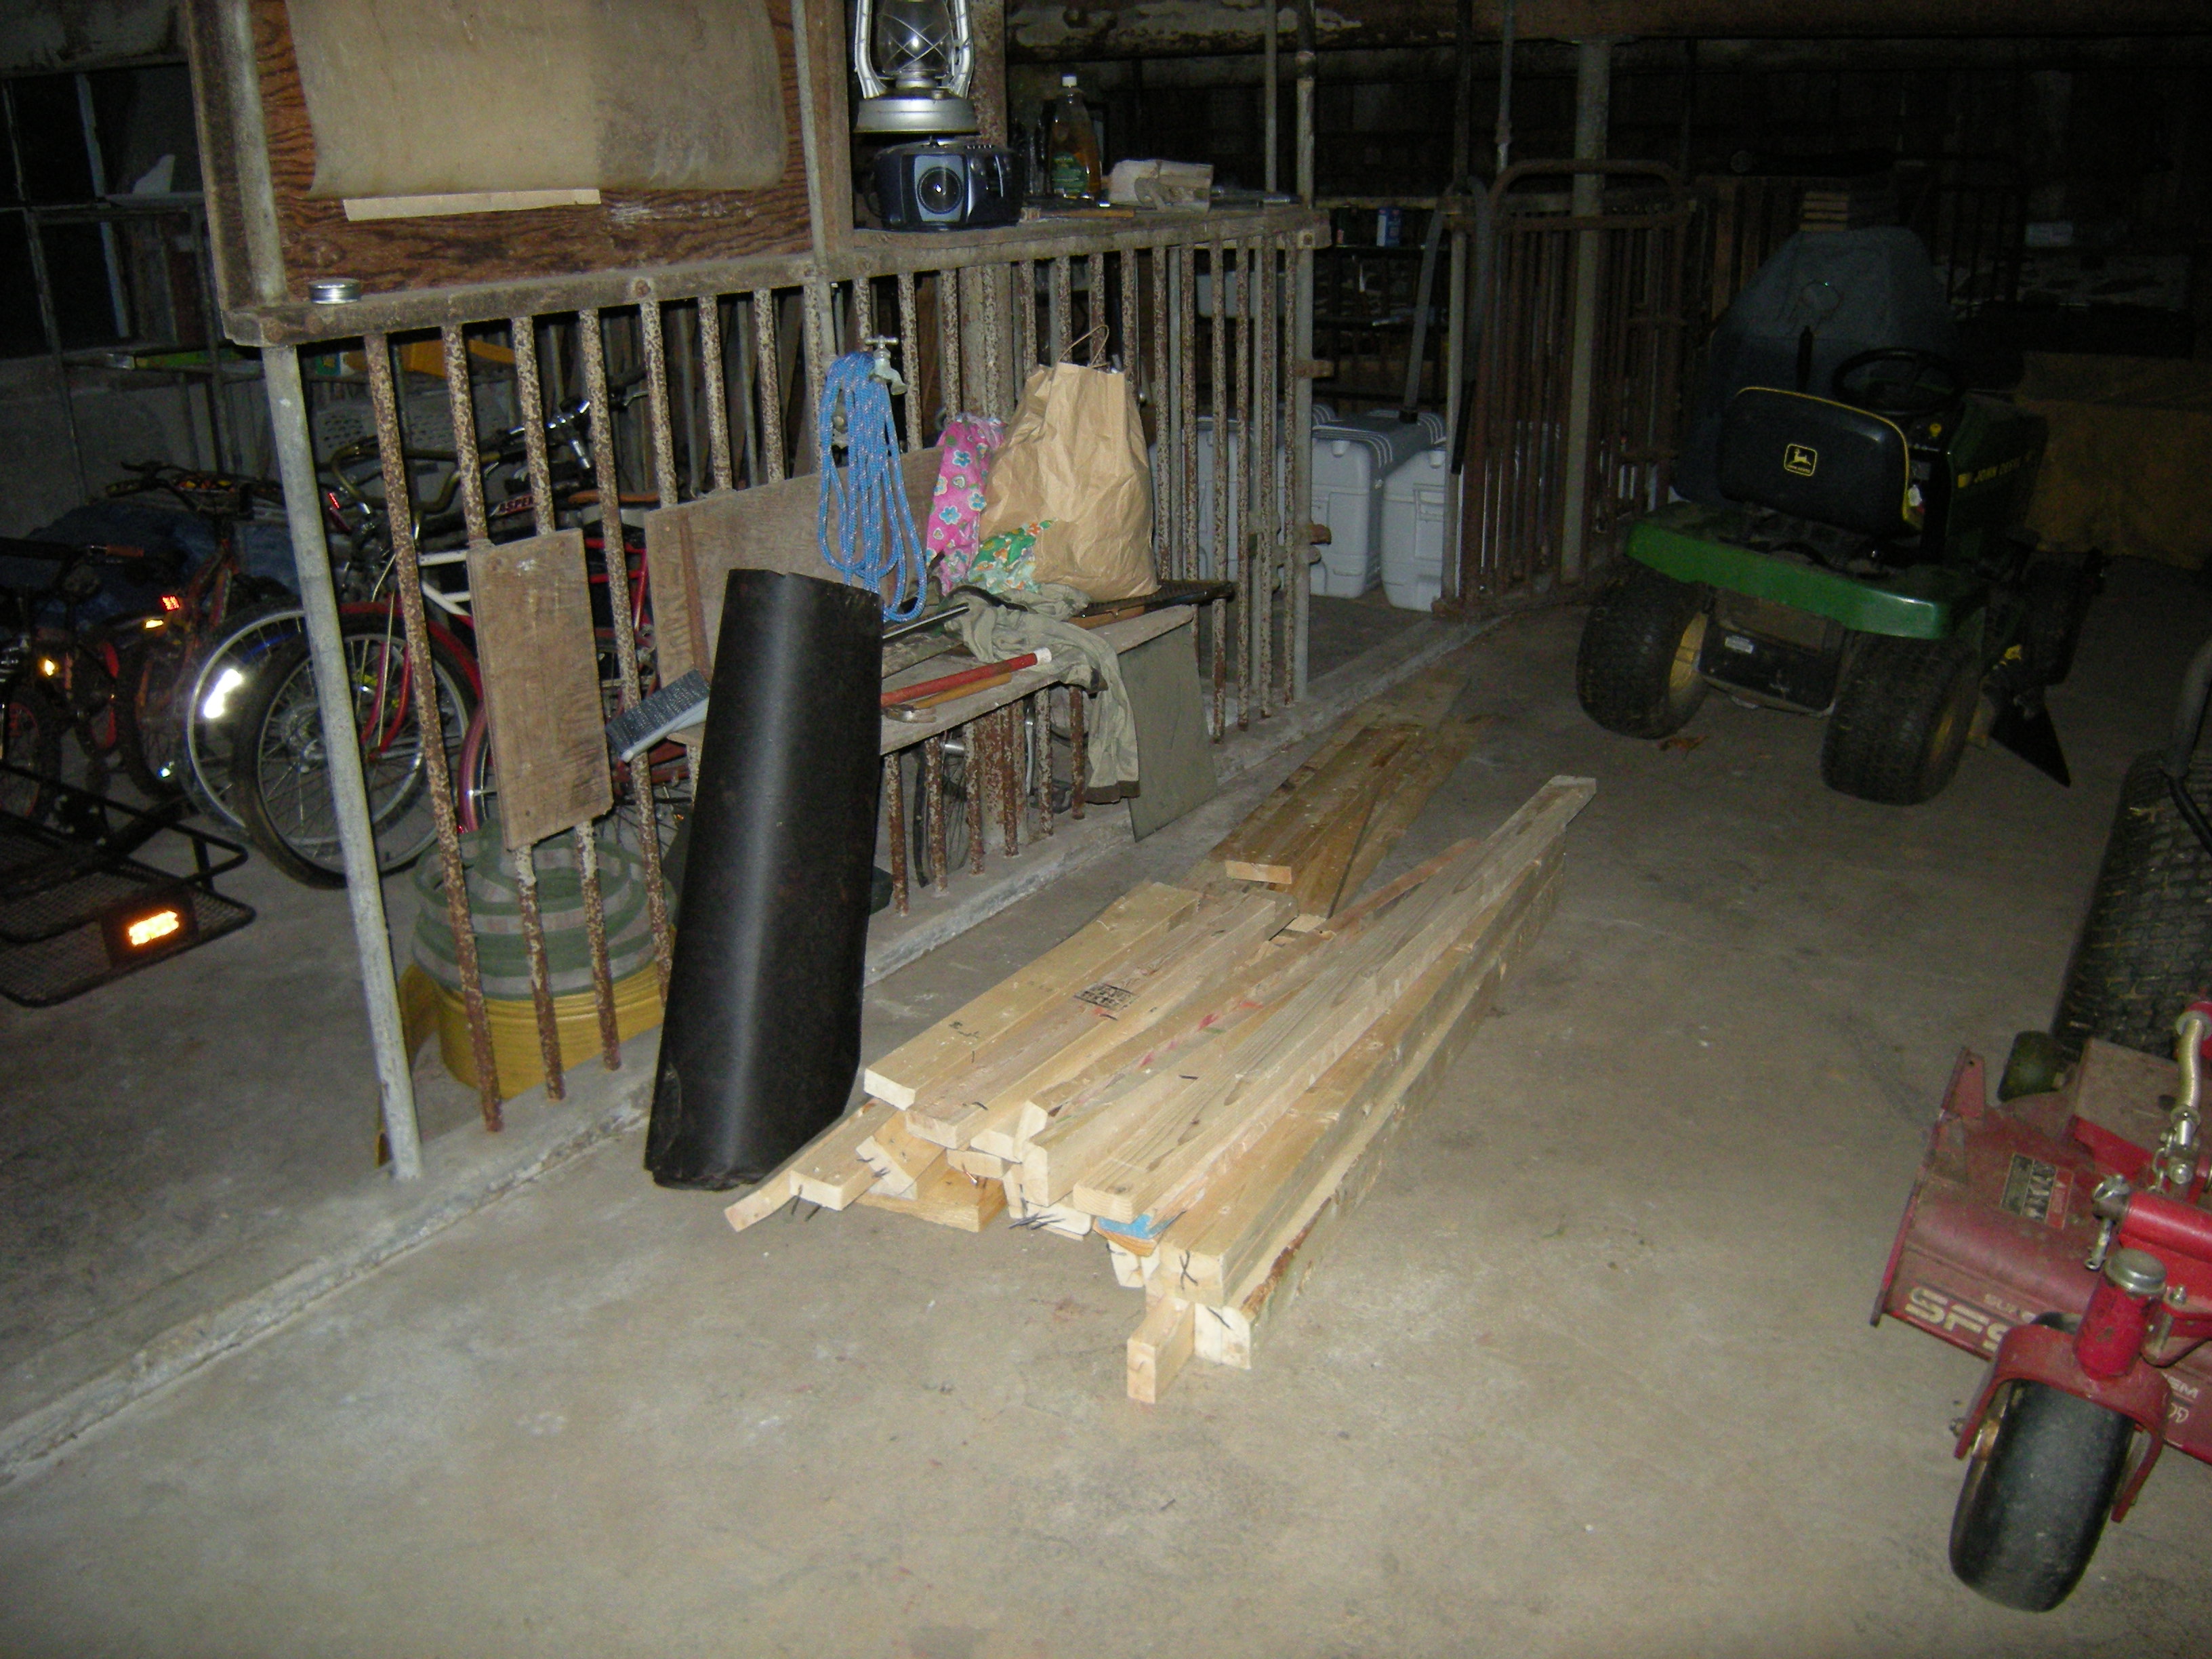
With an idea modeling into feasibility, the first steps were gathering required materials and planning the construction of the box- considering resources and the box construction itself. A conctact within OCC lead to acquiring mostly 2"x4"s from a scrap pile at a local construction site.
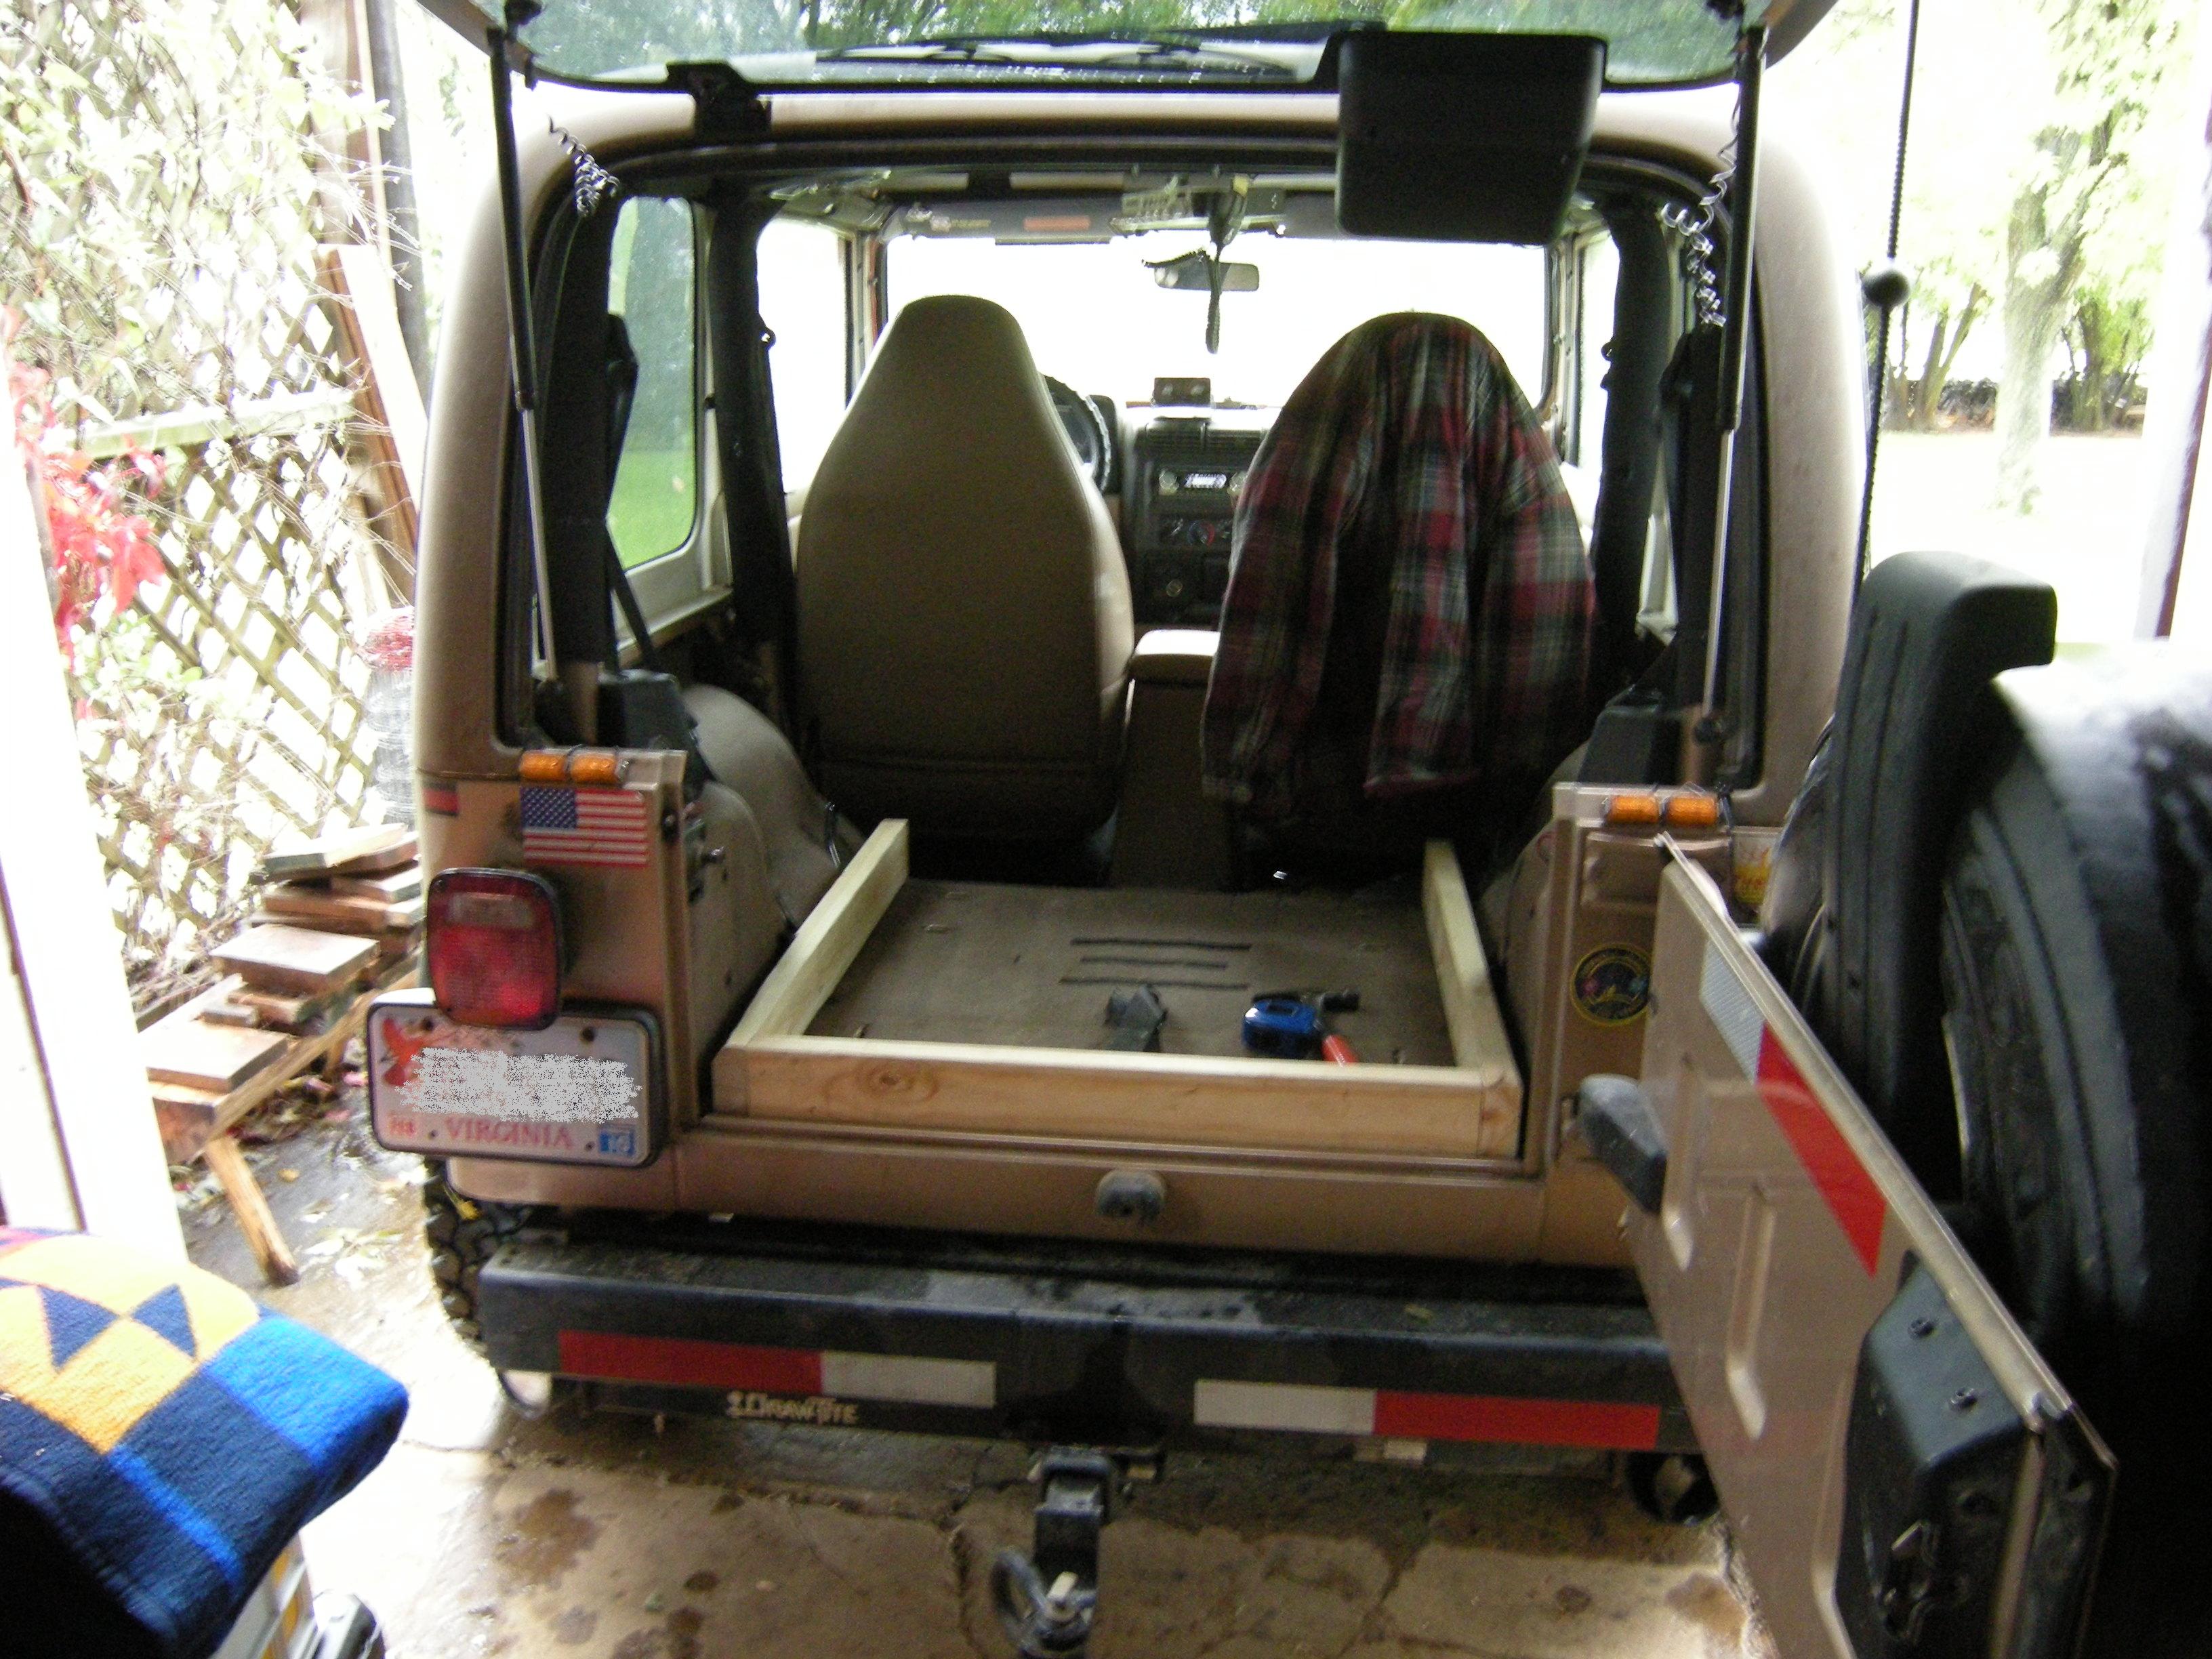
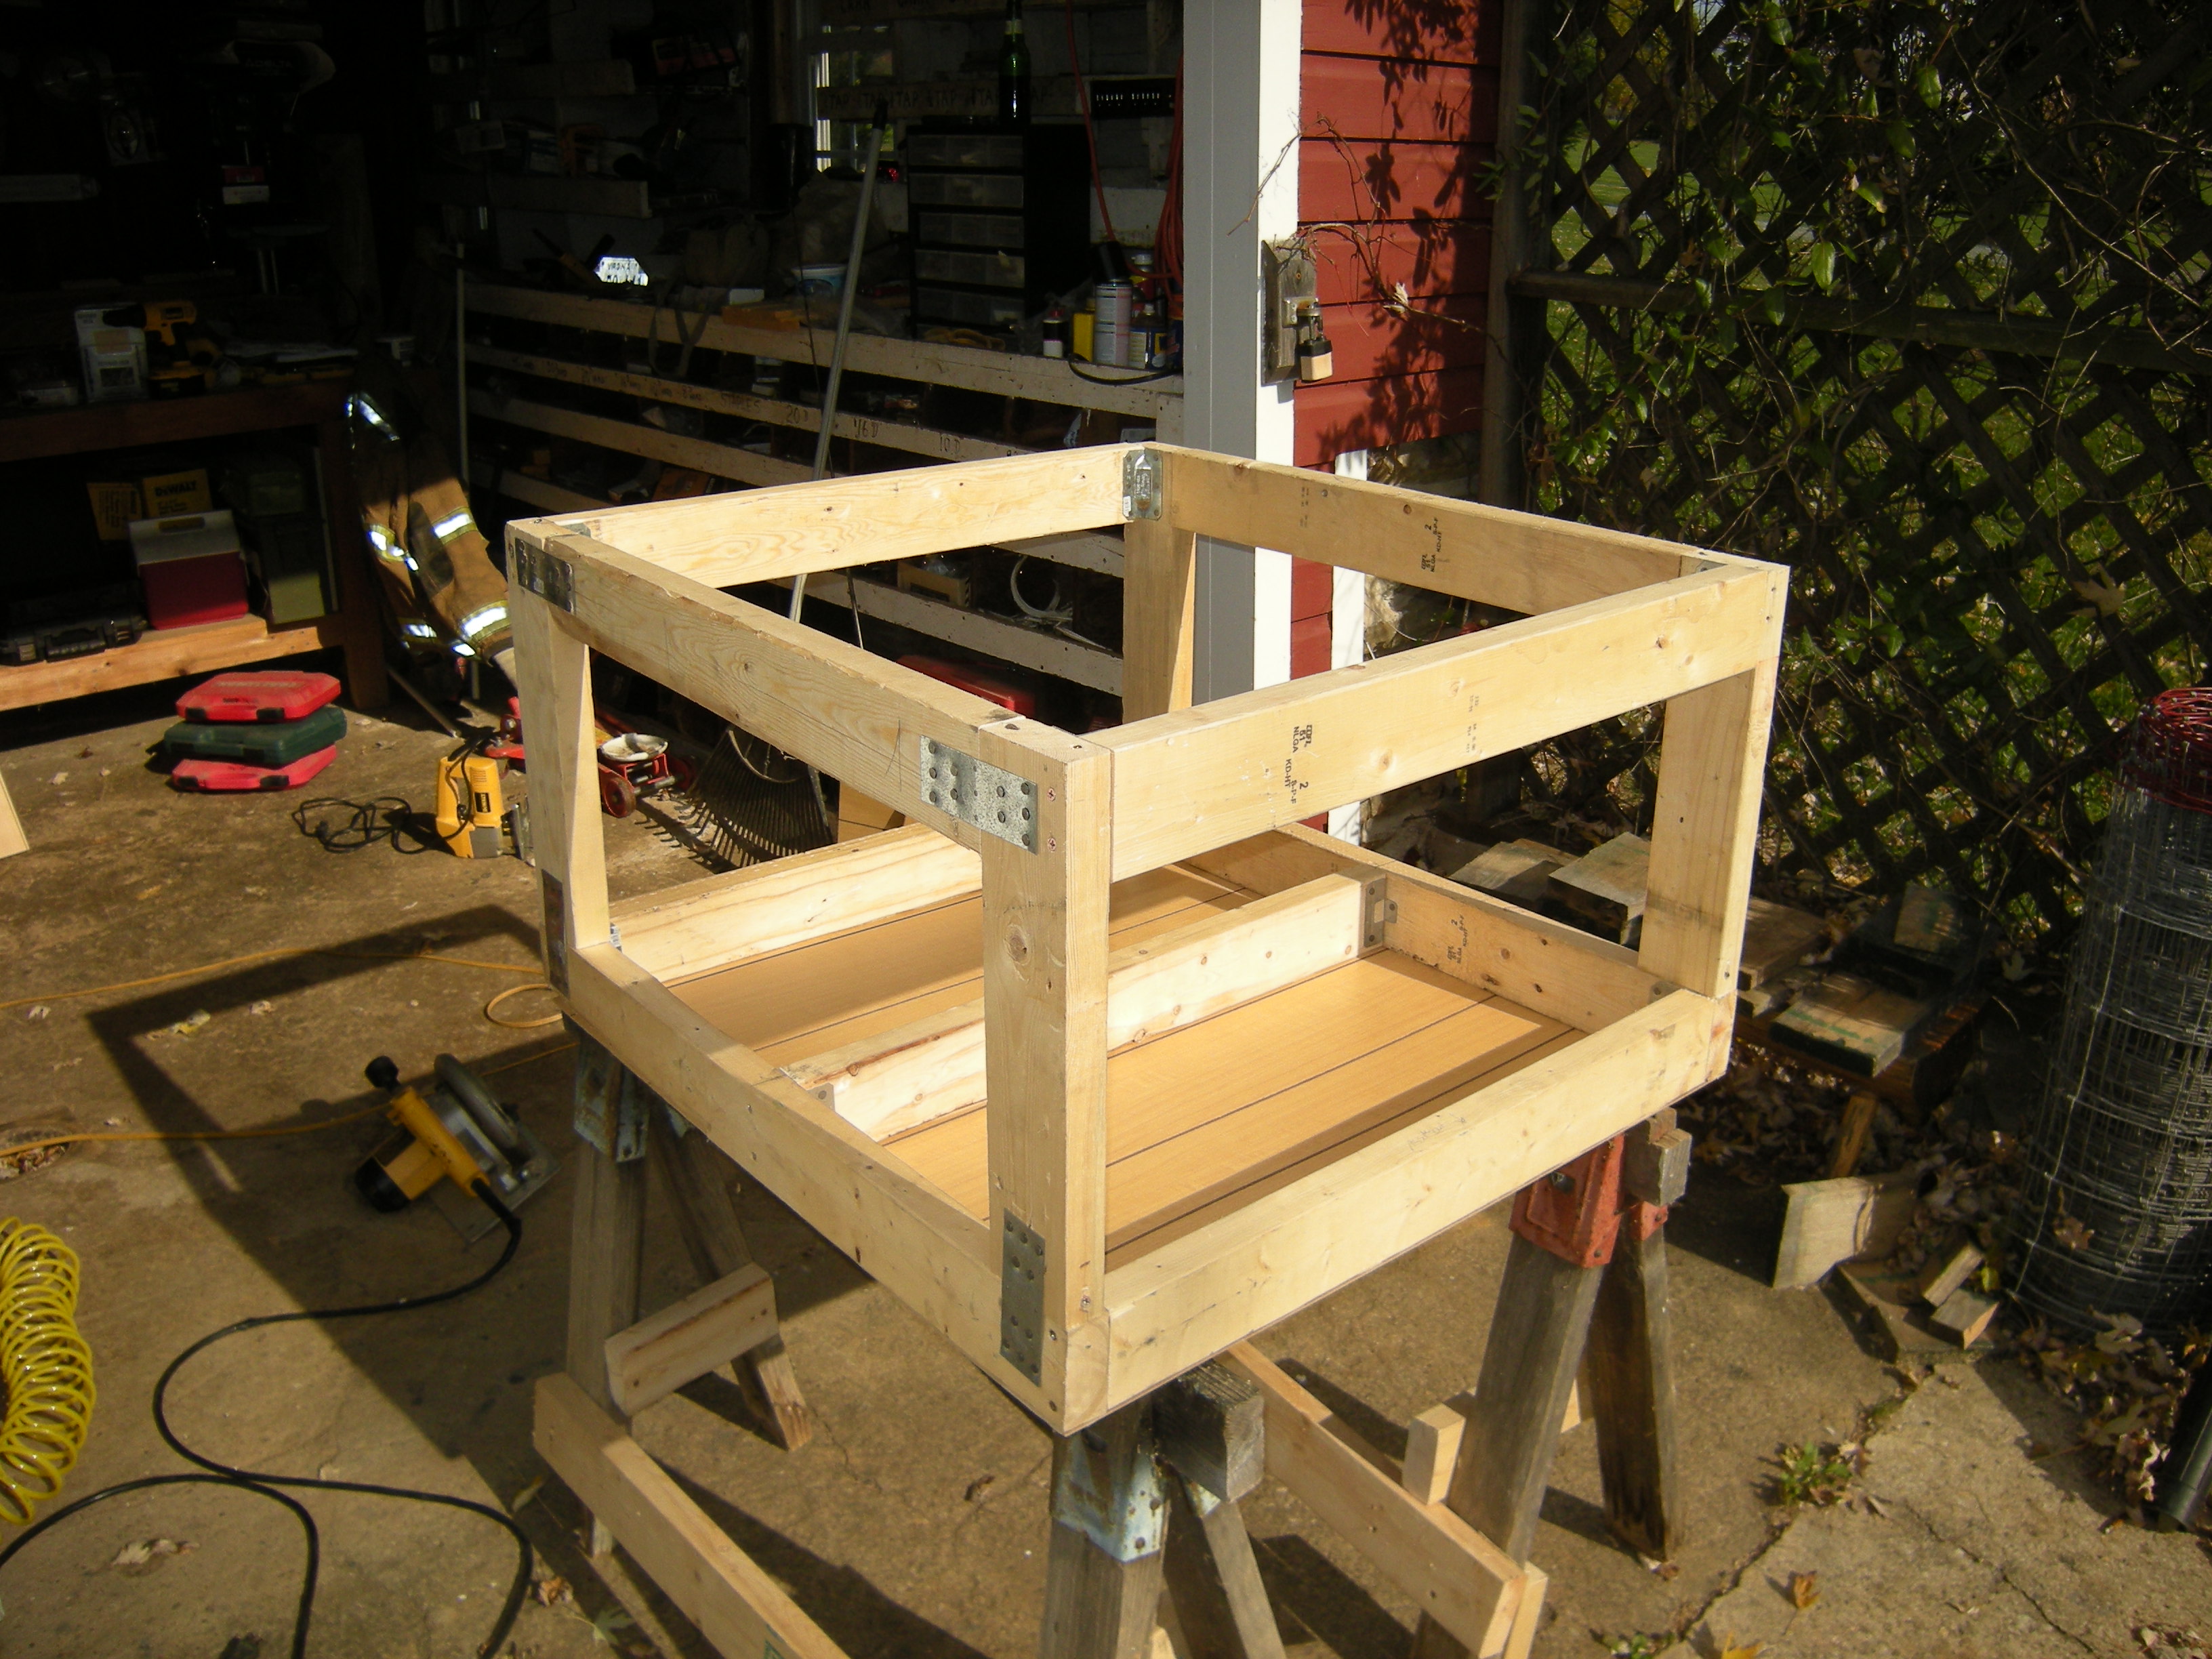
The attack plan was to build the box “in real time” rather than develop shop drawings. This method is feasible, but not often best. The TJ was backed up into the workshop space and cleaned out in preparation of measurements.

Spatial measurements to determine the maximum limitations of the box were first. The frame construction was started. Shortly there-after, it was realized that not all aspects of the stock TJ had been taken into account. This included the rear gate Nader pin, tie downs on the floor, the reclining angle of the front seats, and plastic cover pieces extending the overall depth of the rear gate door.
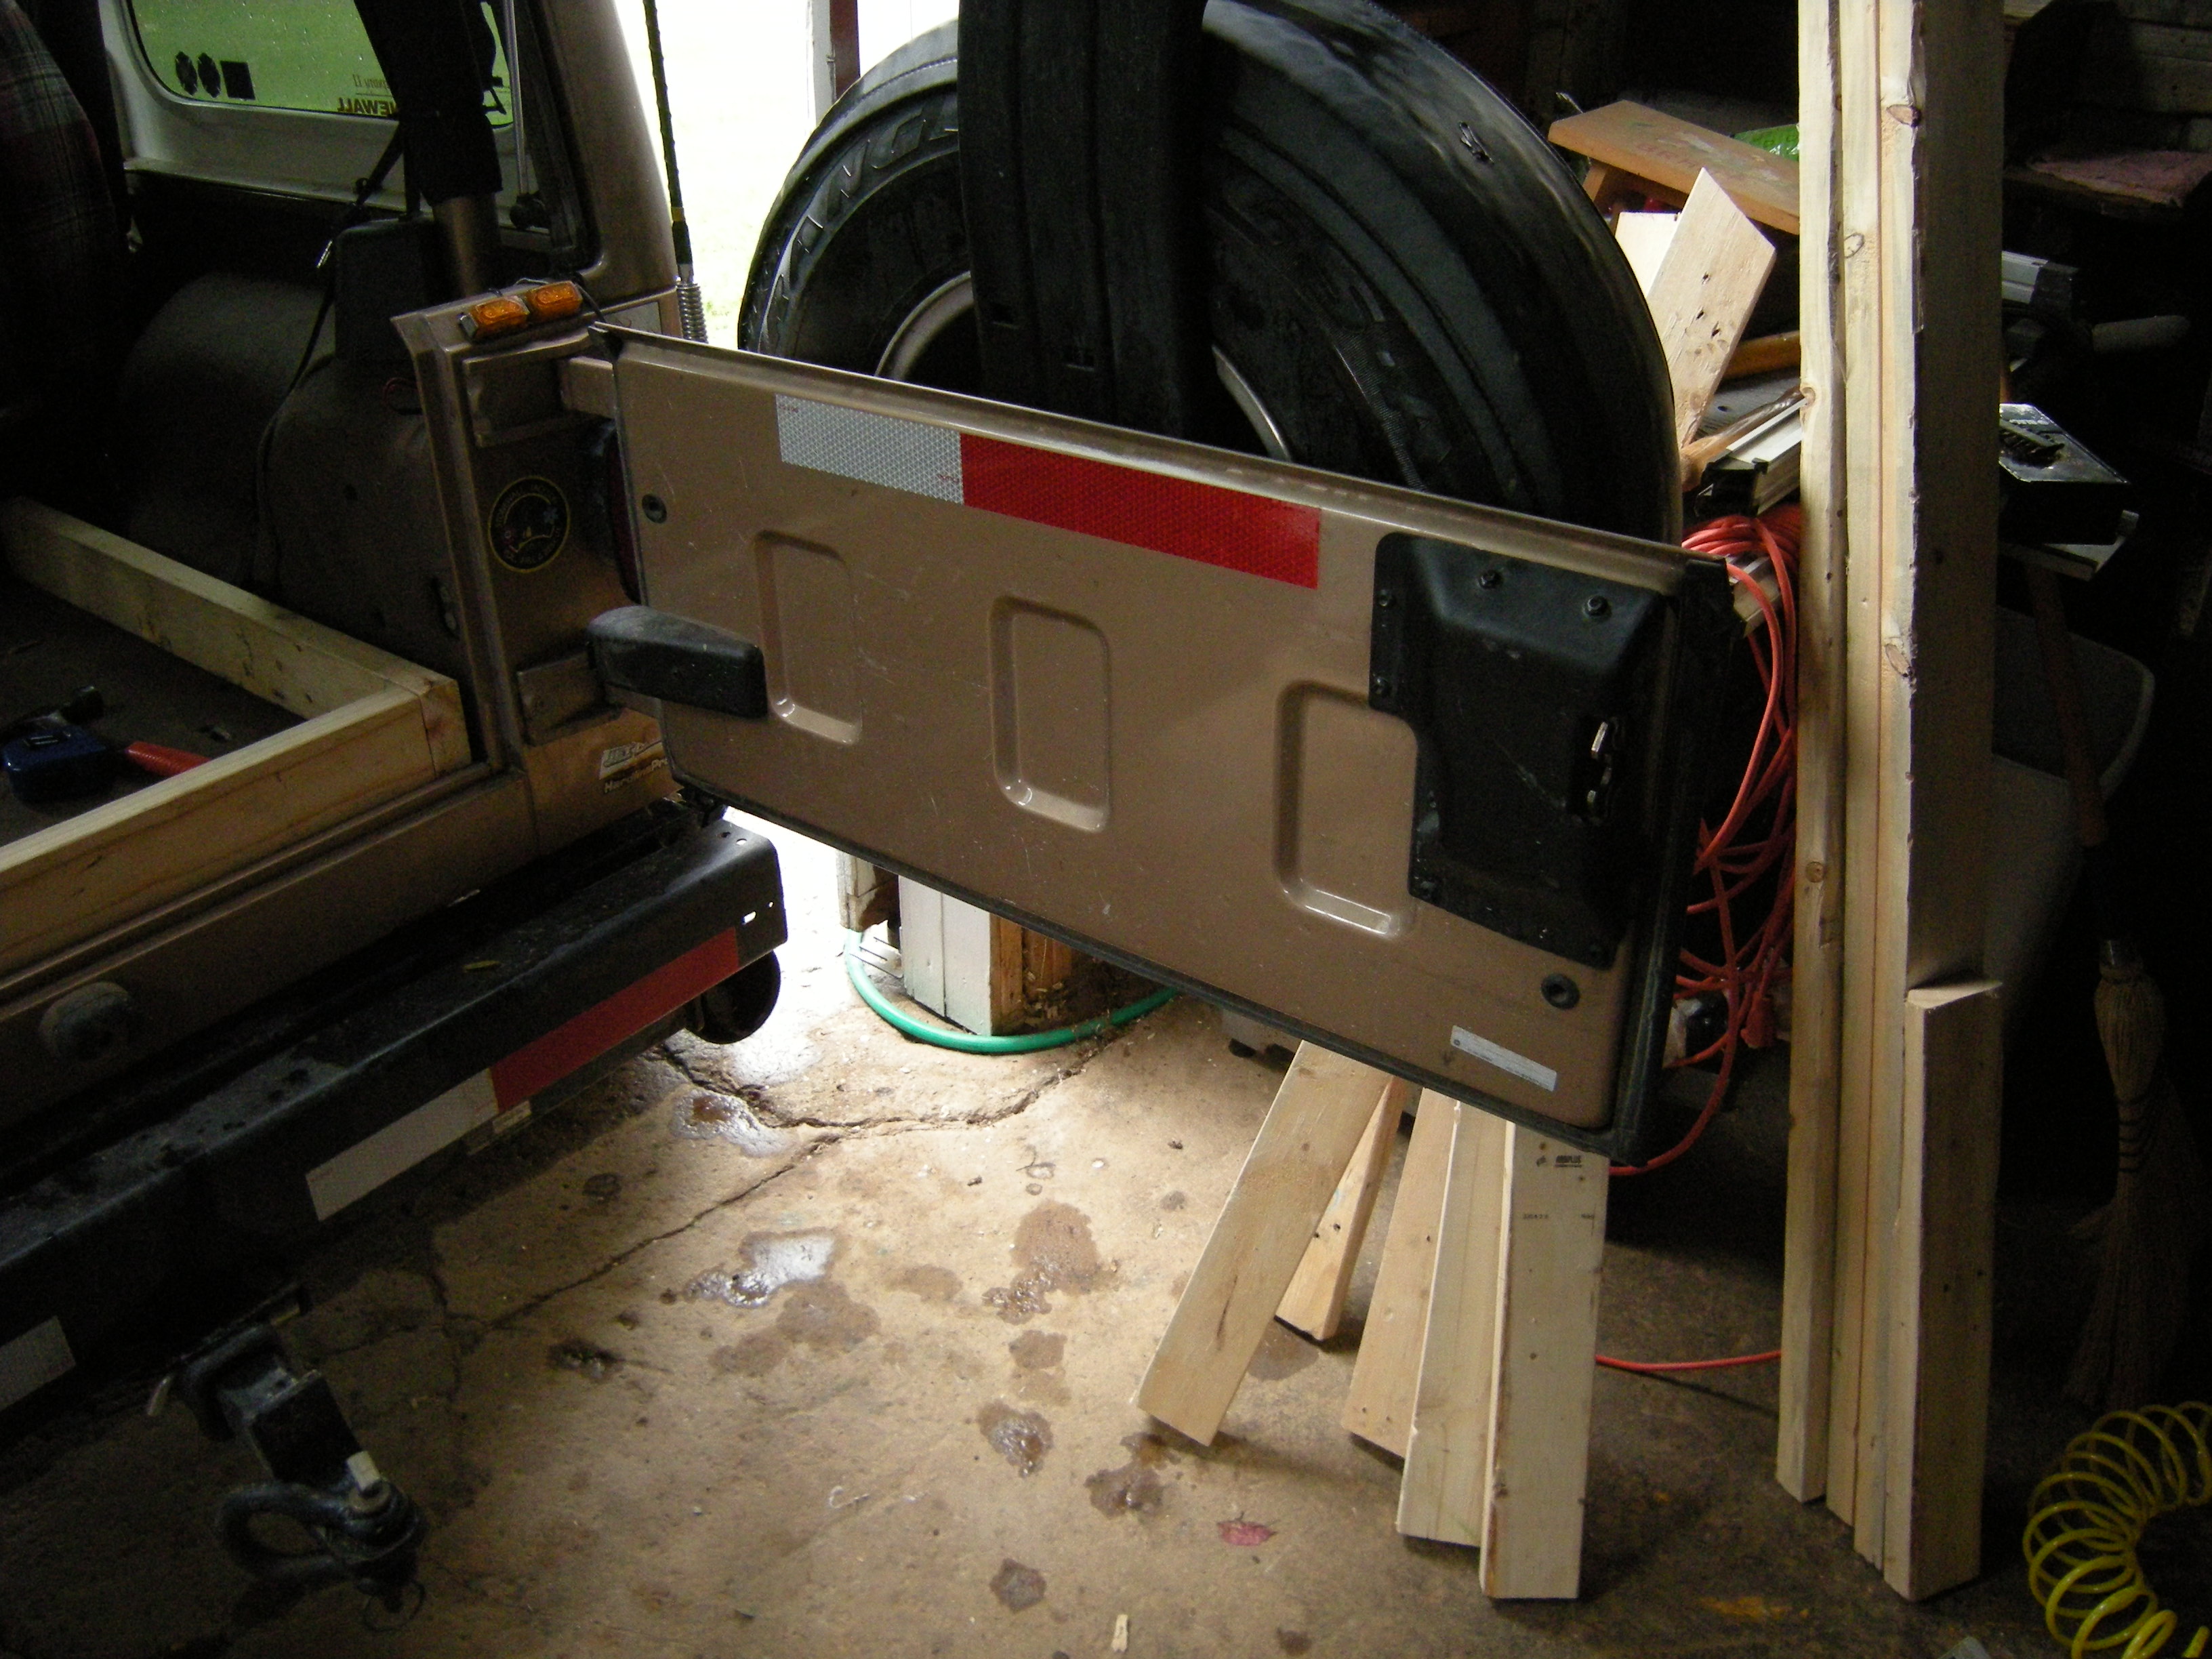
Remedial measurements and re-tooling of the frame accommodated these discoveries with minimal inconvenience.
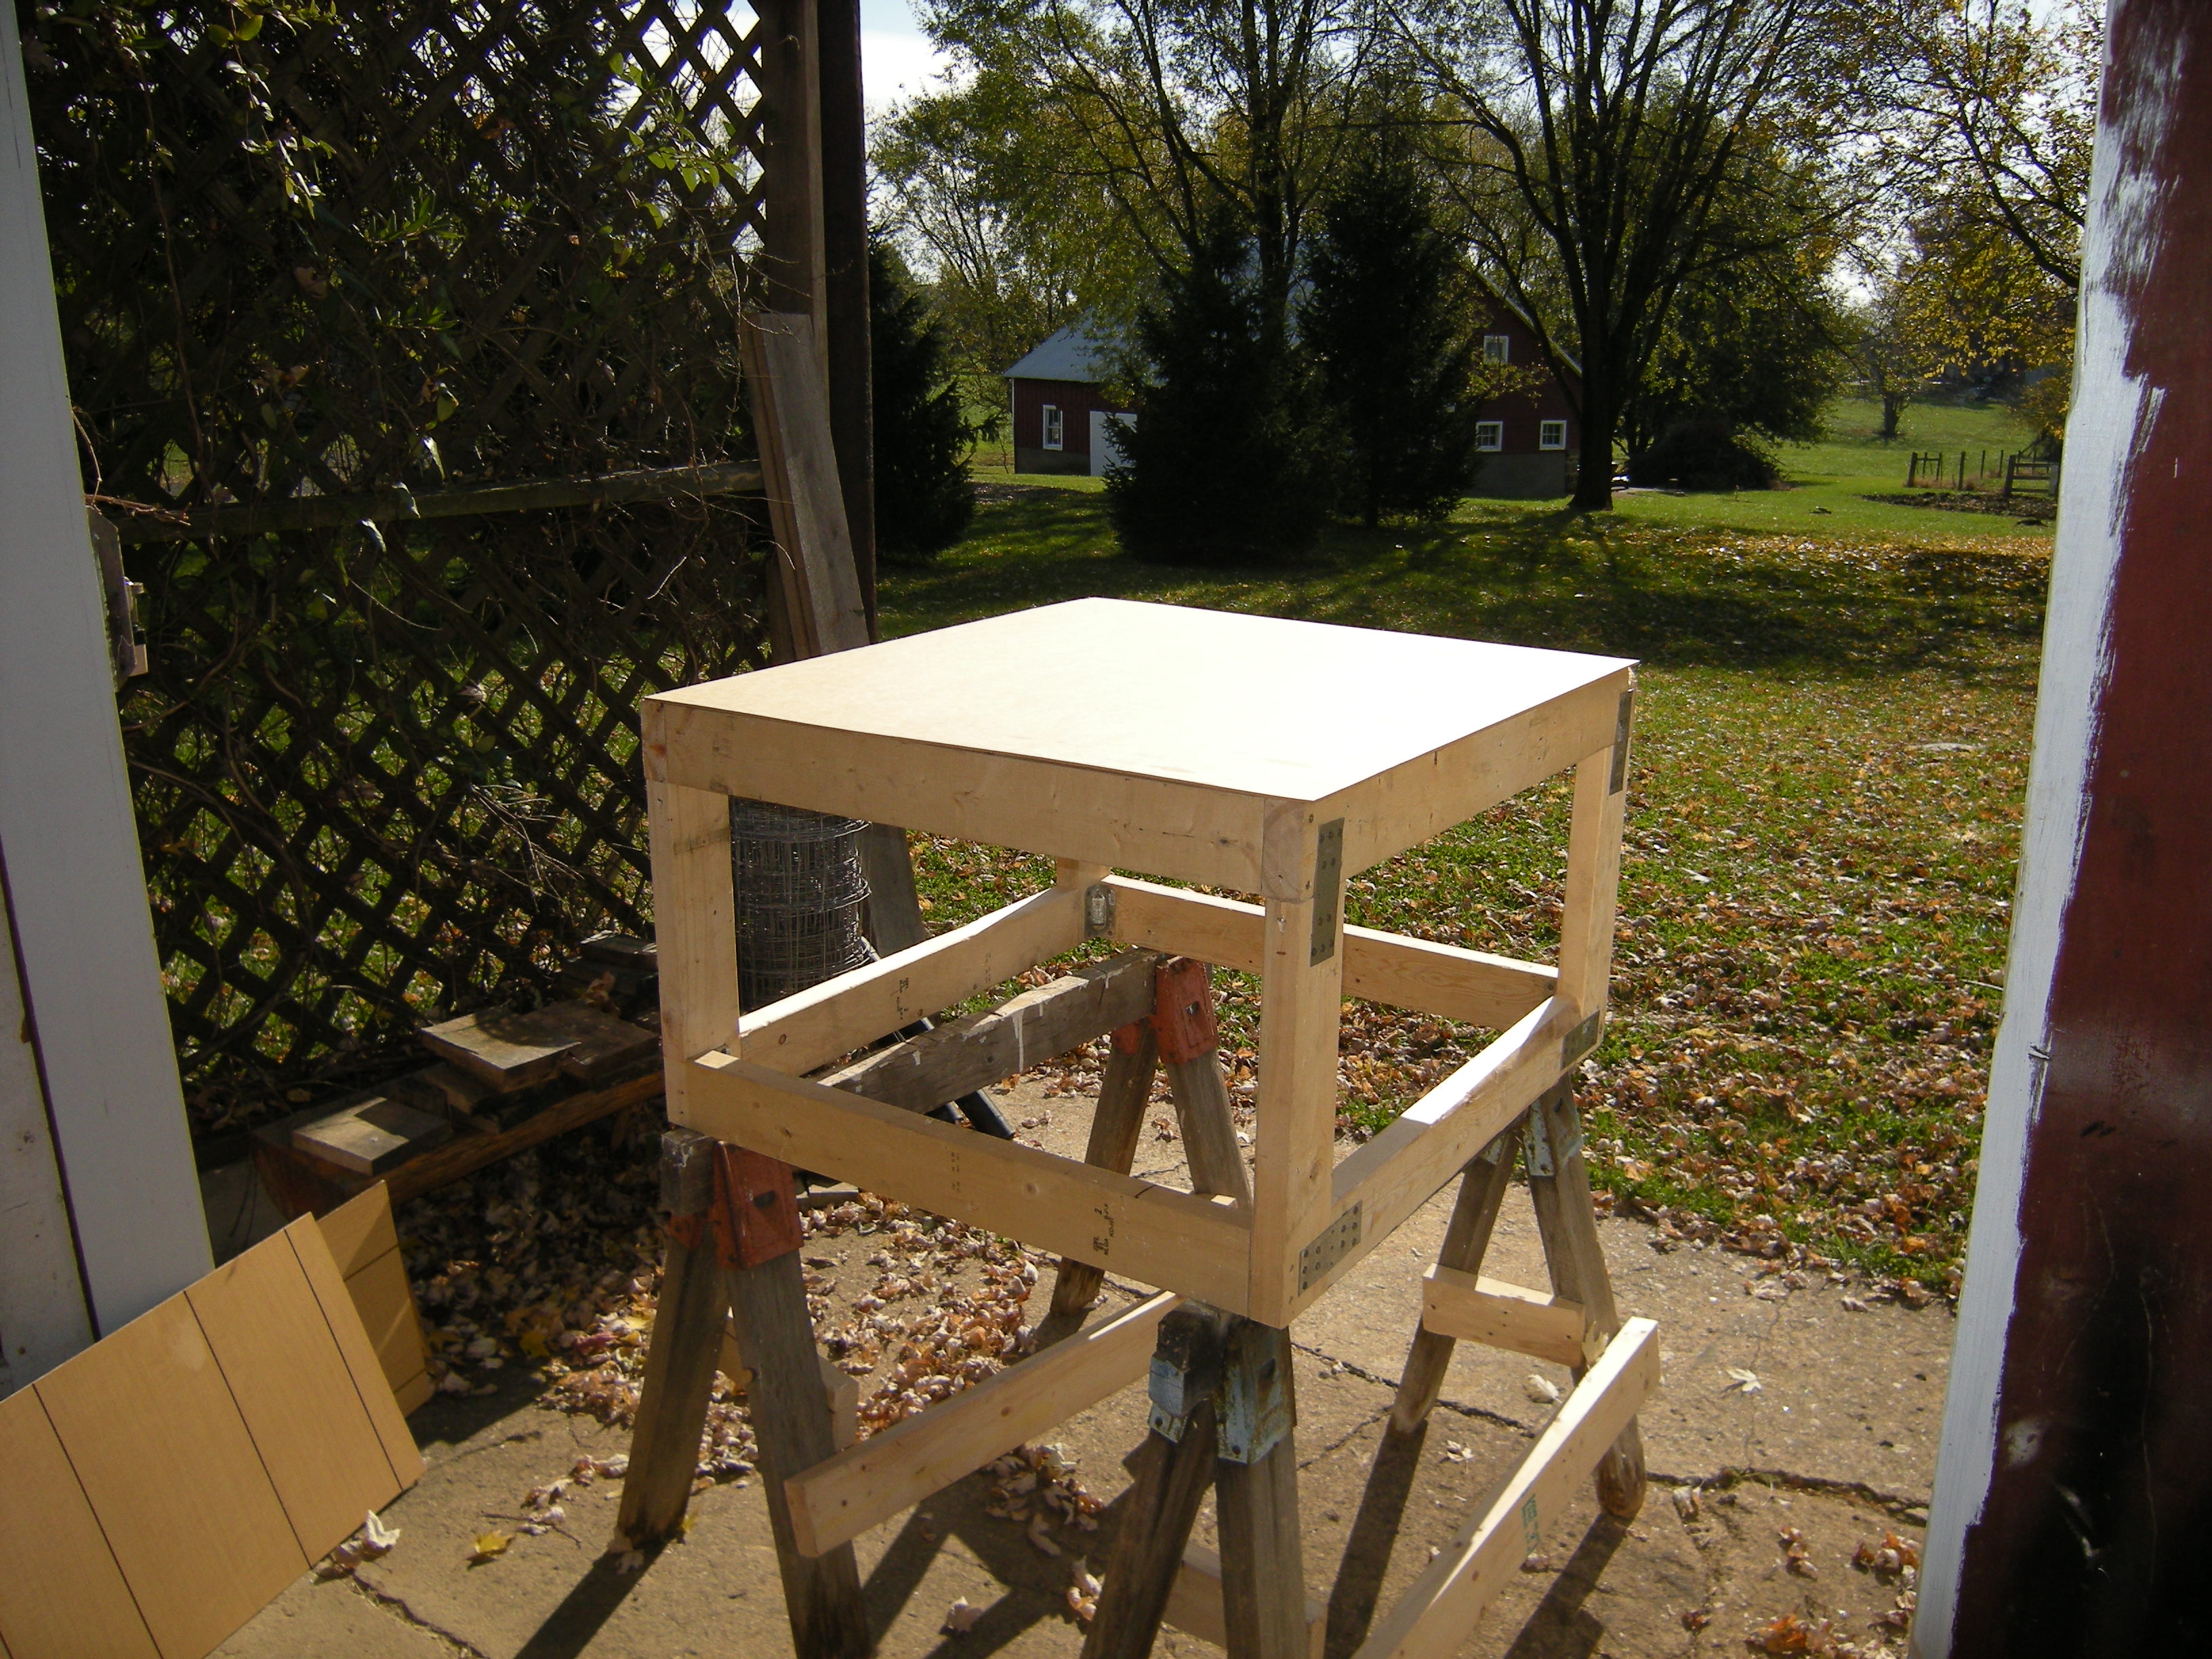
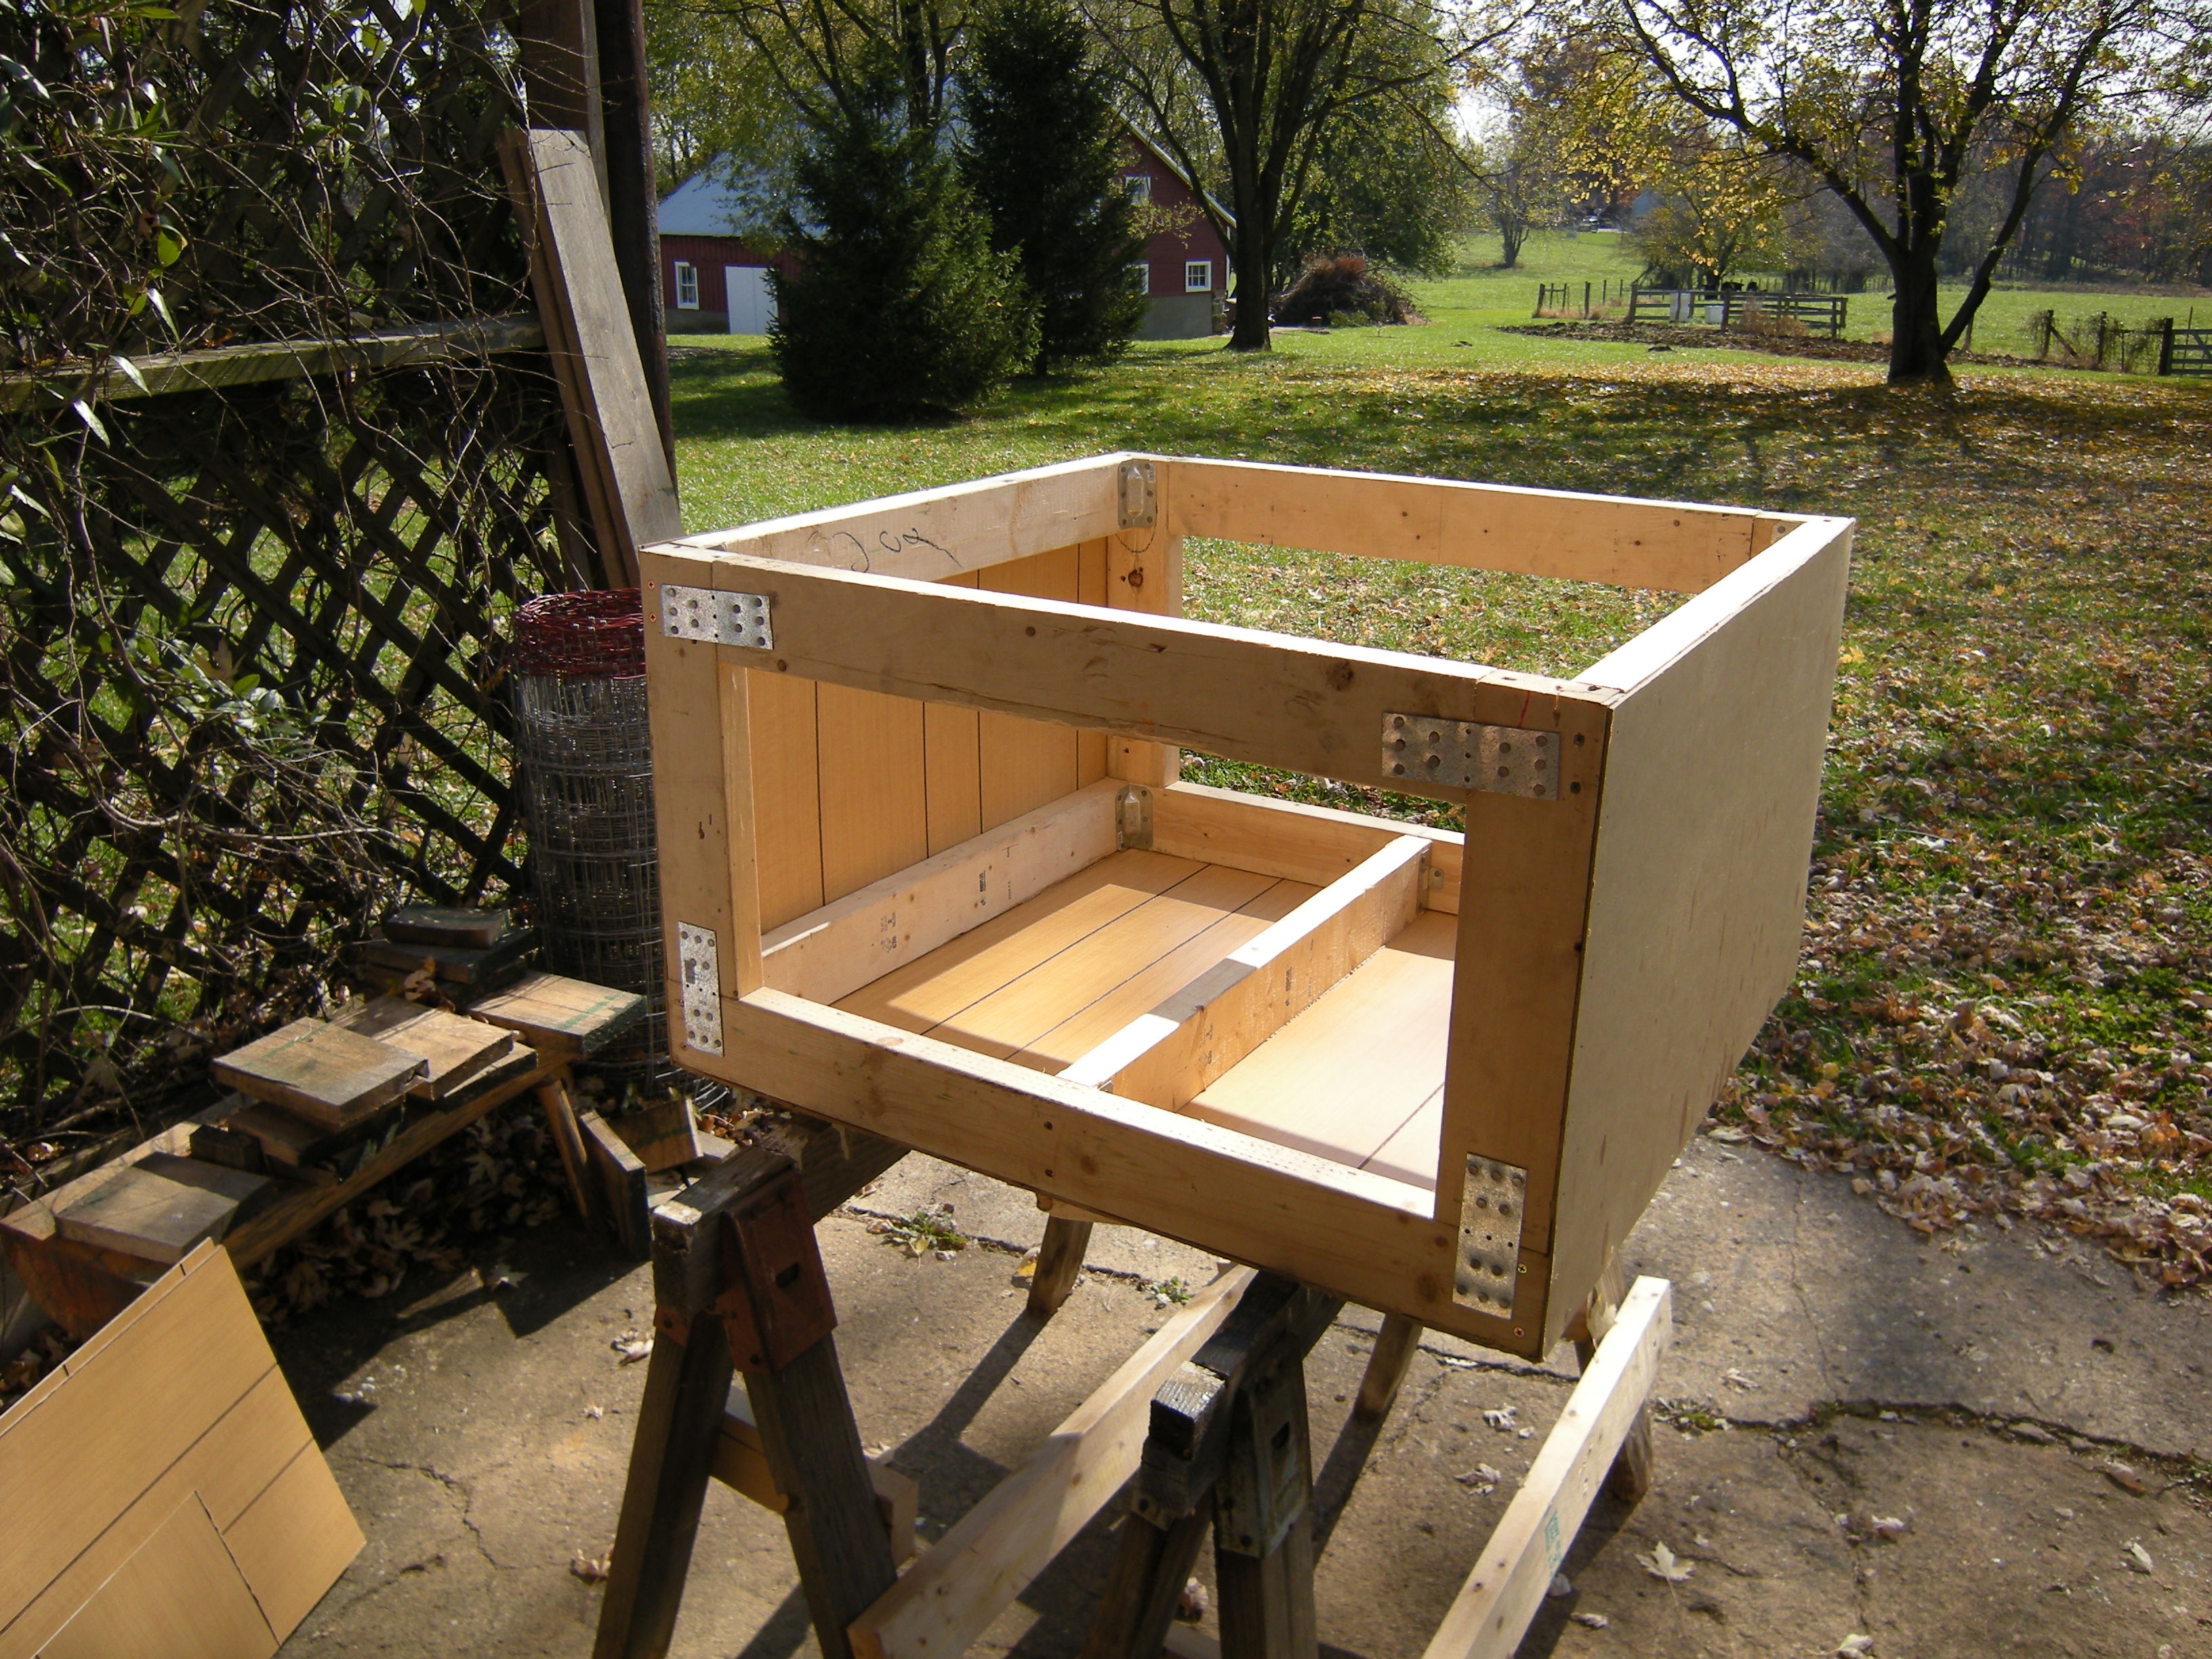
Once the initial frame limitations were figured out; construction moved to the sawhorses for convenience. The frame joints were fastened with coated decking screws (for resistance to moisture and chemicals) and metal plates held in place with flat head roofing nails. Once the frame is set-up, a choice of cover material must be decided. Plywood, being very durable, is also heavy. Plexi-glass and Lexan, although providing a cool see-through effect, is cost-prohibitive and allows criminal eyes to see what valuable gear is inside. Other plastics would be too flimsy and not impact resistant. A cheap and light weight choice to consider is wall paneling. The kind you would find in the living room of an old house. At roughly $10.00 for a 4’x8’ panel, I found this to be the best option. It had already been pre-determined prior to purchase that cutting two panels in half would provide enough pieces of large enough size to accomplish the project; and be transportable with a small pick-up truck.
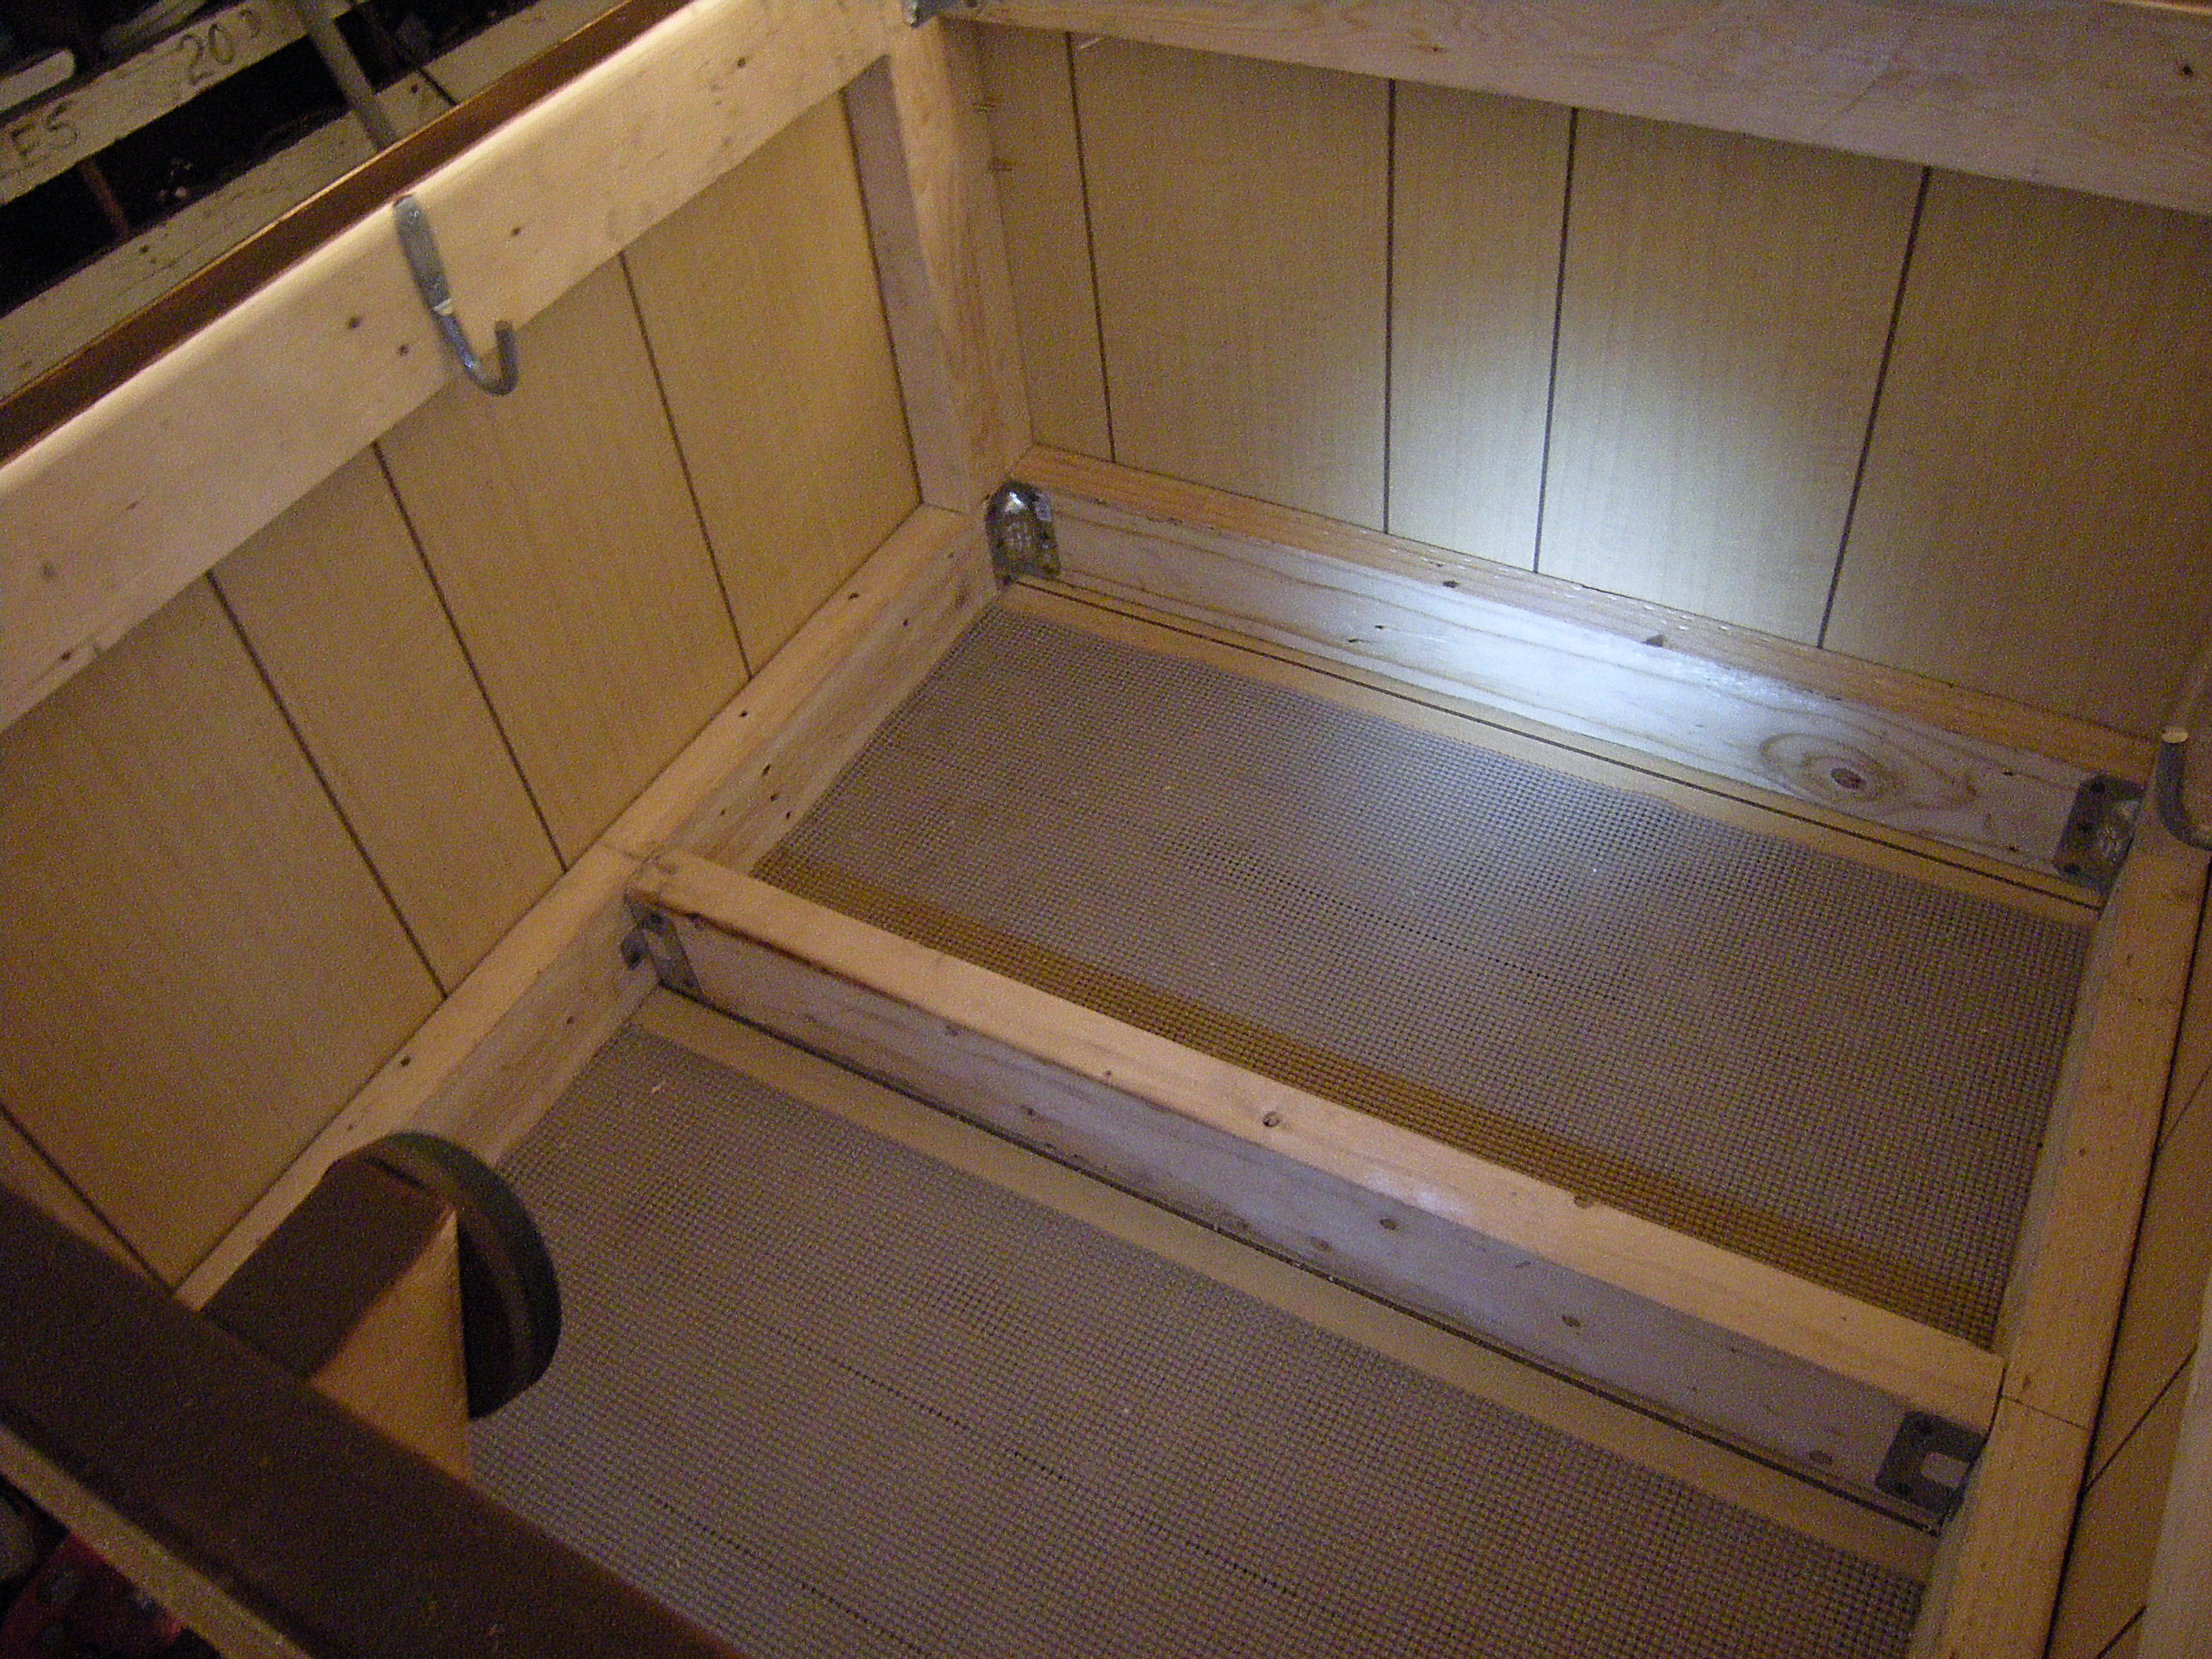
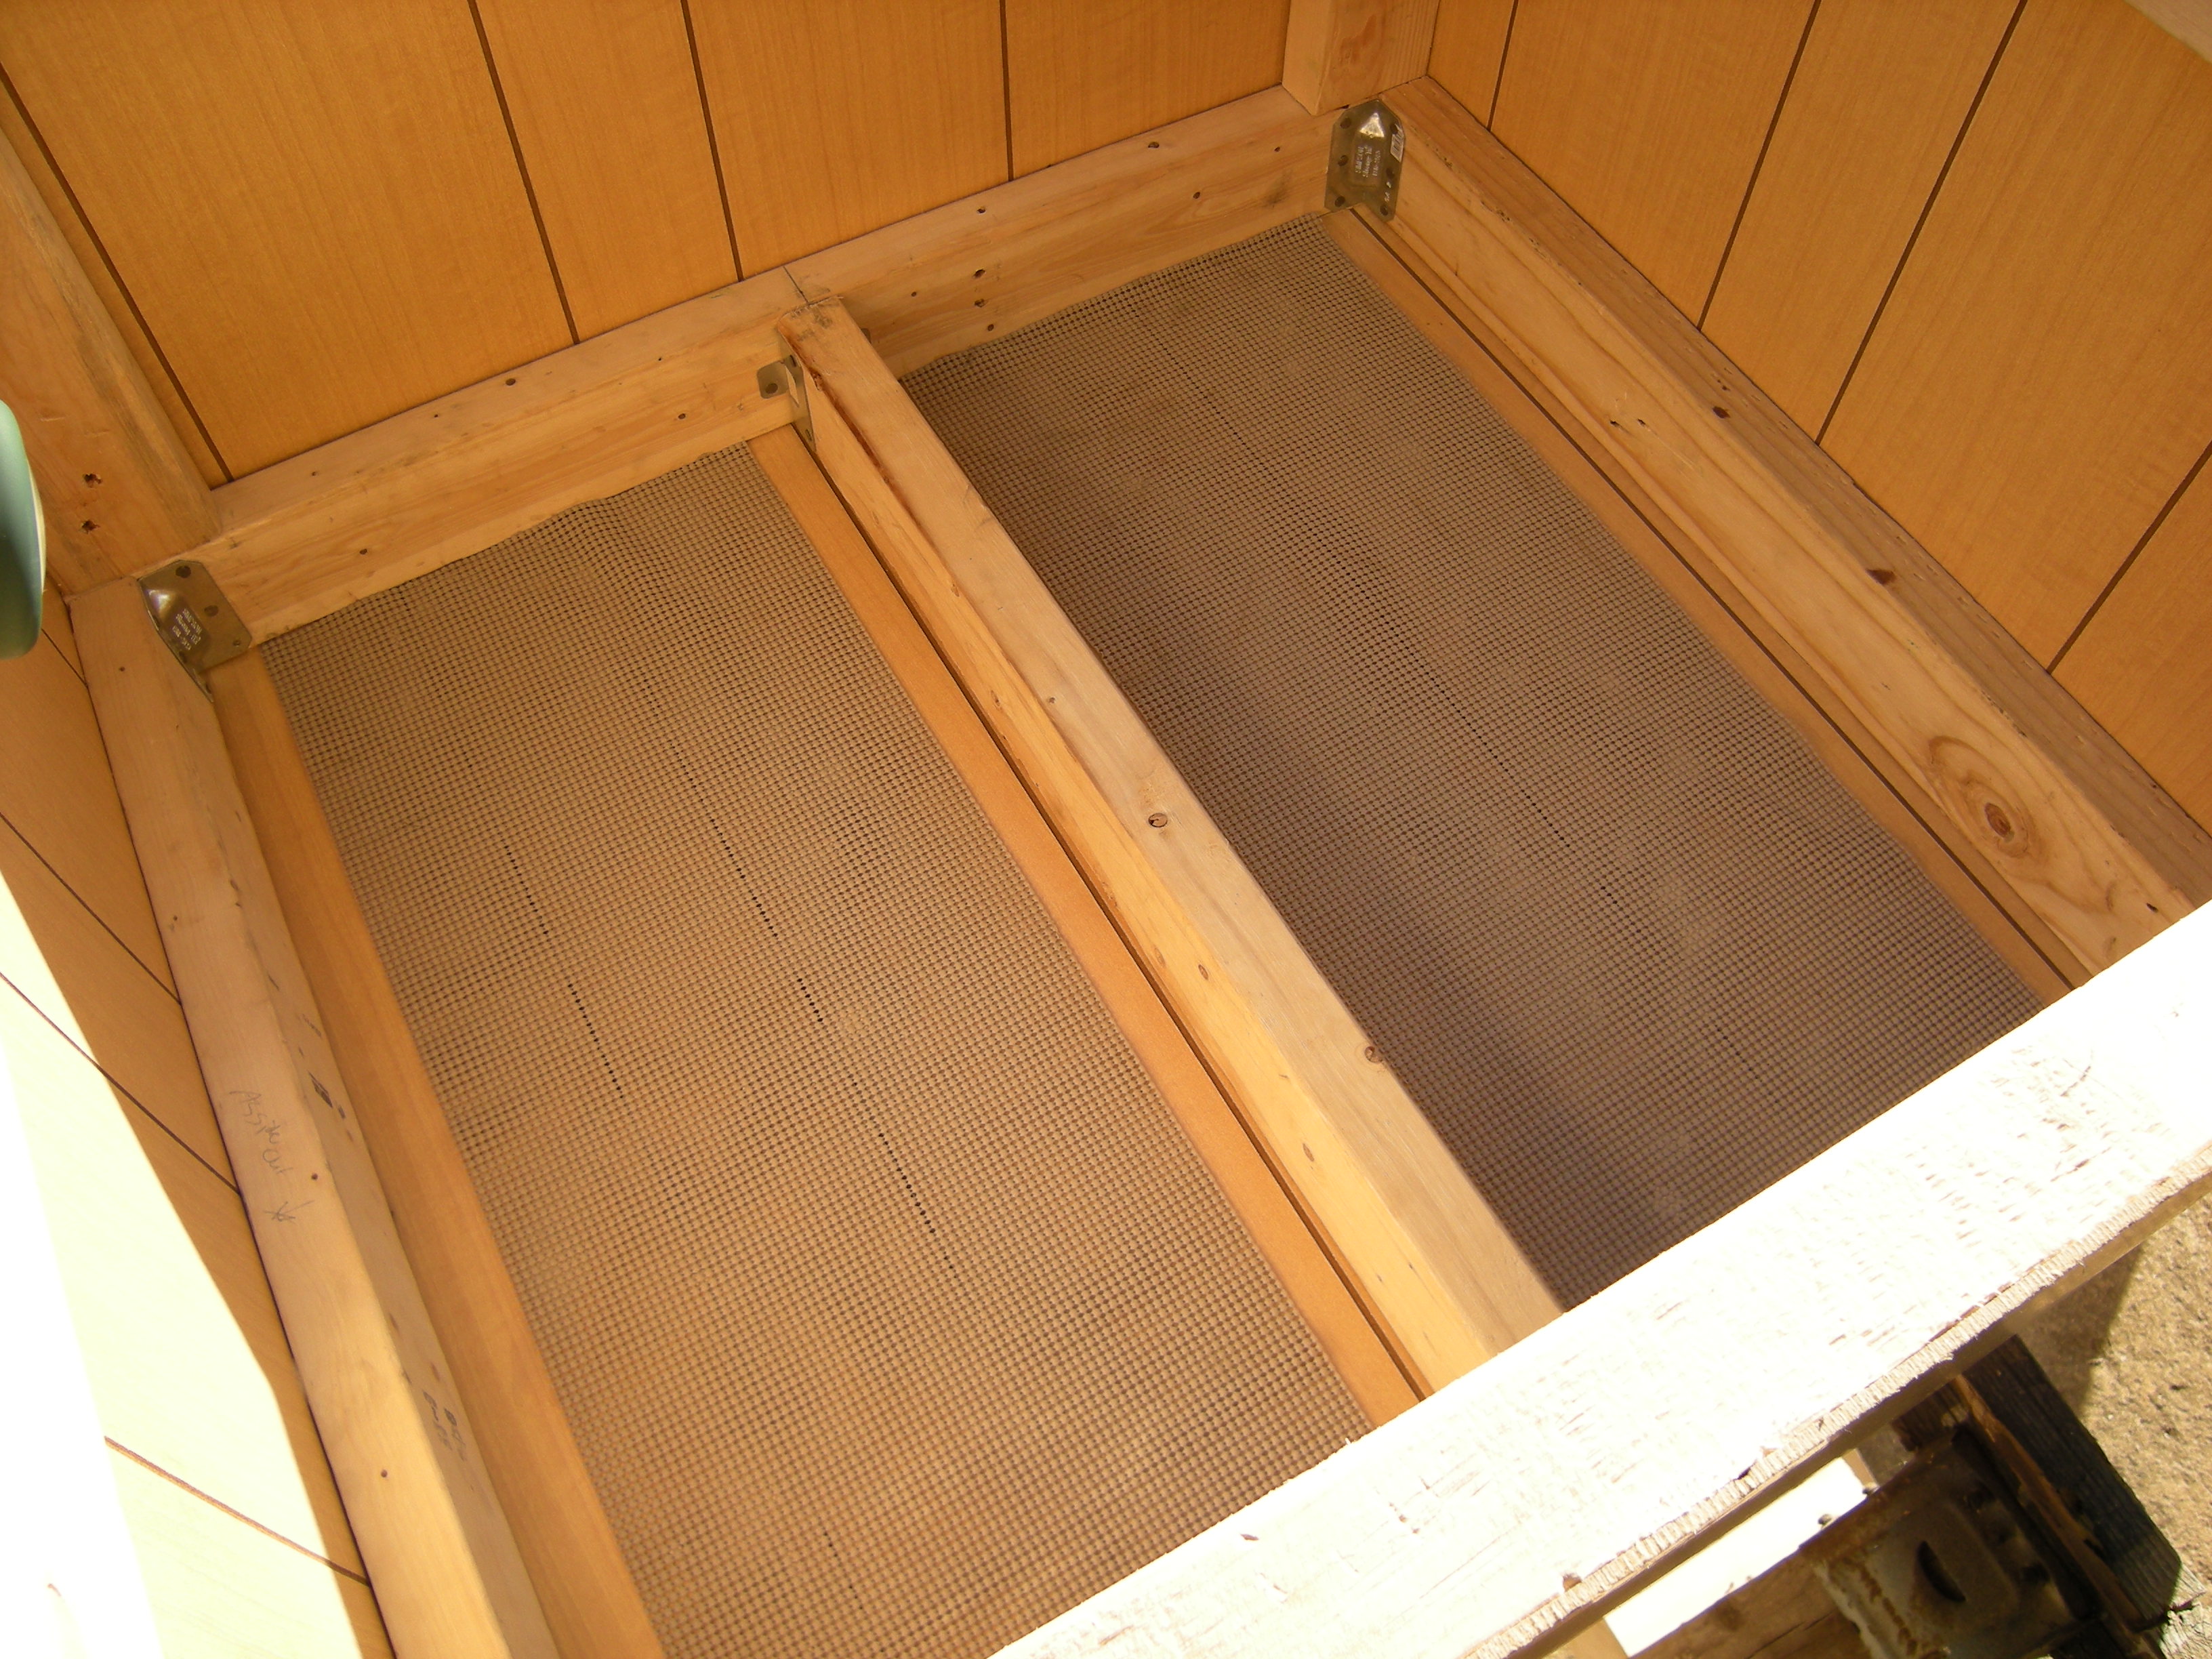
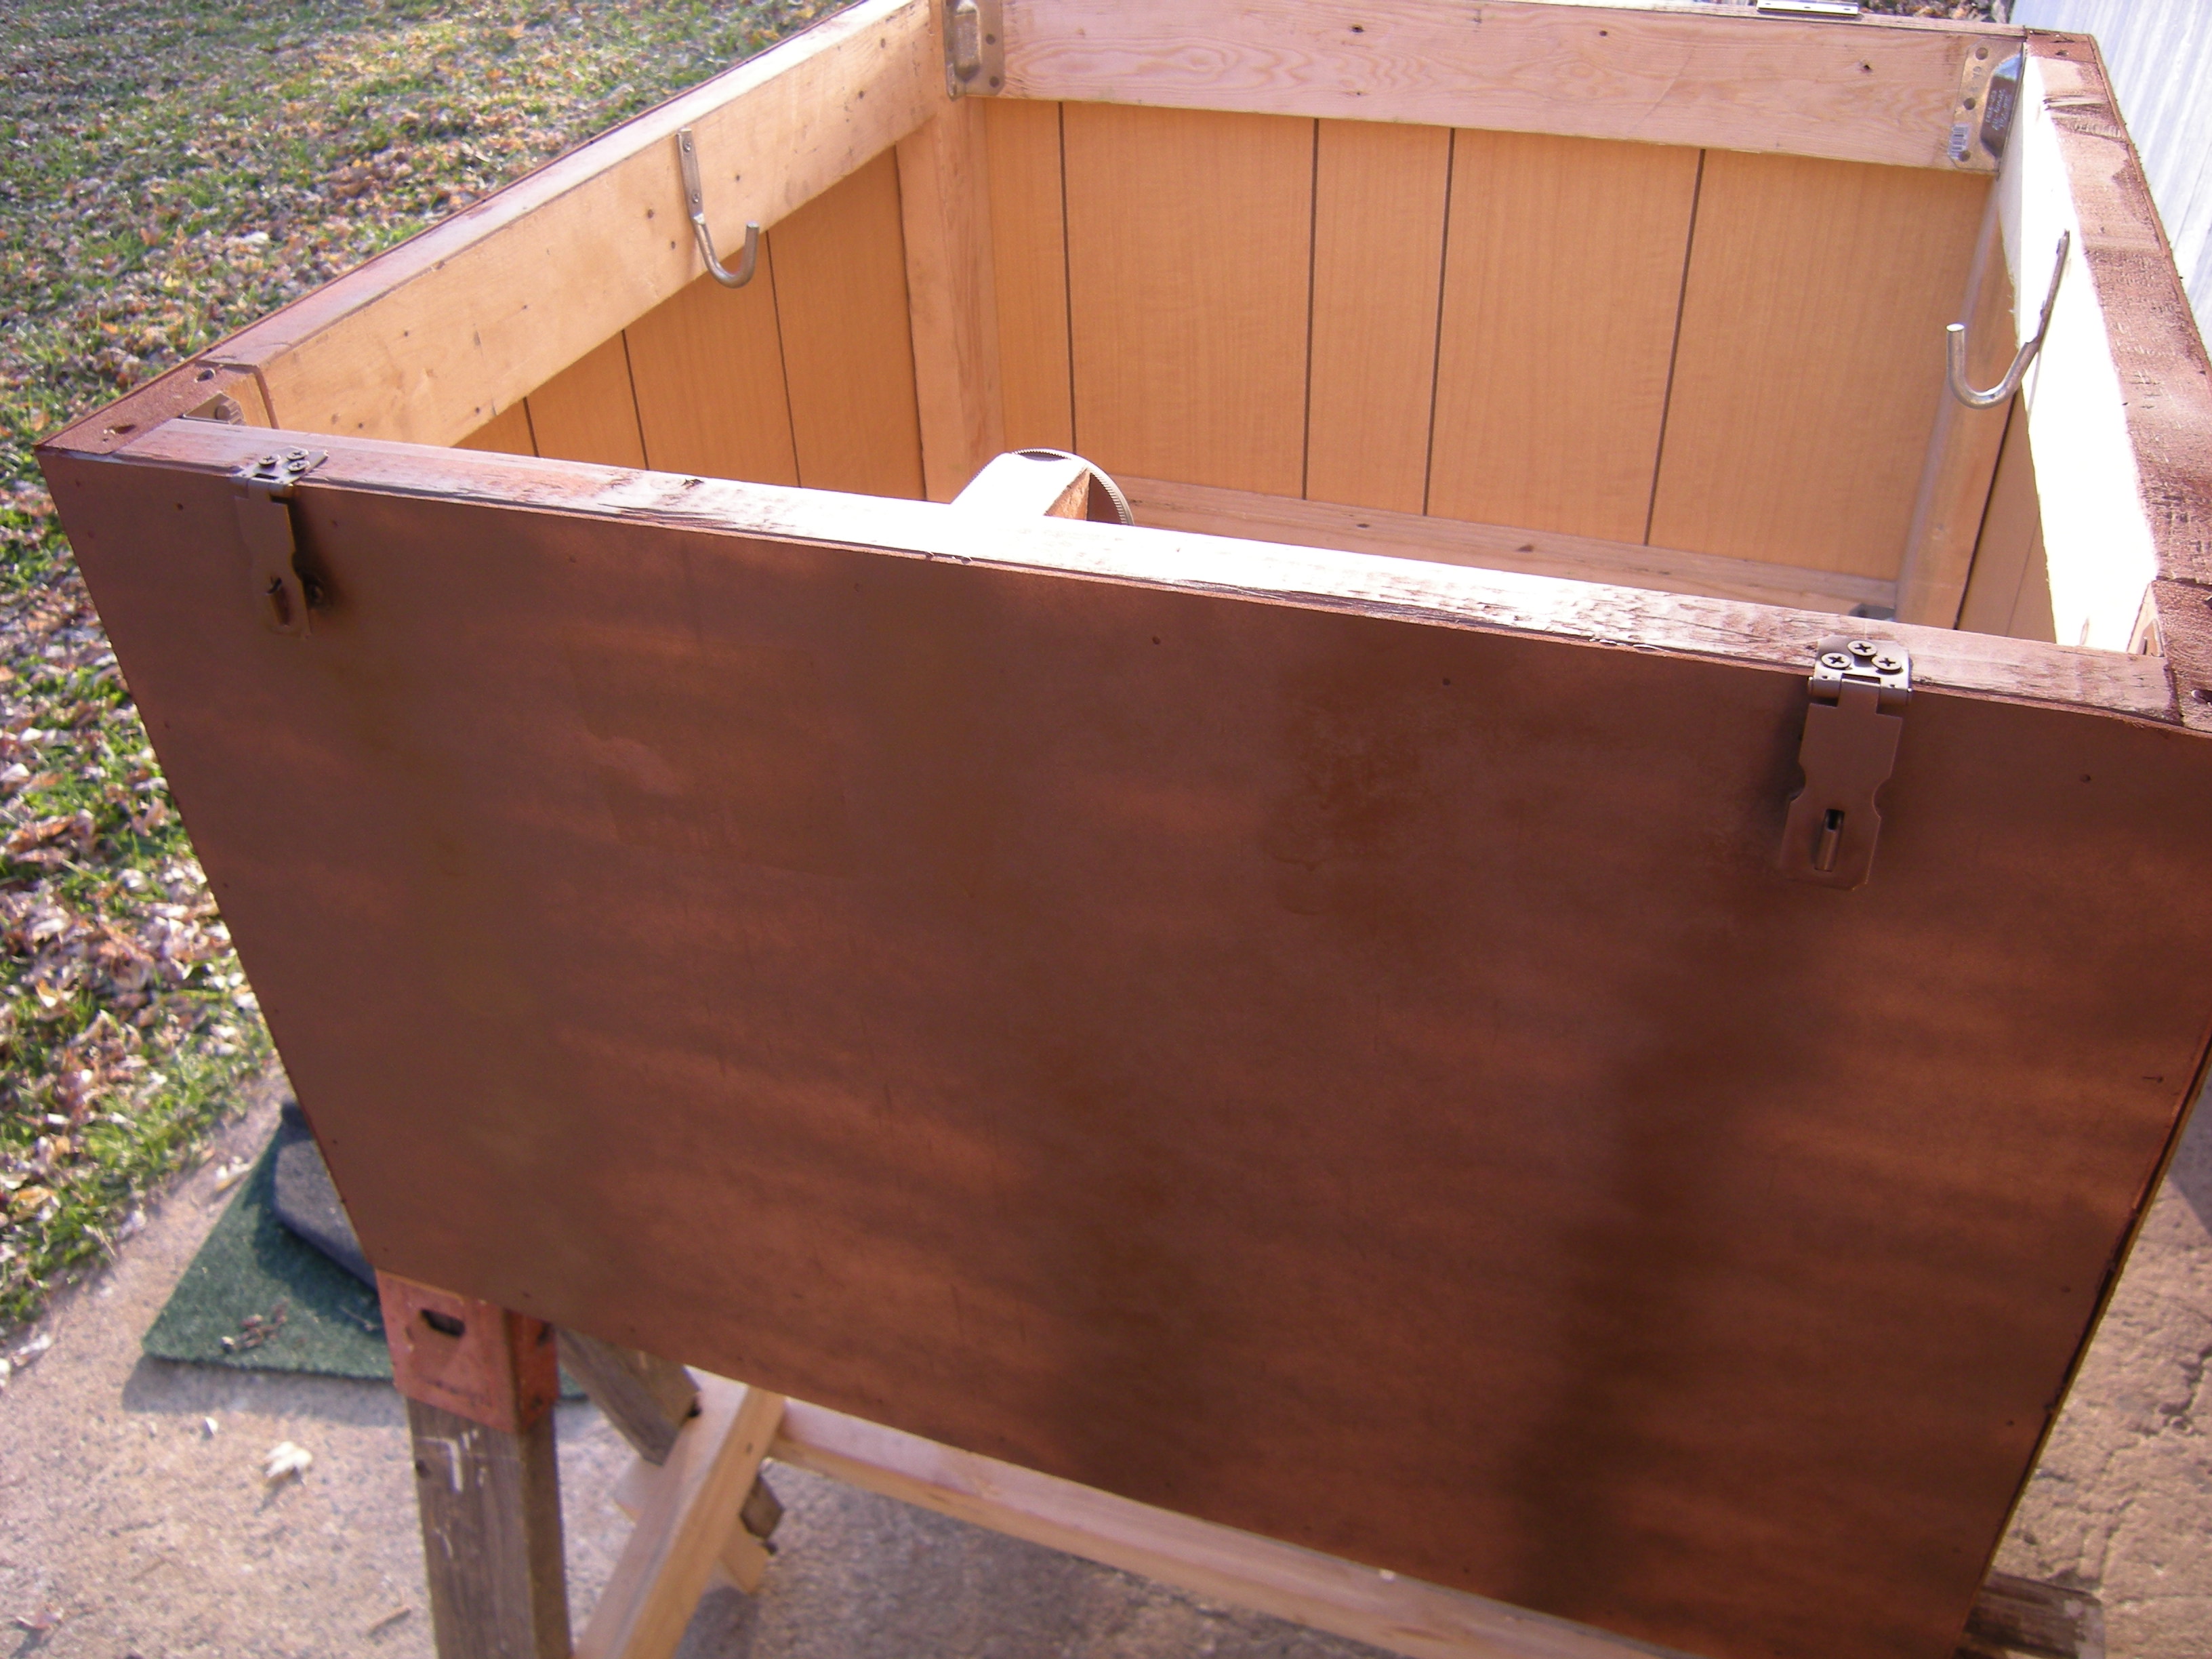
Based soley on preference, I applied the paneling reversed so that the groves and faux wood color would face inside the box.

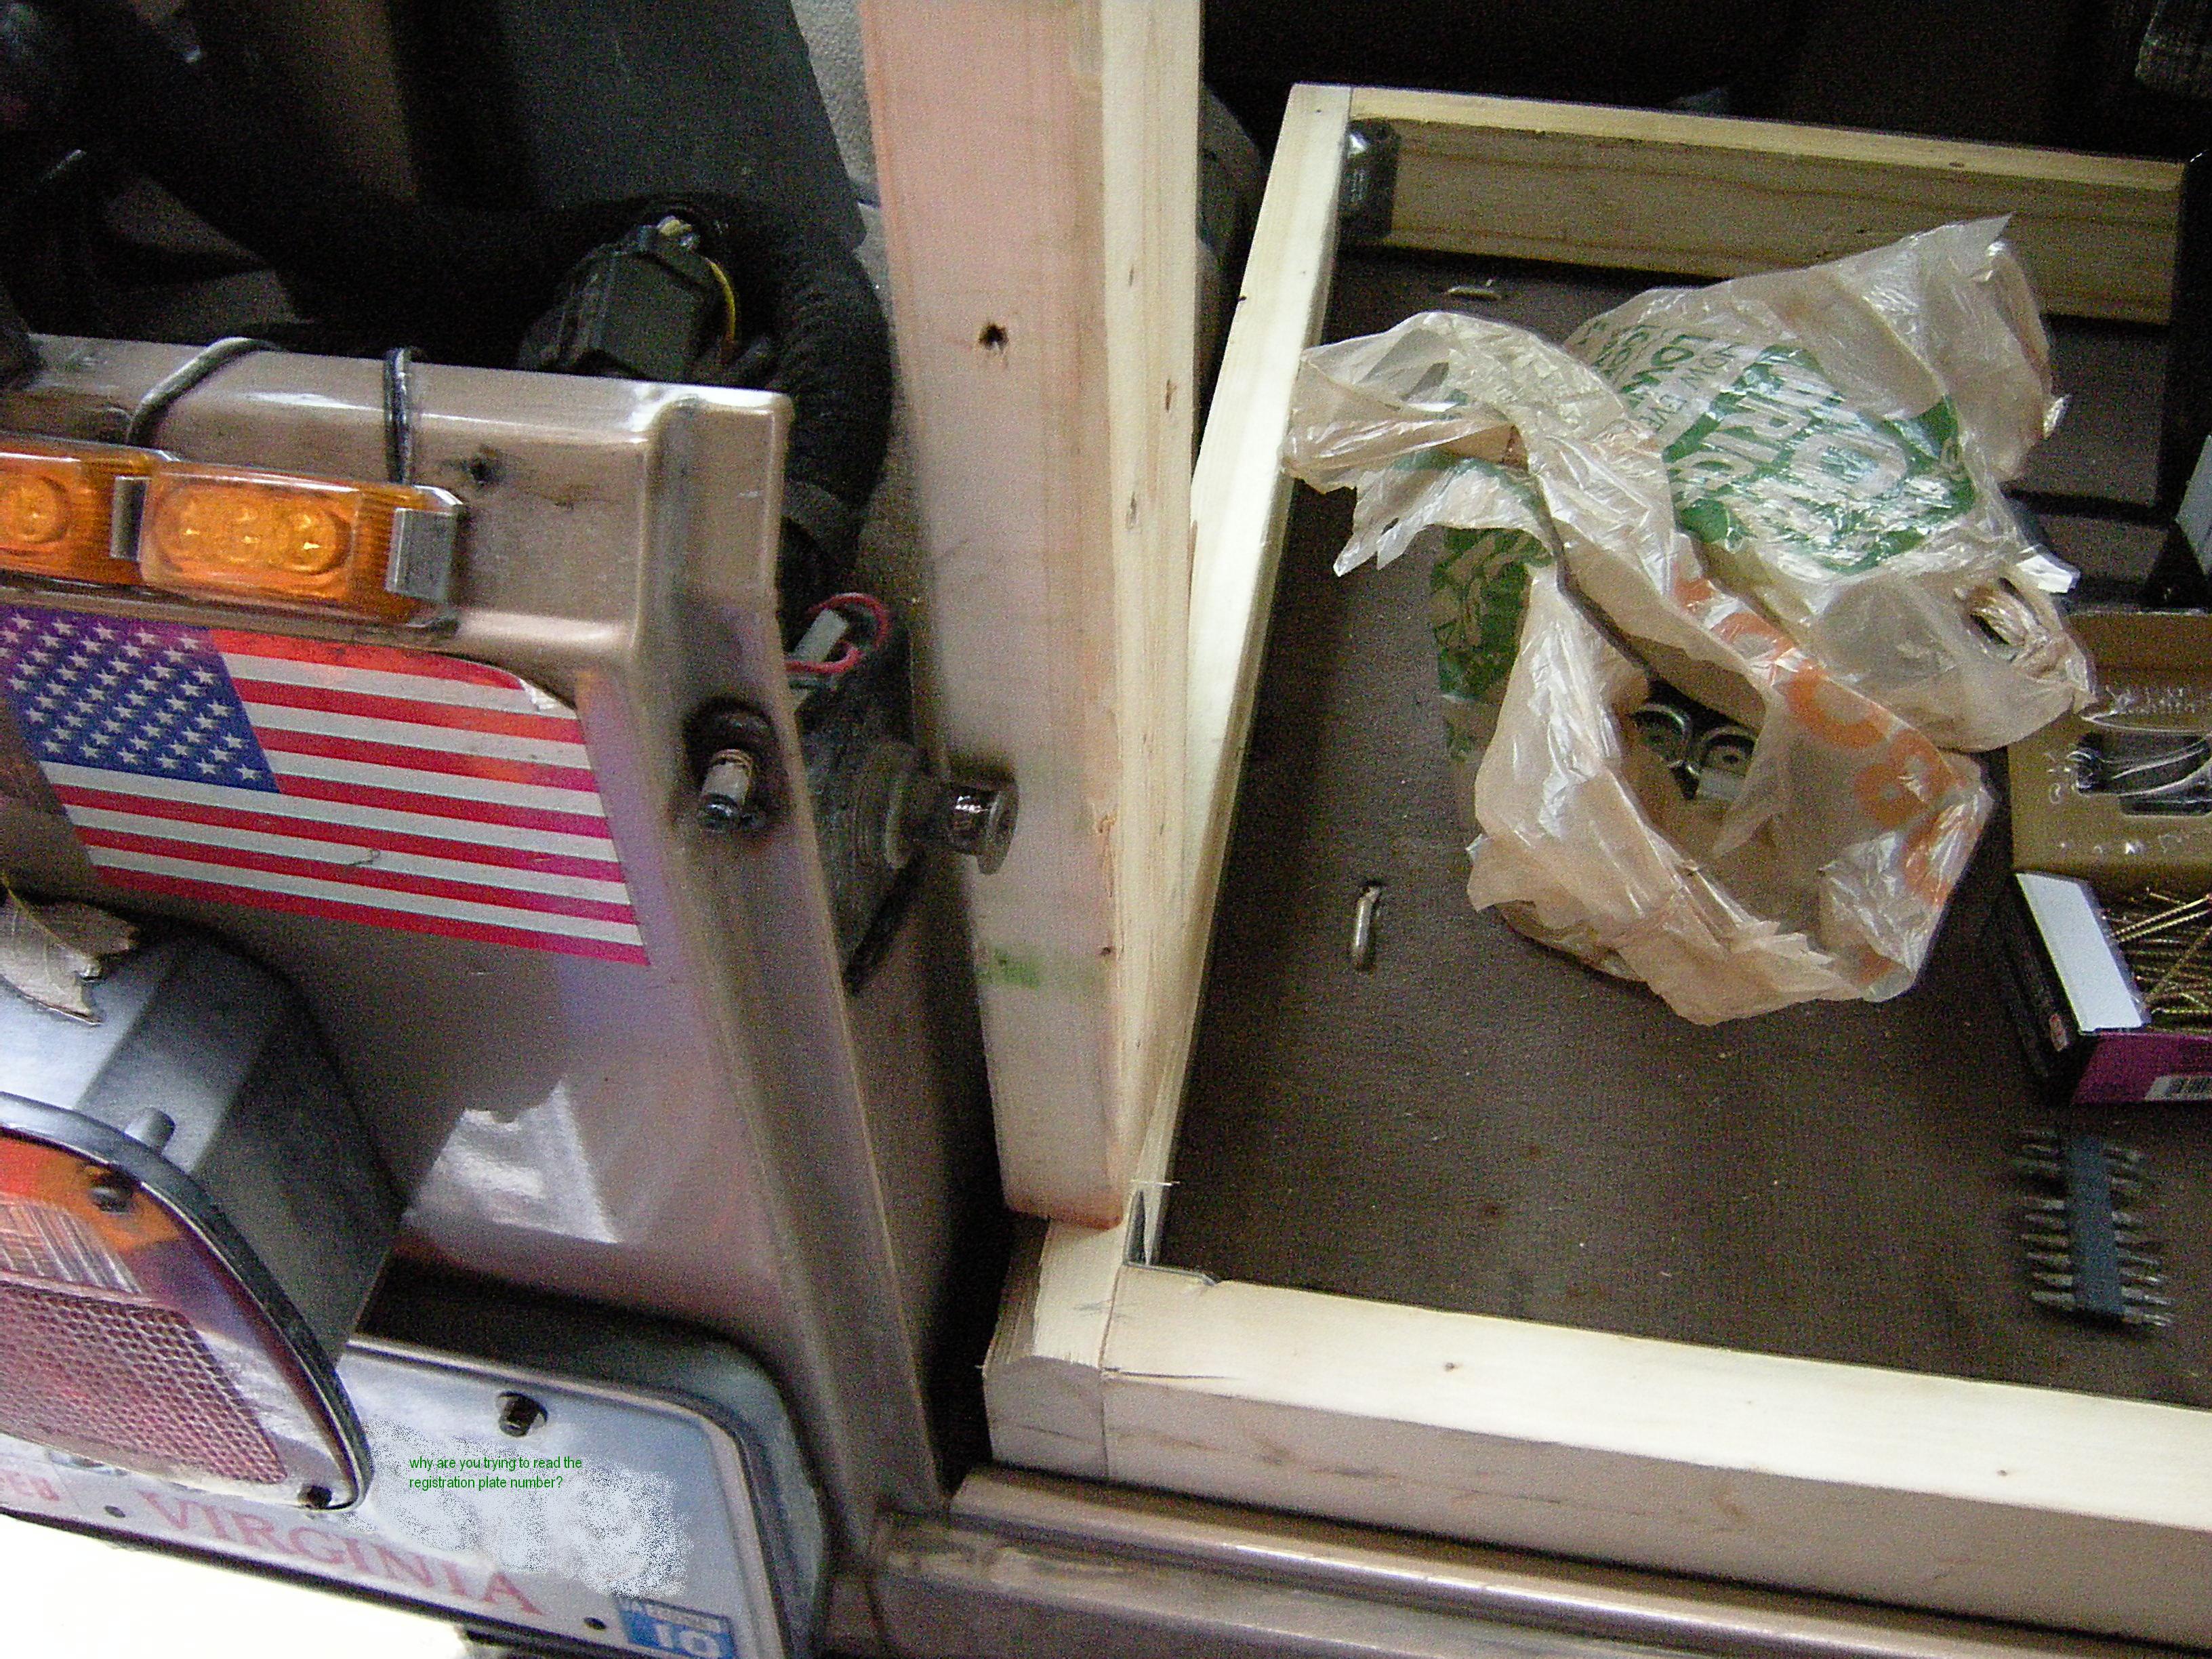
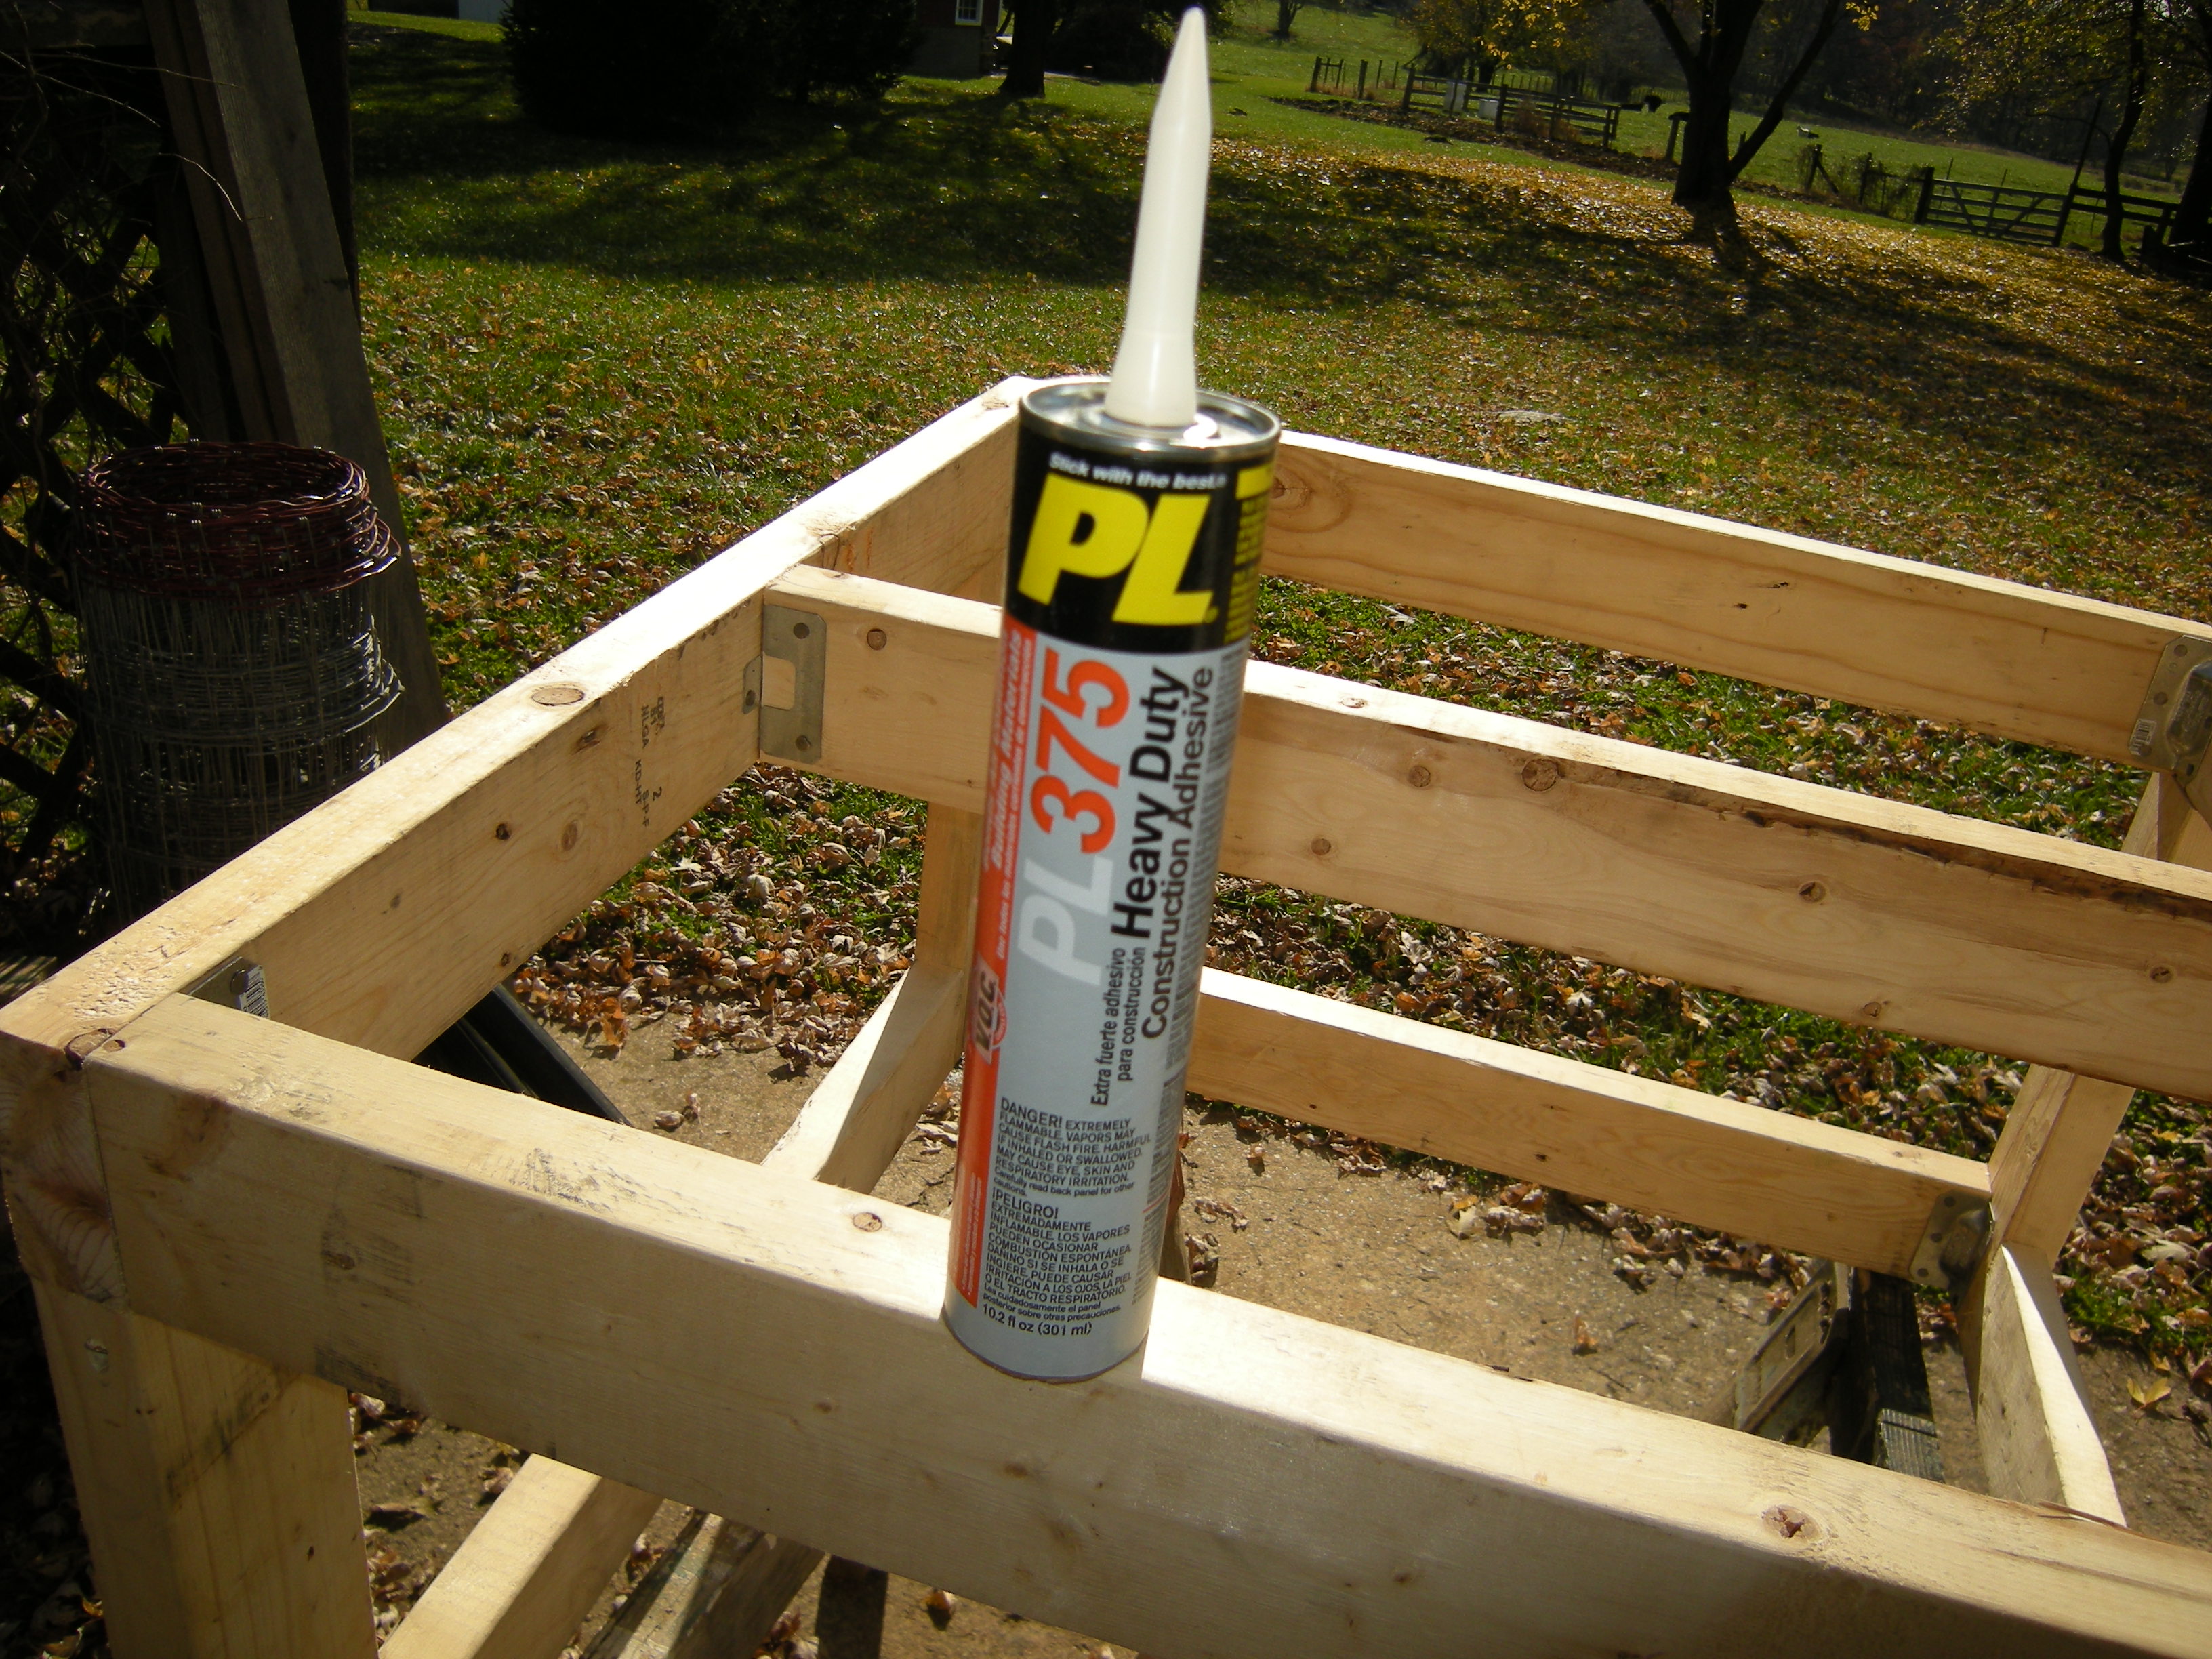
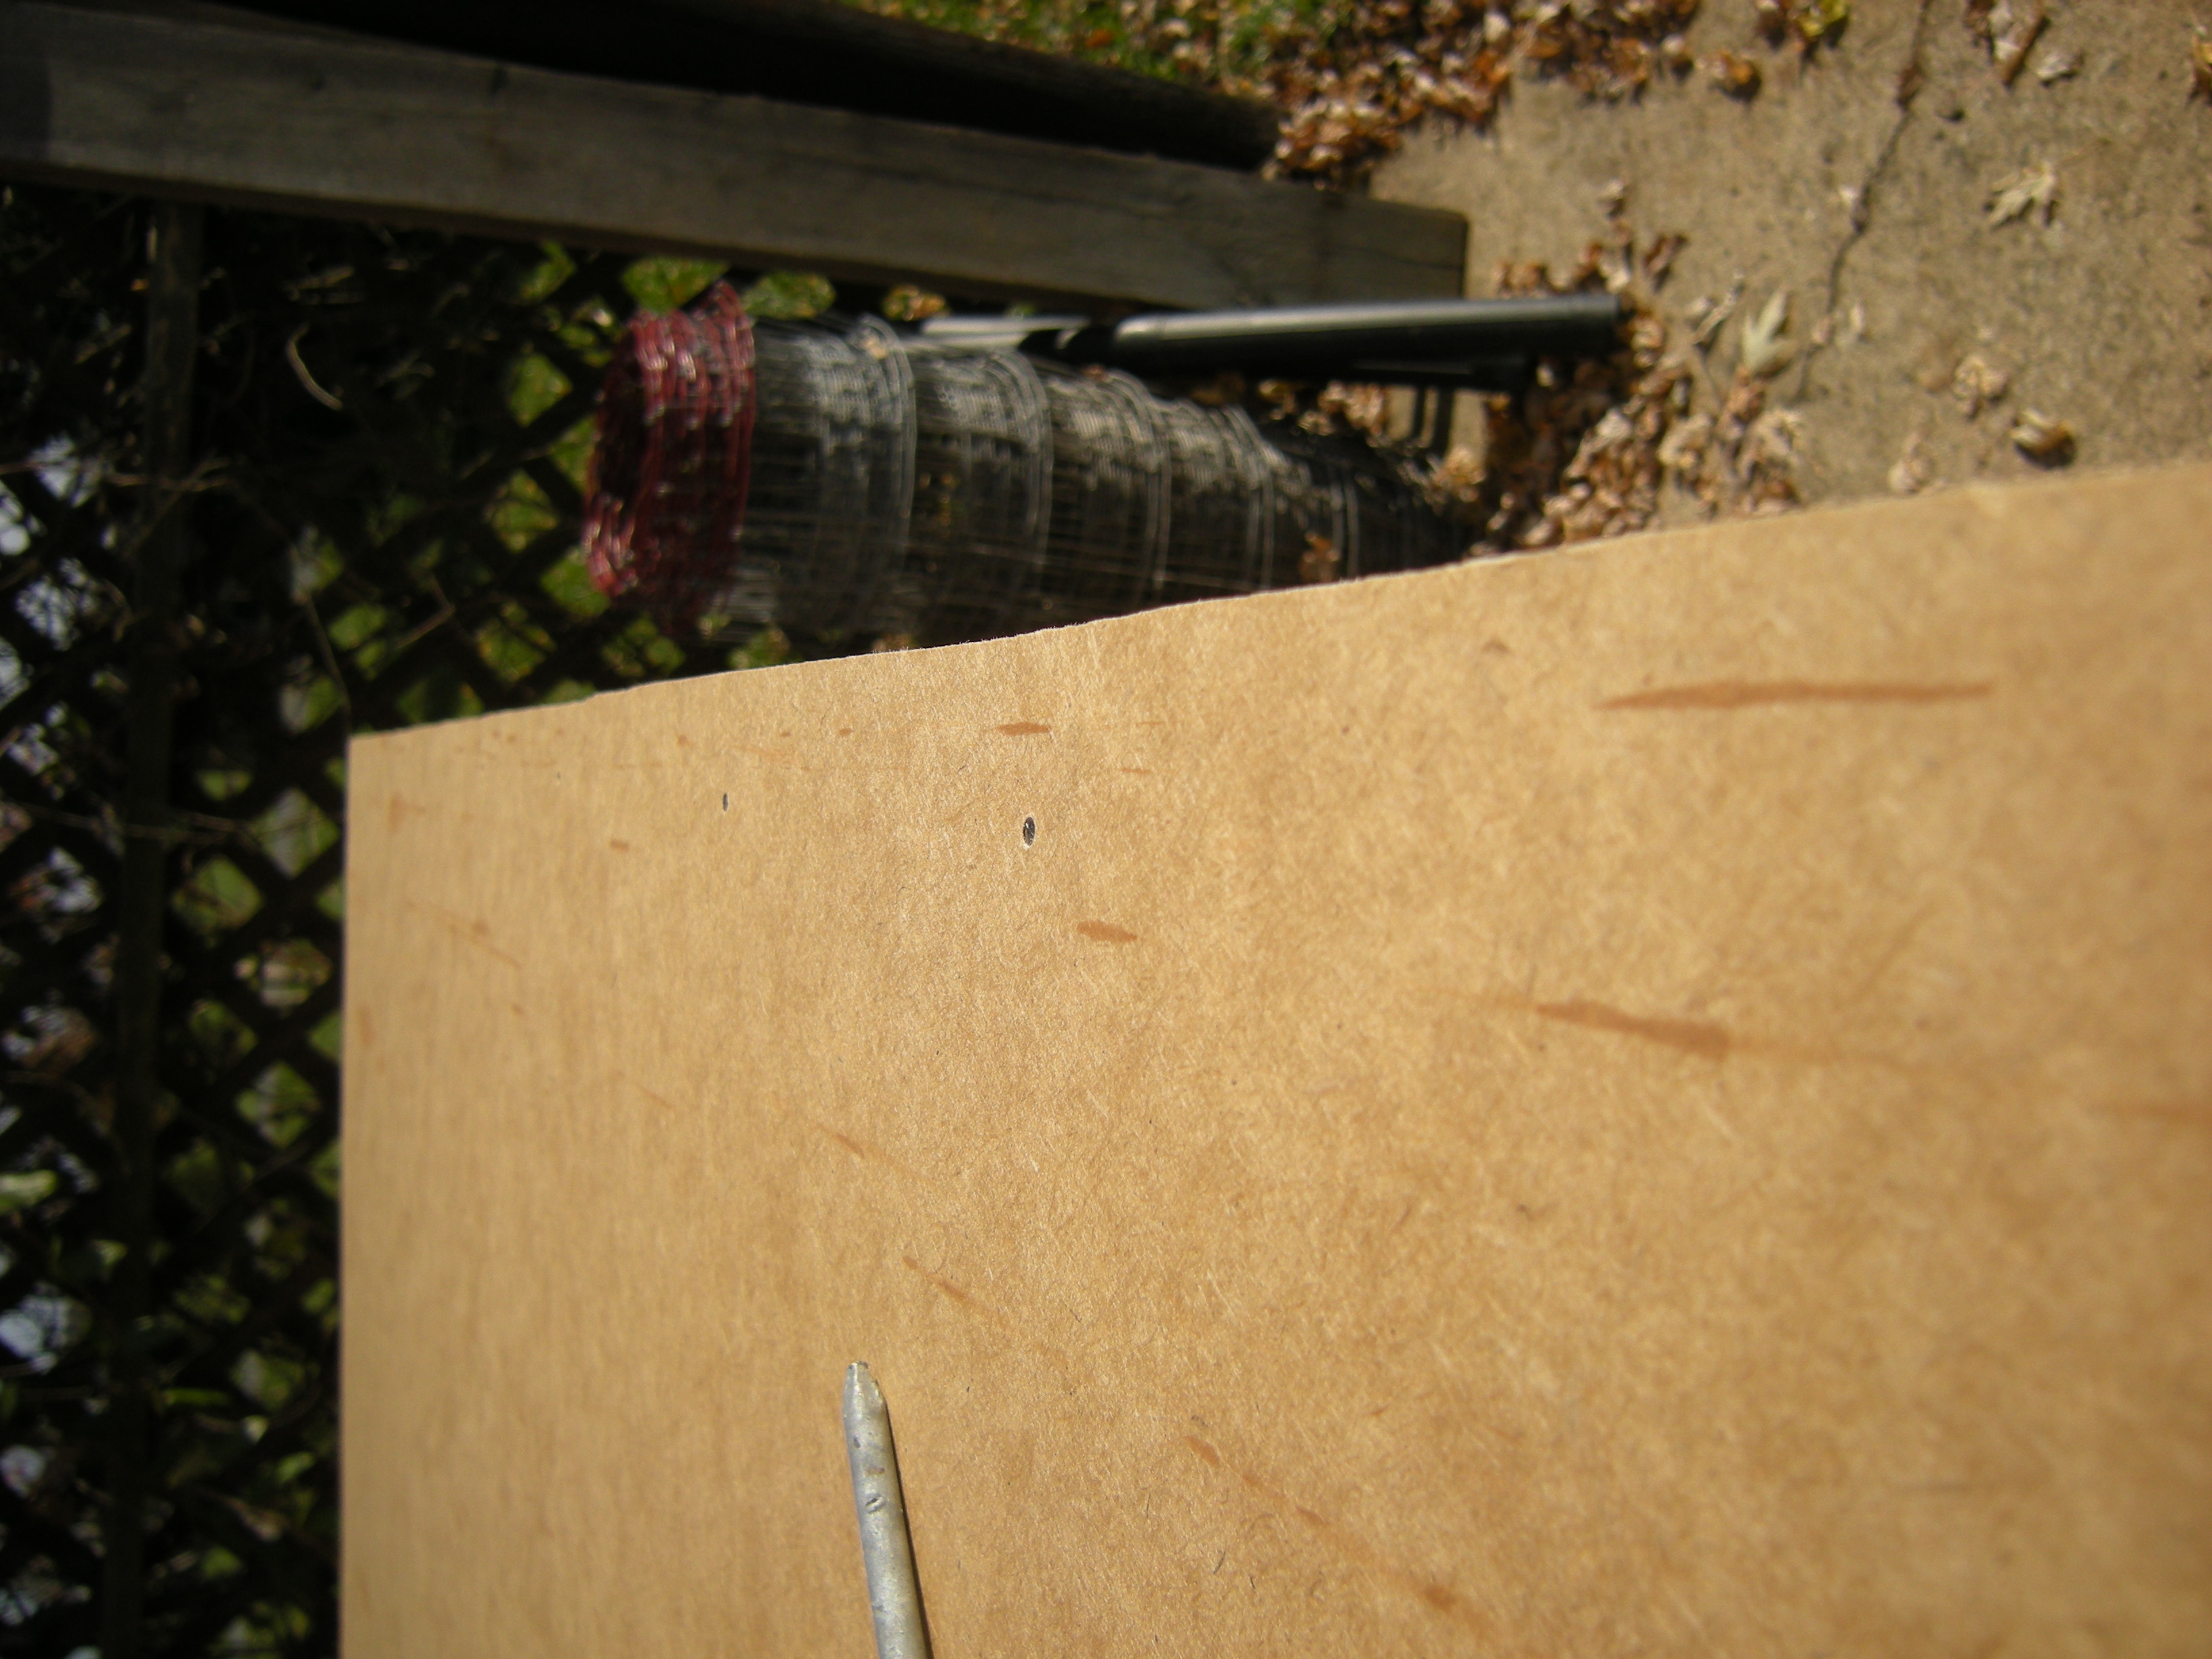
Not highly skilled in carpentry, each panel piece was cut custom to the side it would cover, as the frame was not square. Each one was glued in place with low-VOC PL375 Heavy Duty Construction Adhesive. The adhesive takes several hours to fully cure. Additionally, each side was permanently tacked into place with small finishing brads. I used an available large galvanized nail to punch each brad below flush of the surface. You can barely see this in the pictures below.

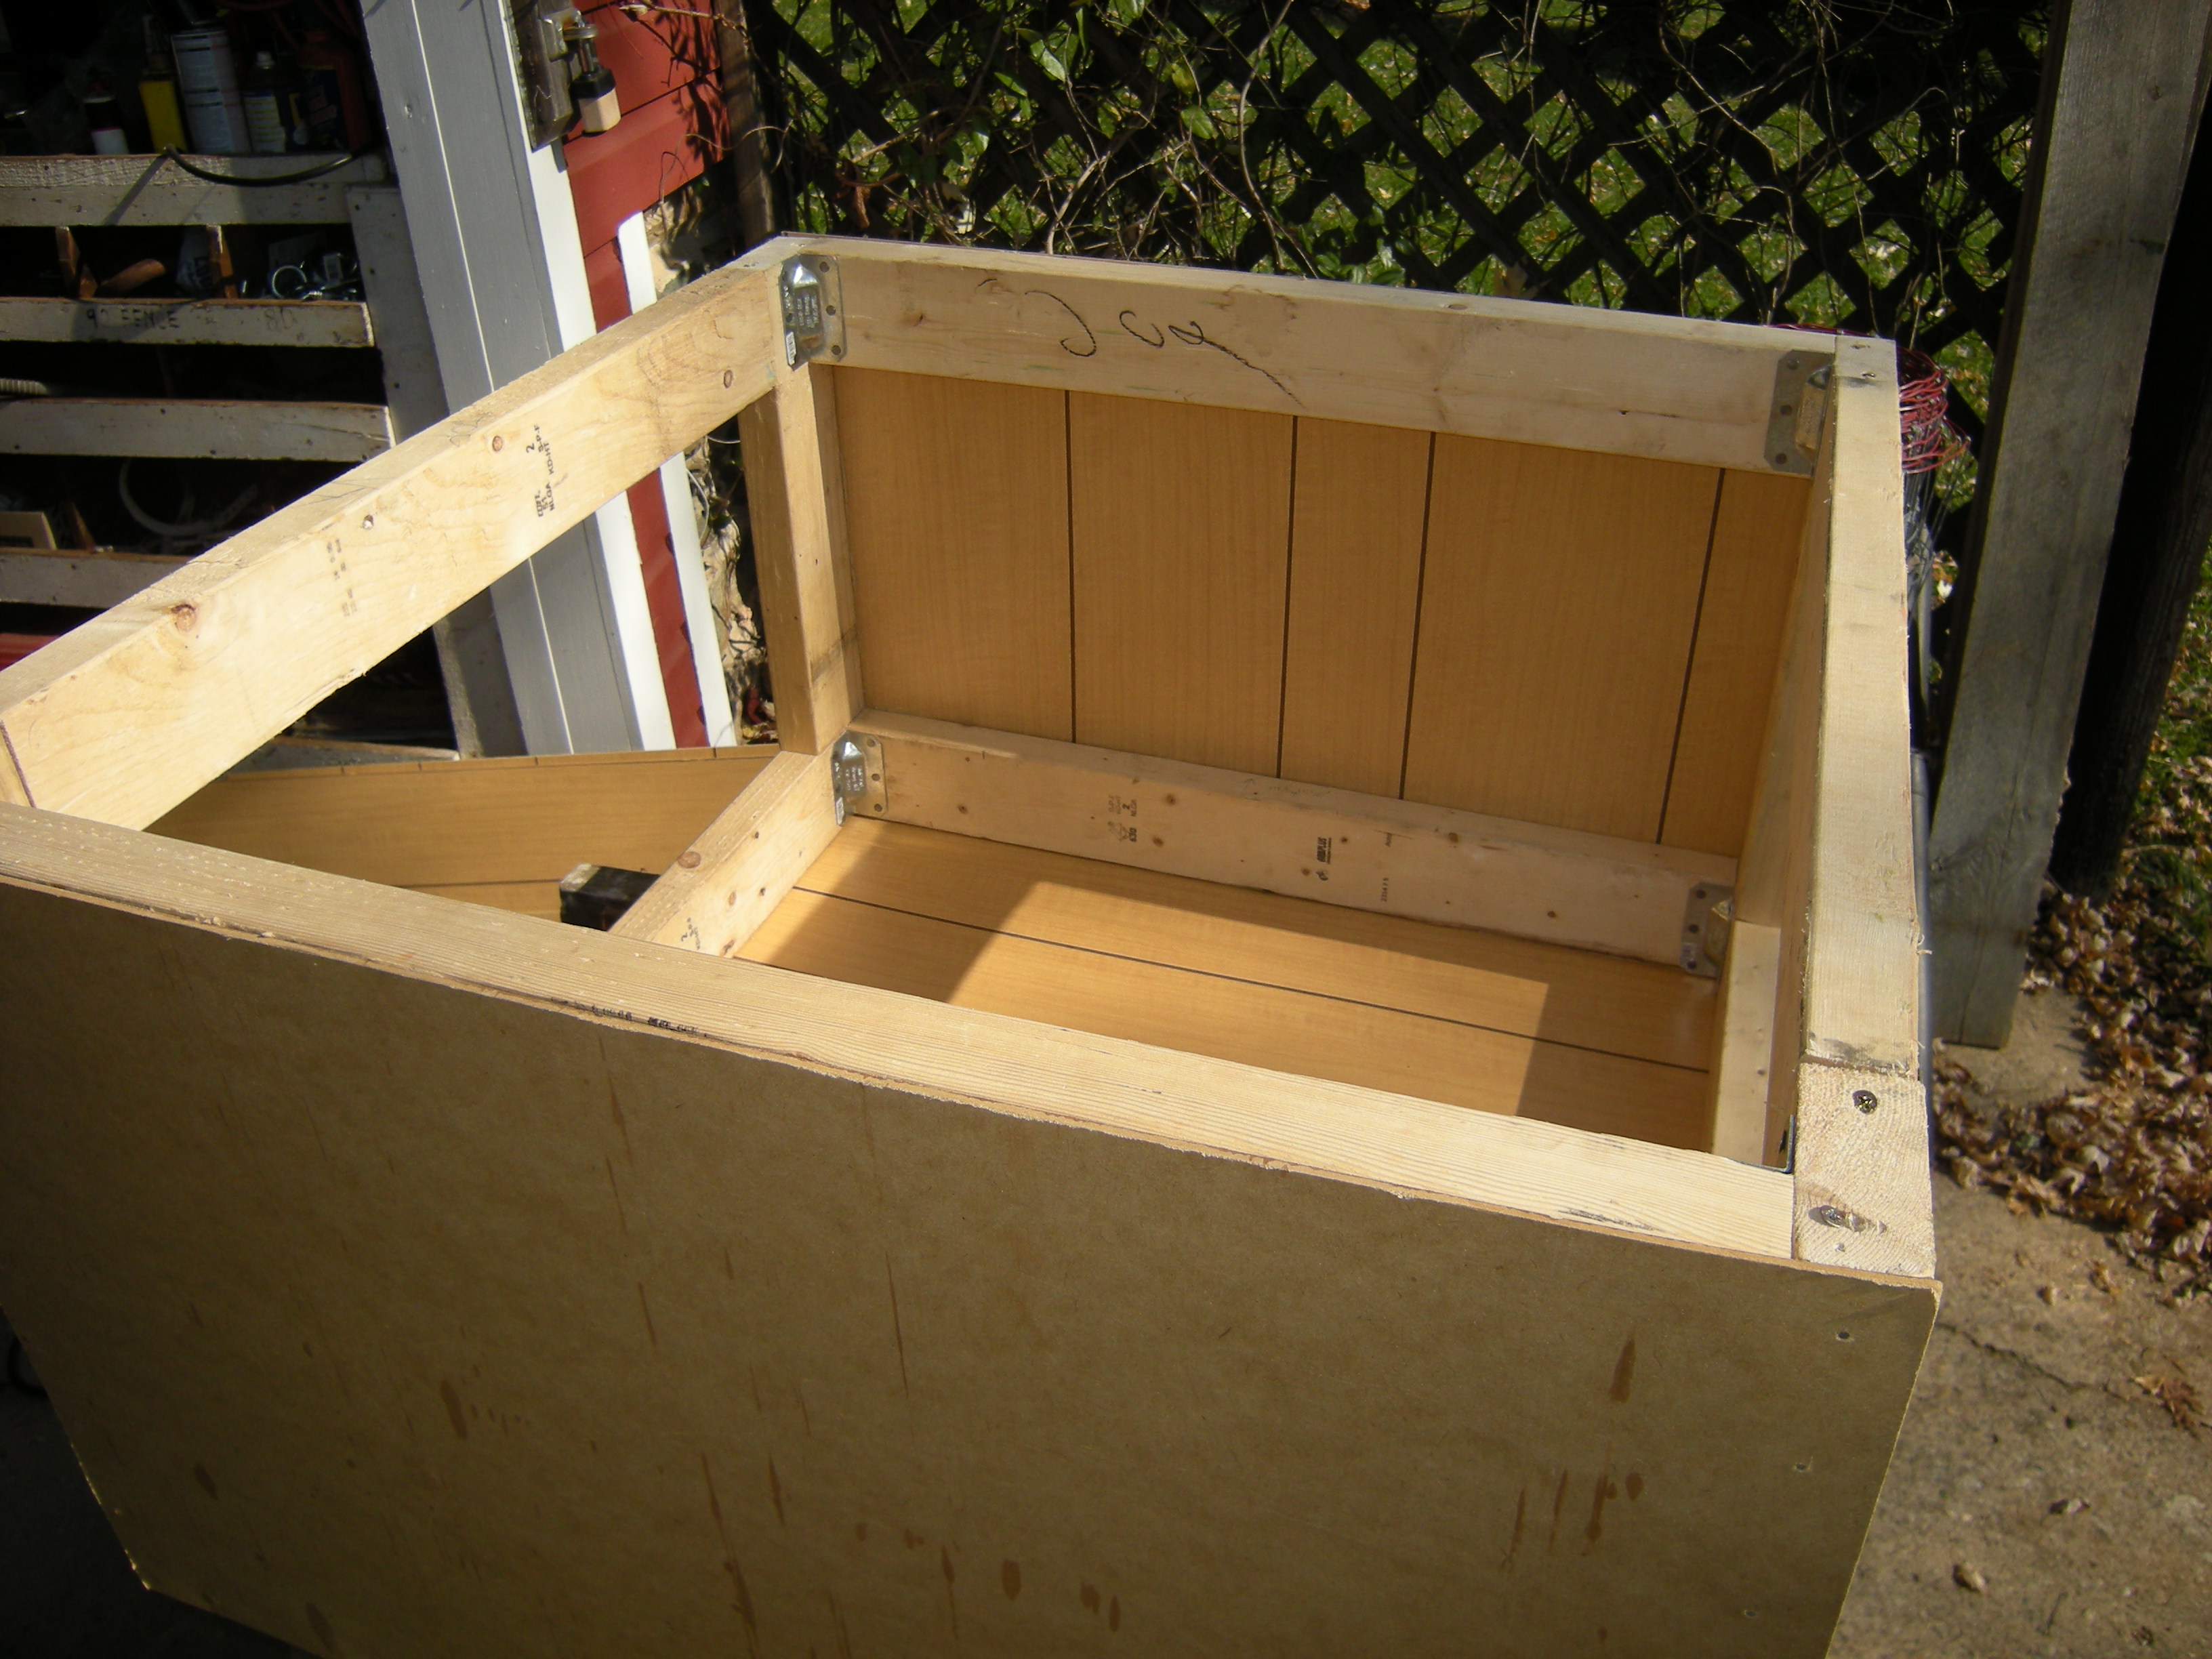
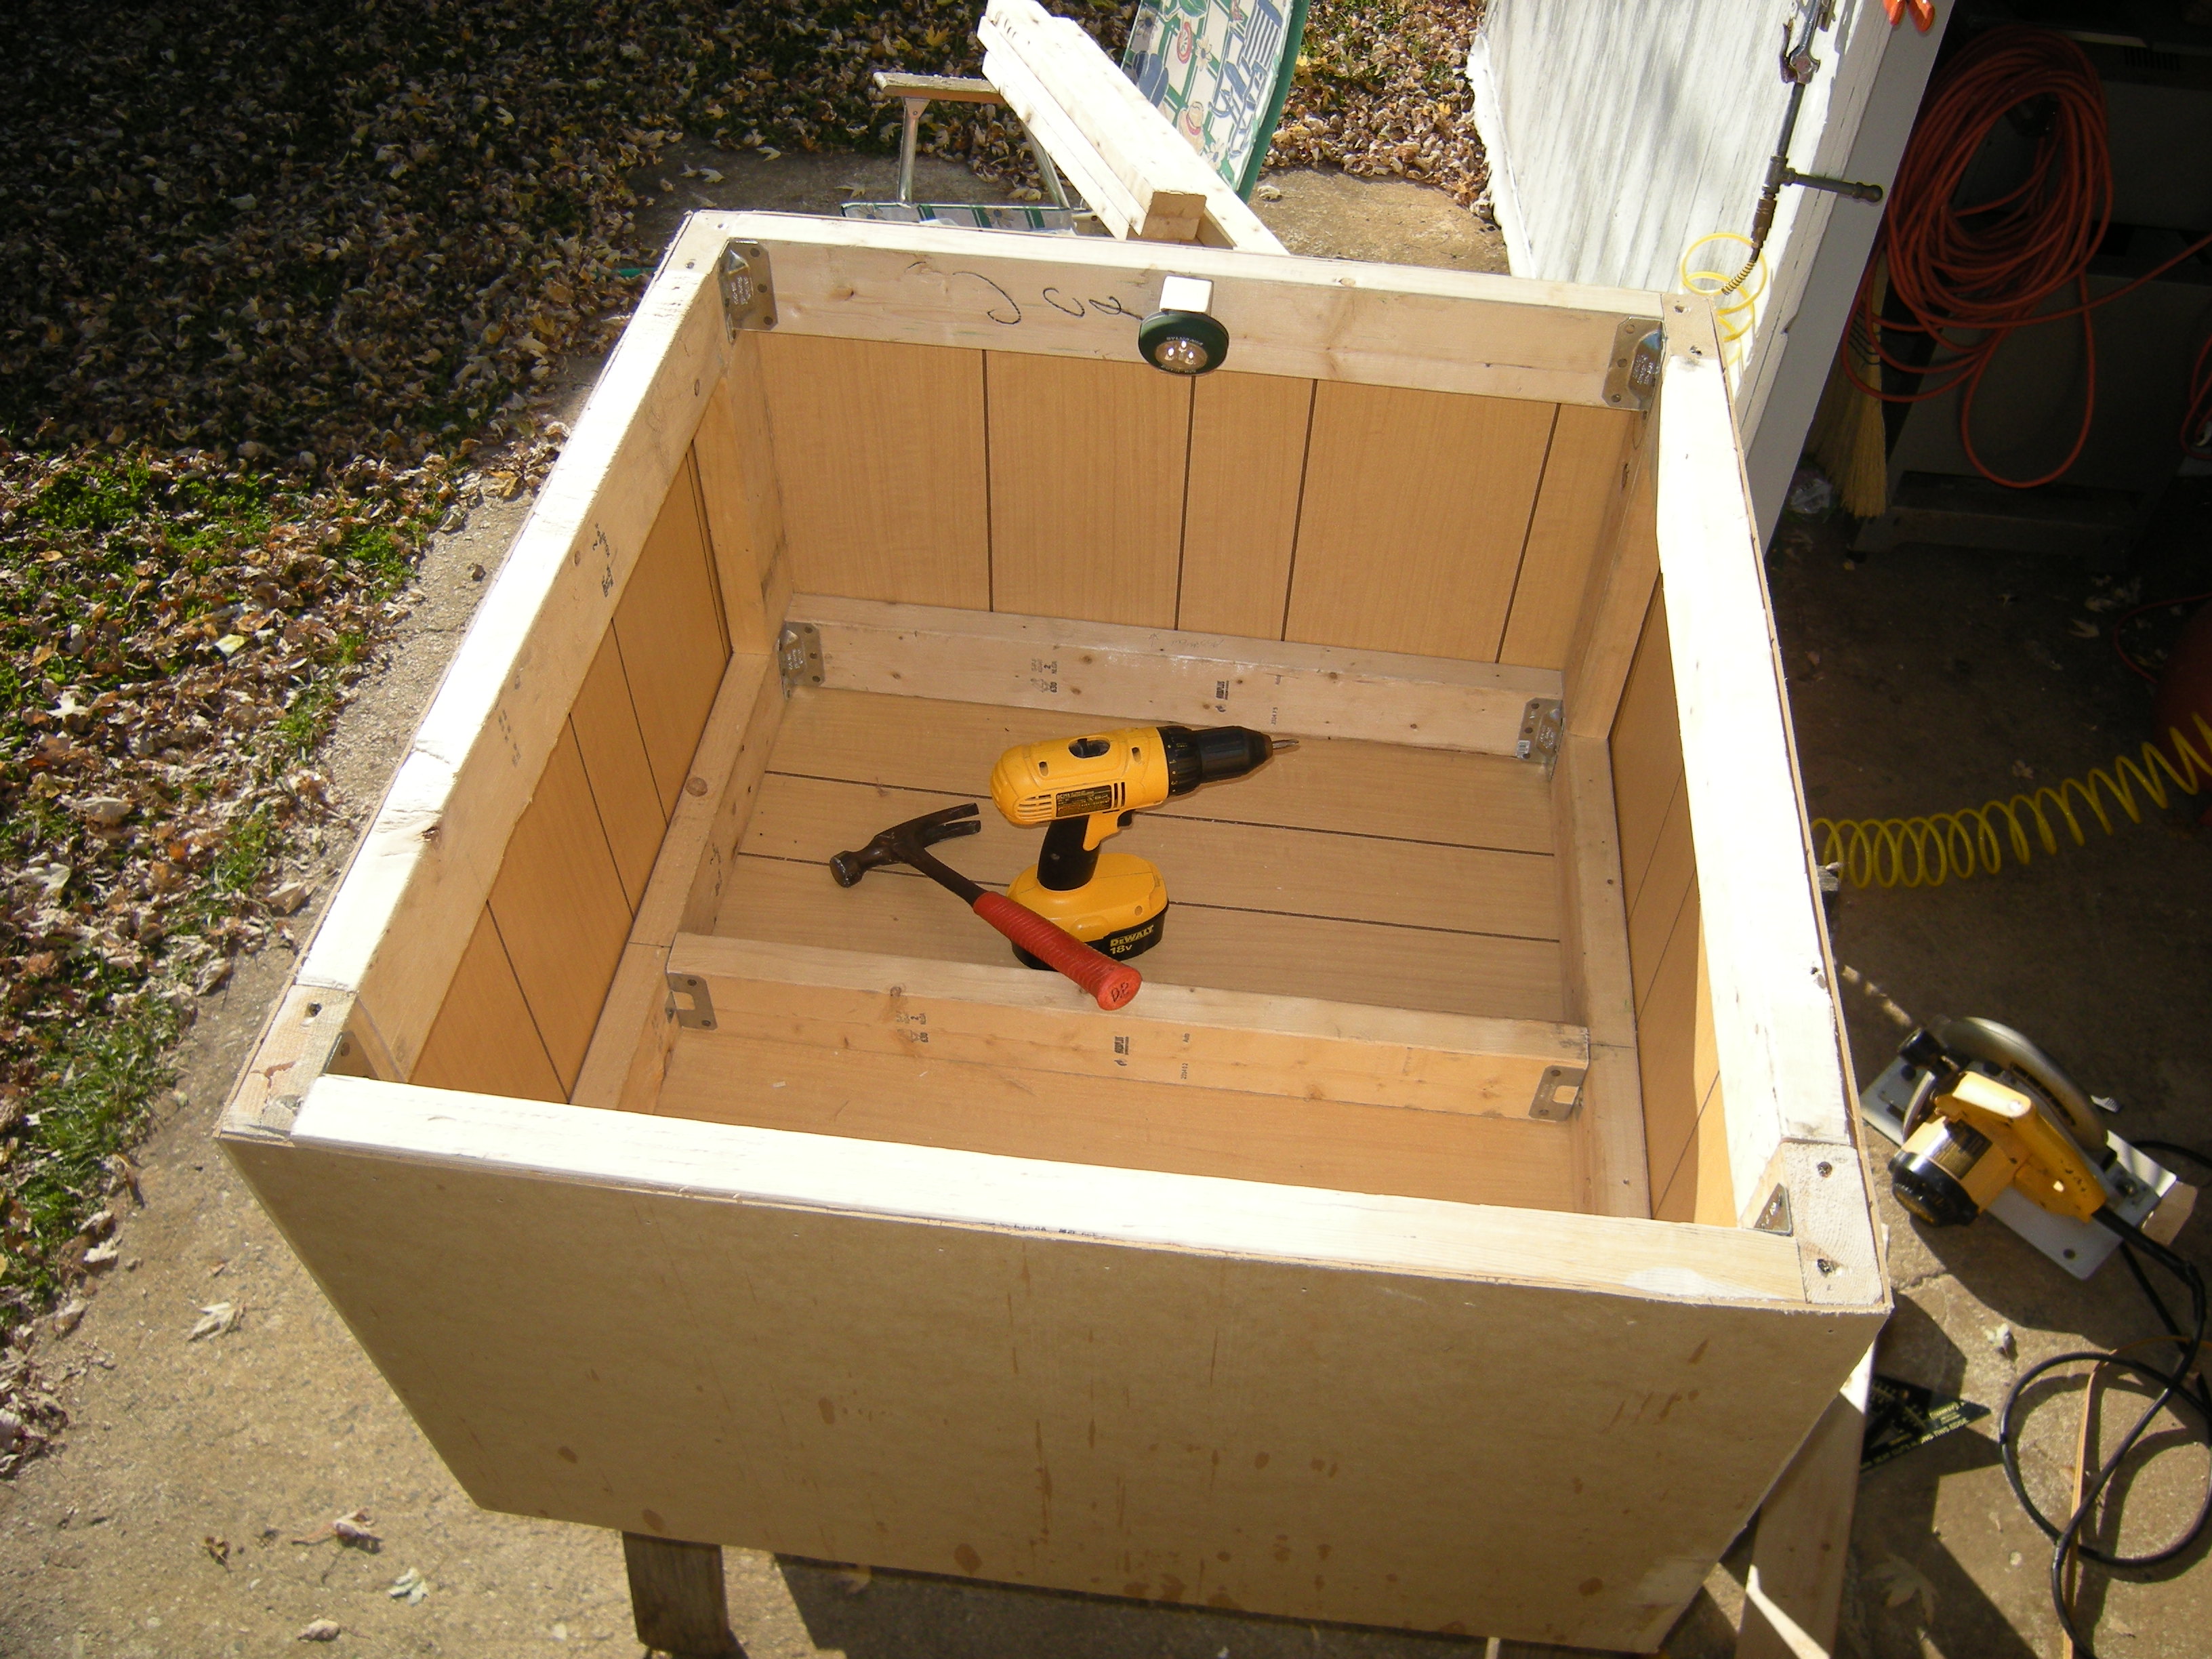
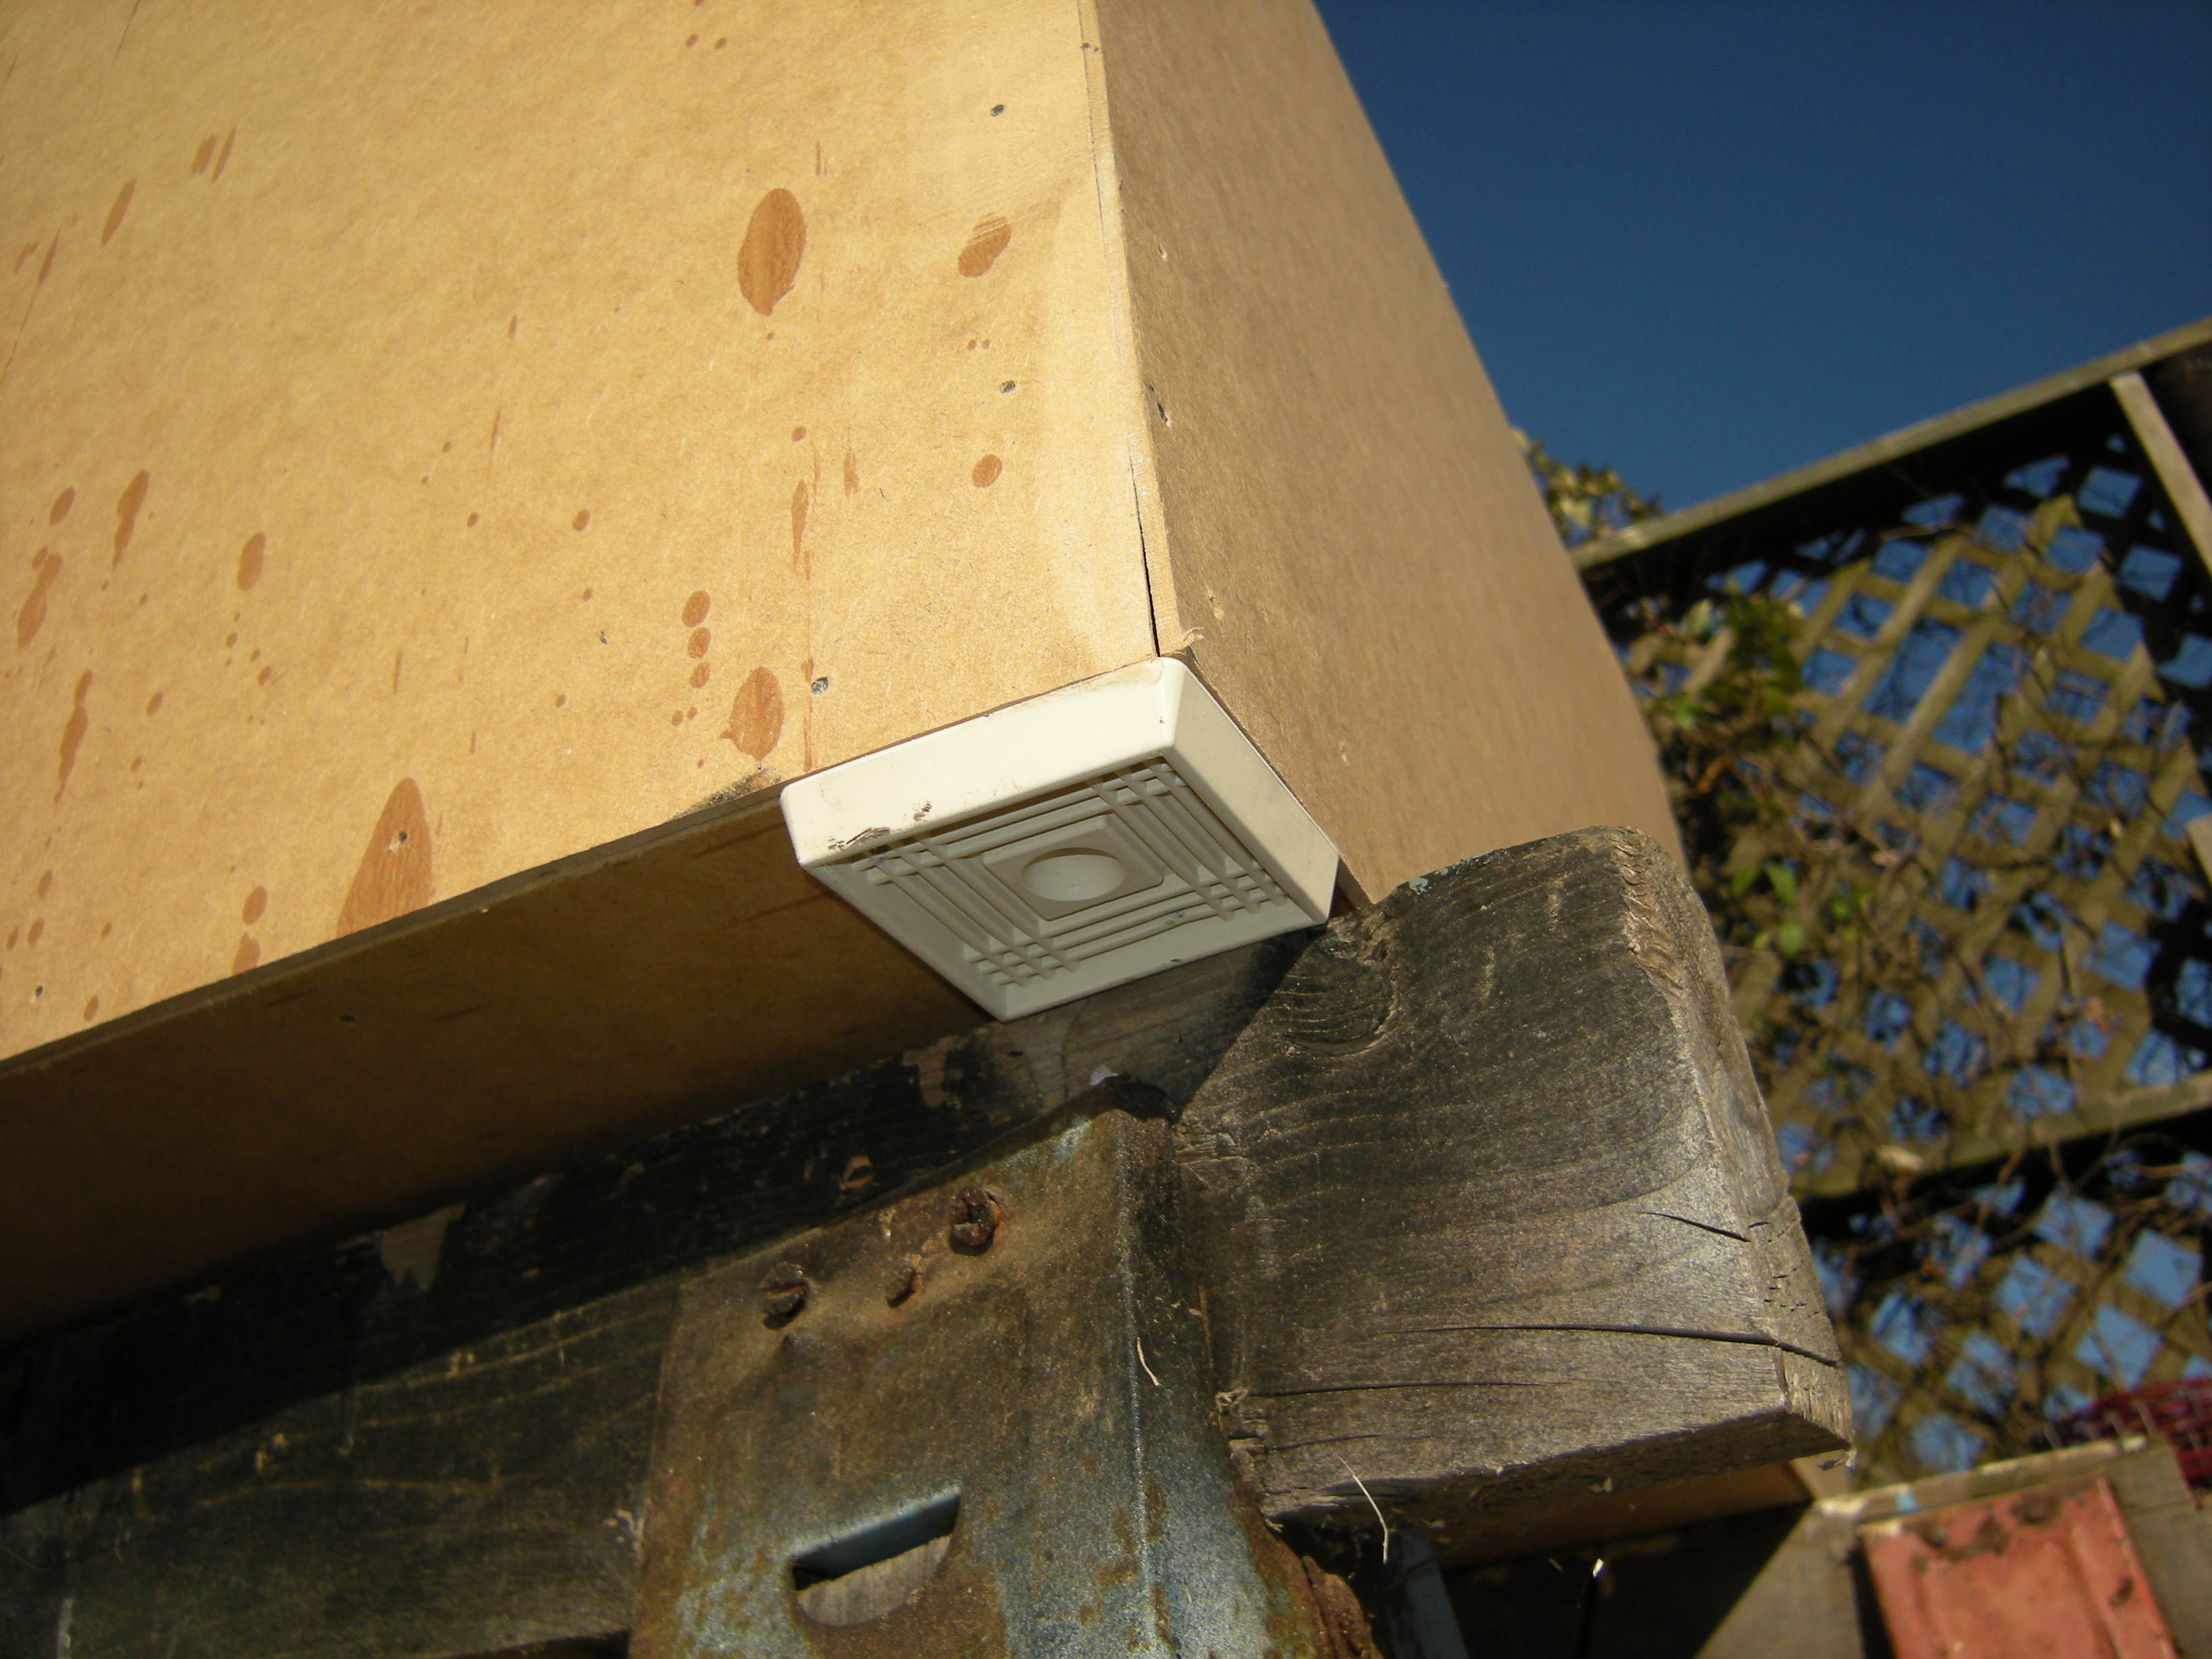
In accordance with the considerations for construction specifications I had developed, a light was to be incorporated to help see at night. Initially, it was thought to wire in an aftermarket cargo lamp with an un-pluggable connection. However, it came to mind that an already owned, water resistant battery operated Sylvania LED tap-light could be used as the ideal solution. The back plate of the light was removed and brad-nailed to a small block of 2”x4” cut with a reverse-inclined angle. This positioned the light puck to shine into the middle of the box at mid depth where gear would most likely be grabbed from. A bonus idea while purchasing hardware at Home Depot spurred the addition of rubber “feet” to bottom corners of the box. Foam-rubber matting (stuff that holds rugs in place on the floor) was adhered in place on the bottom inside of the box to help reduce gear from sliding around and spilling any automotive fluids that may be packed inside.

(Note last two pictures were taken later on in the build)
The rubber feet were nailed through the dimpled middle and corners into the frame joints; providing ¼” of air space underneath.
"J" hanger hooks were screwed into place inside the box to hang items such as jumper cables. To this point, the box is fairly lightweight enough to move once in awhile, but heavy enough to remain in place in the Jeep.
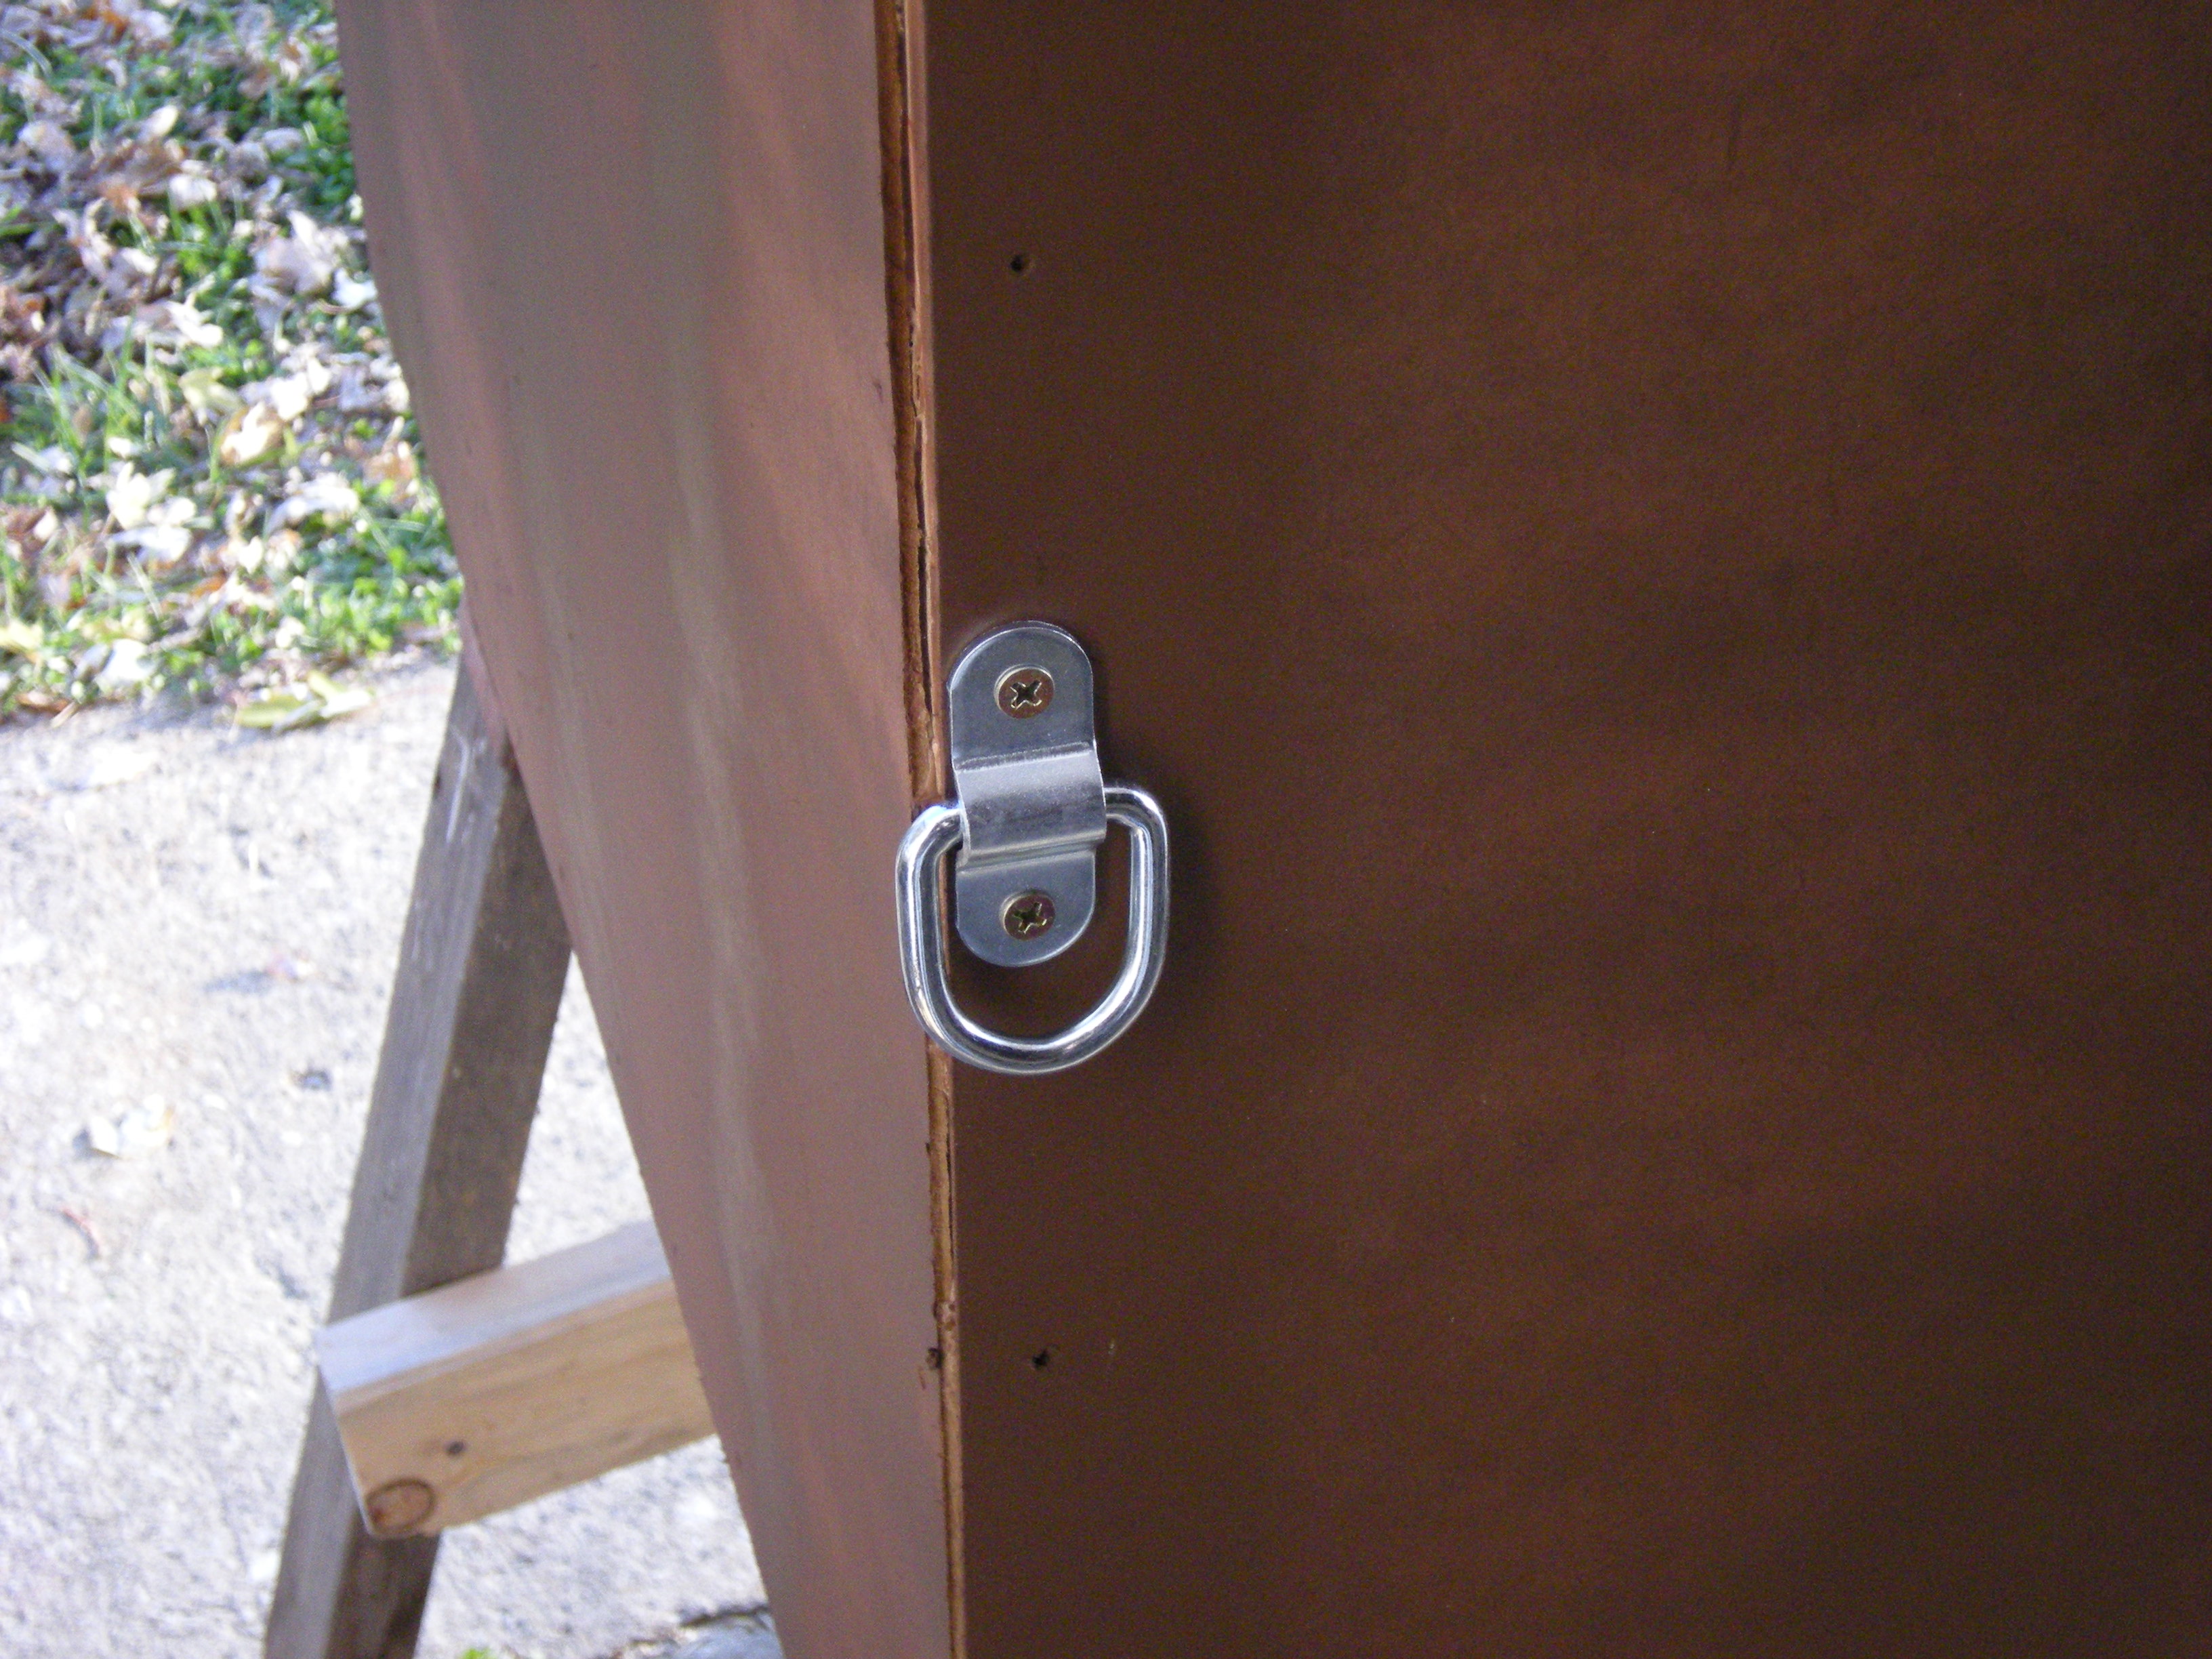
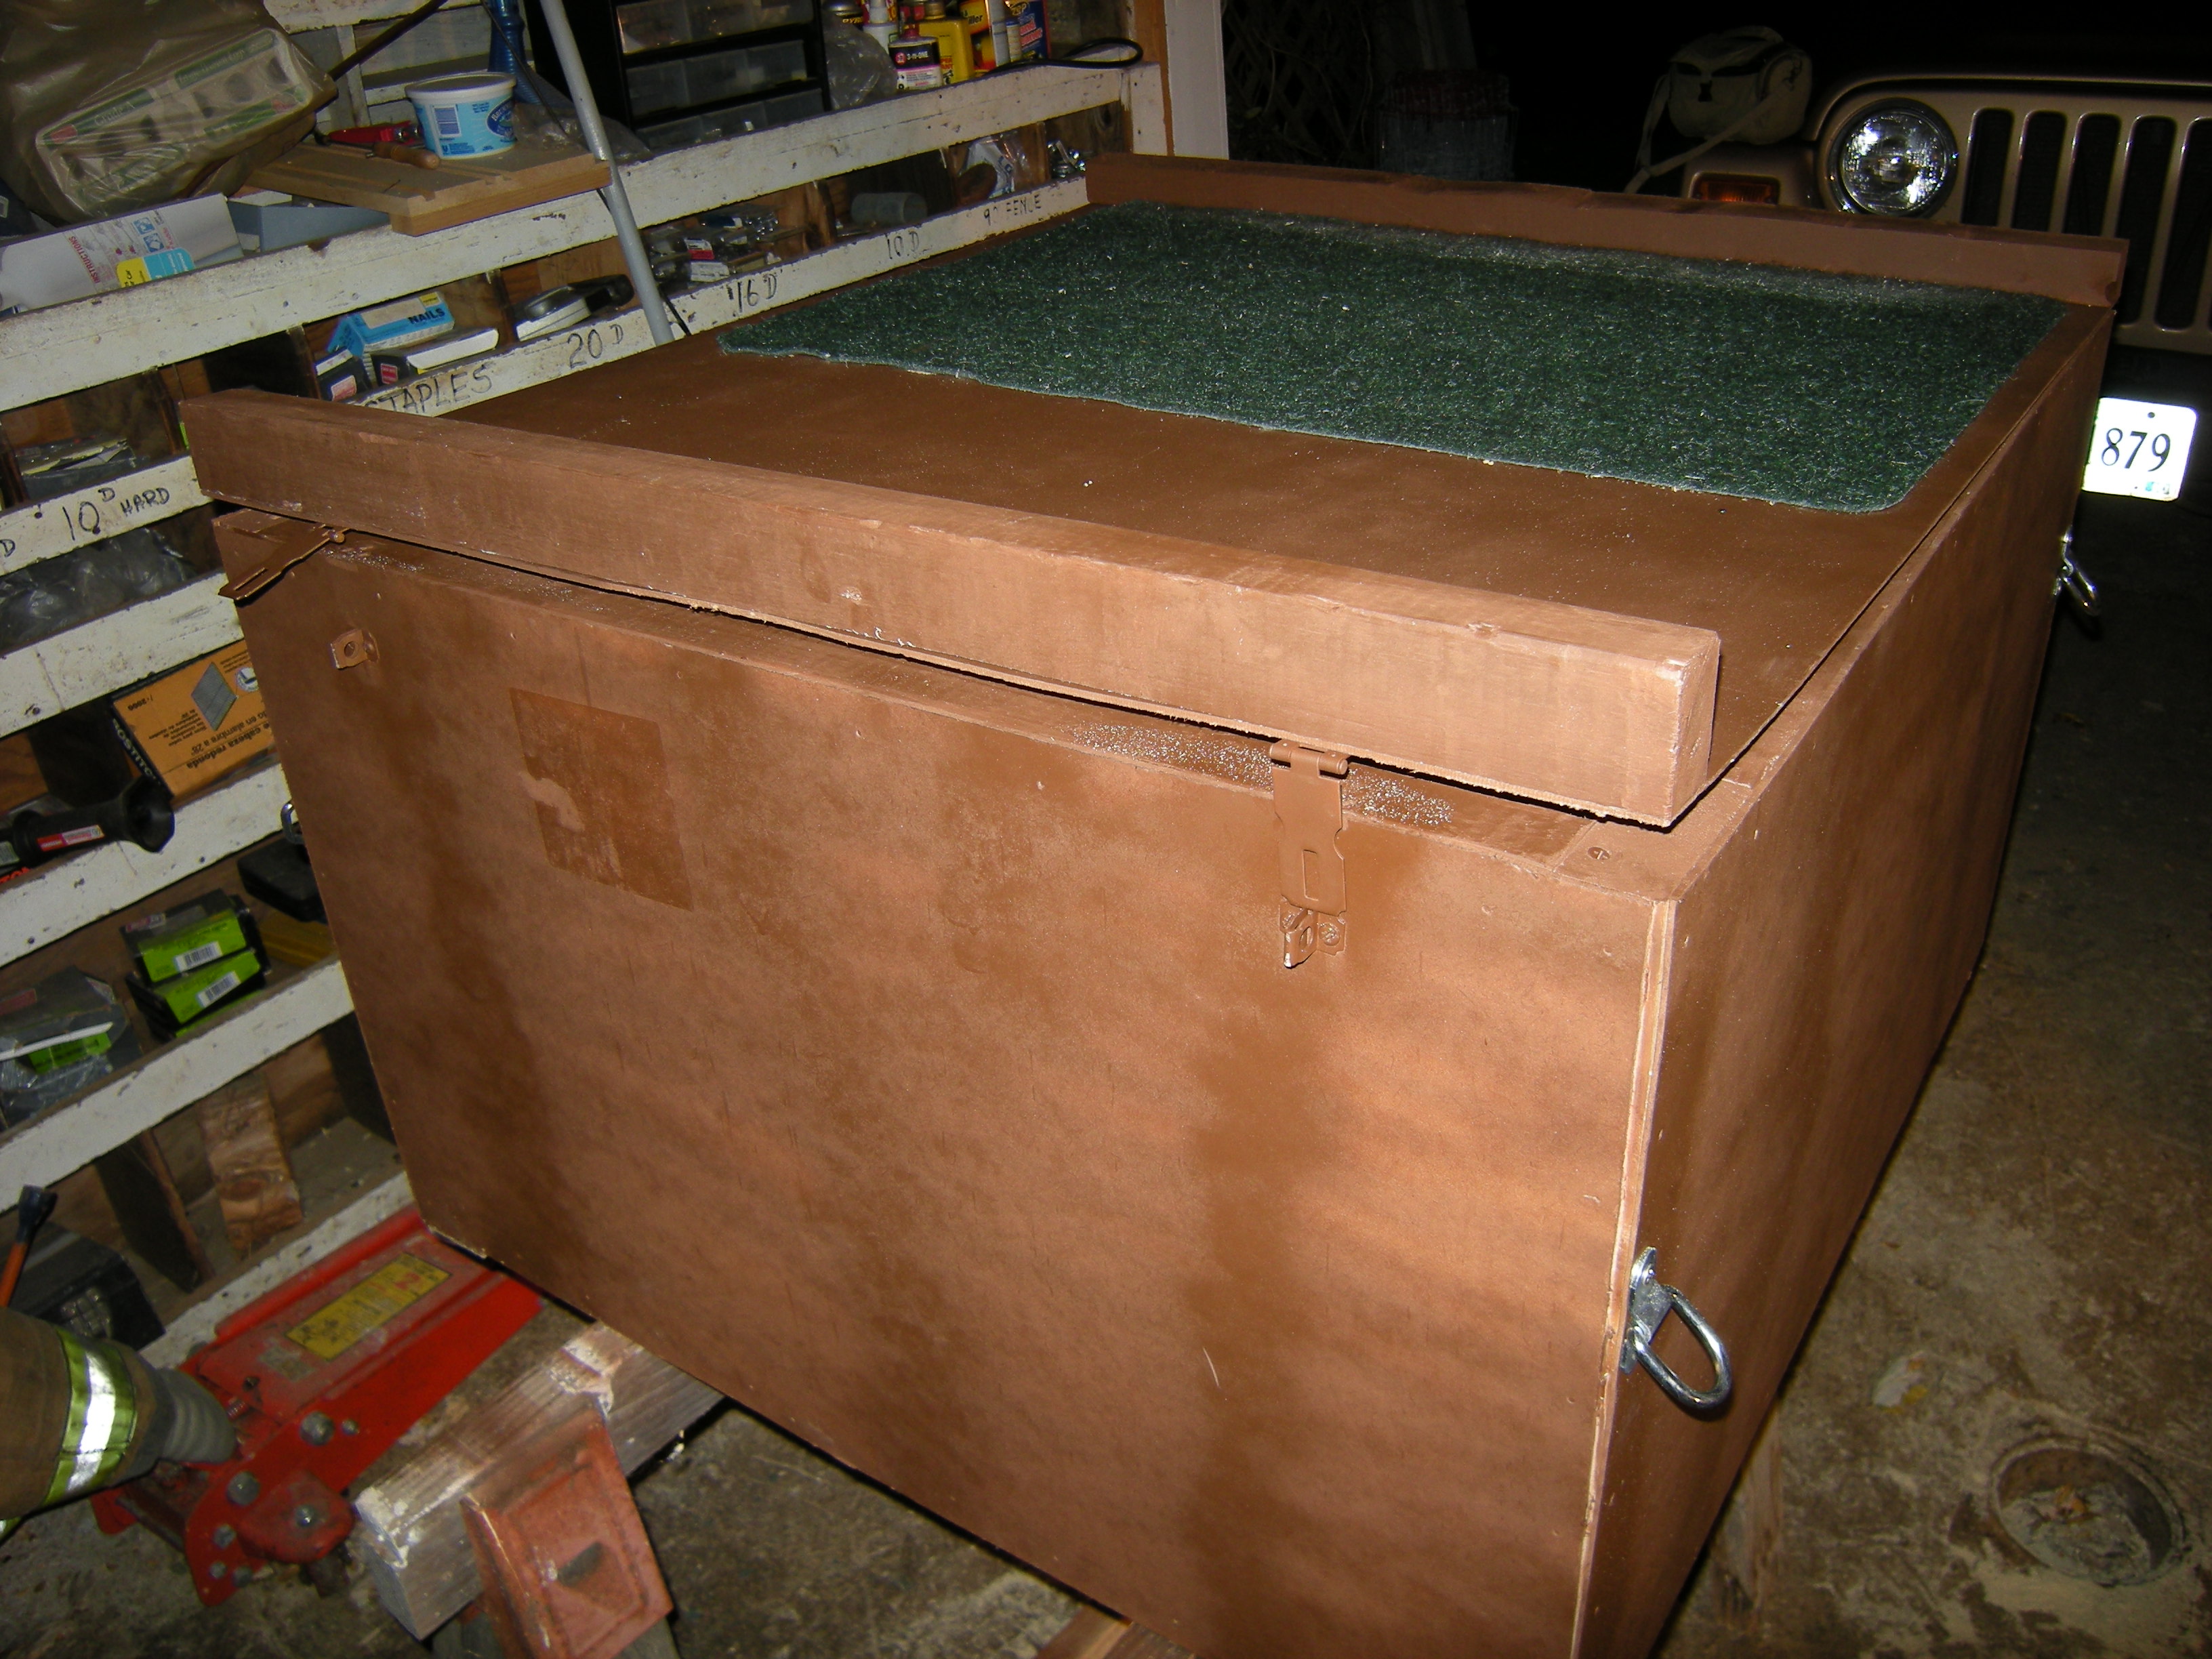
Again, with considerations in mind, four miniature D-ring shackles were mounted mid-height on the opposite outside faces of the box to secure cargo on-top of the box. These were screwed into the framework also.
Hinges were also expedited into place without consideration of the depth of the lid. These had to be relocated and the painting touched-up. It is suggested to consider the hinges carefully if security of the gear is a significant concern. Use deep screws with a square-type driver. Make them inaccessable, or fill the grooved heads with putty.
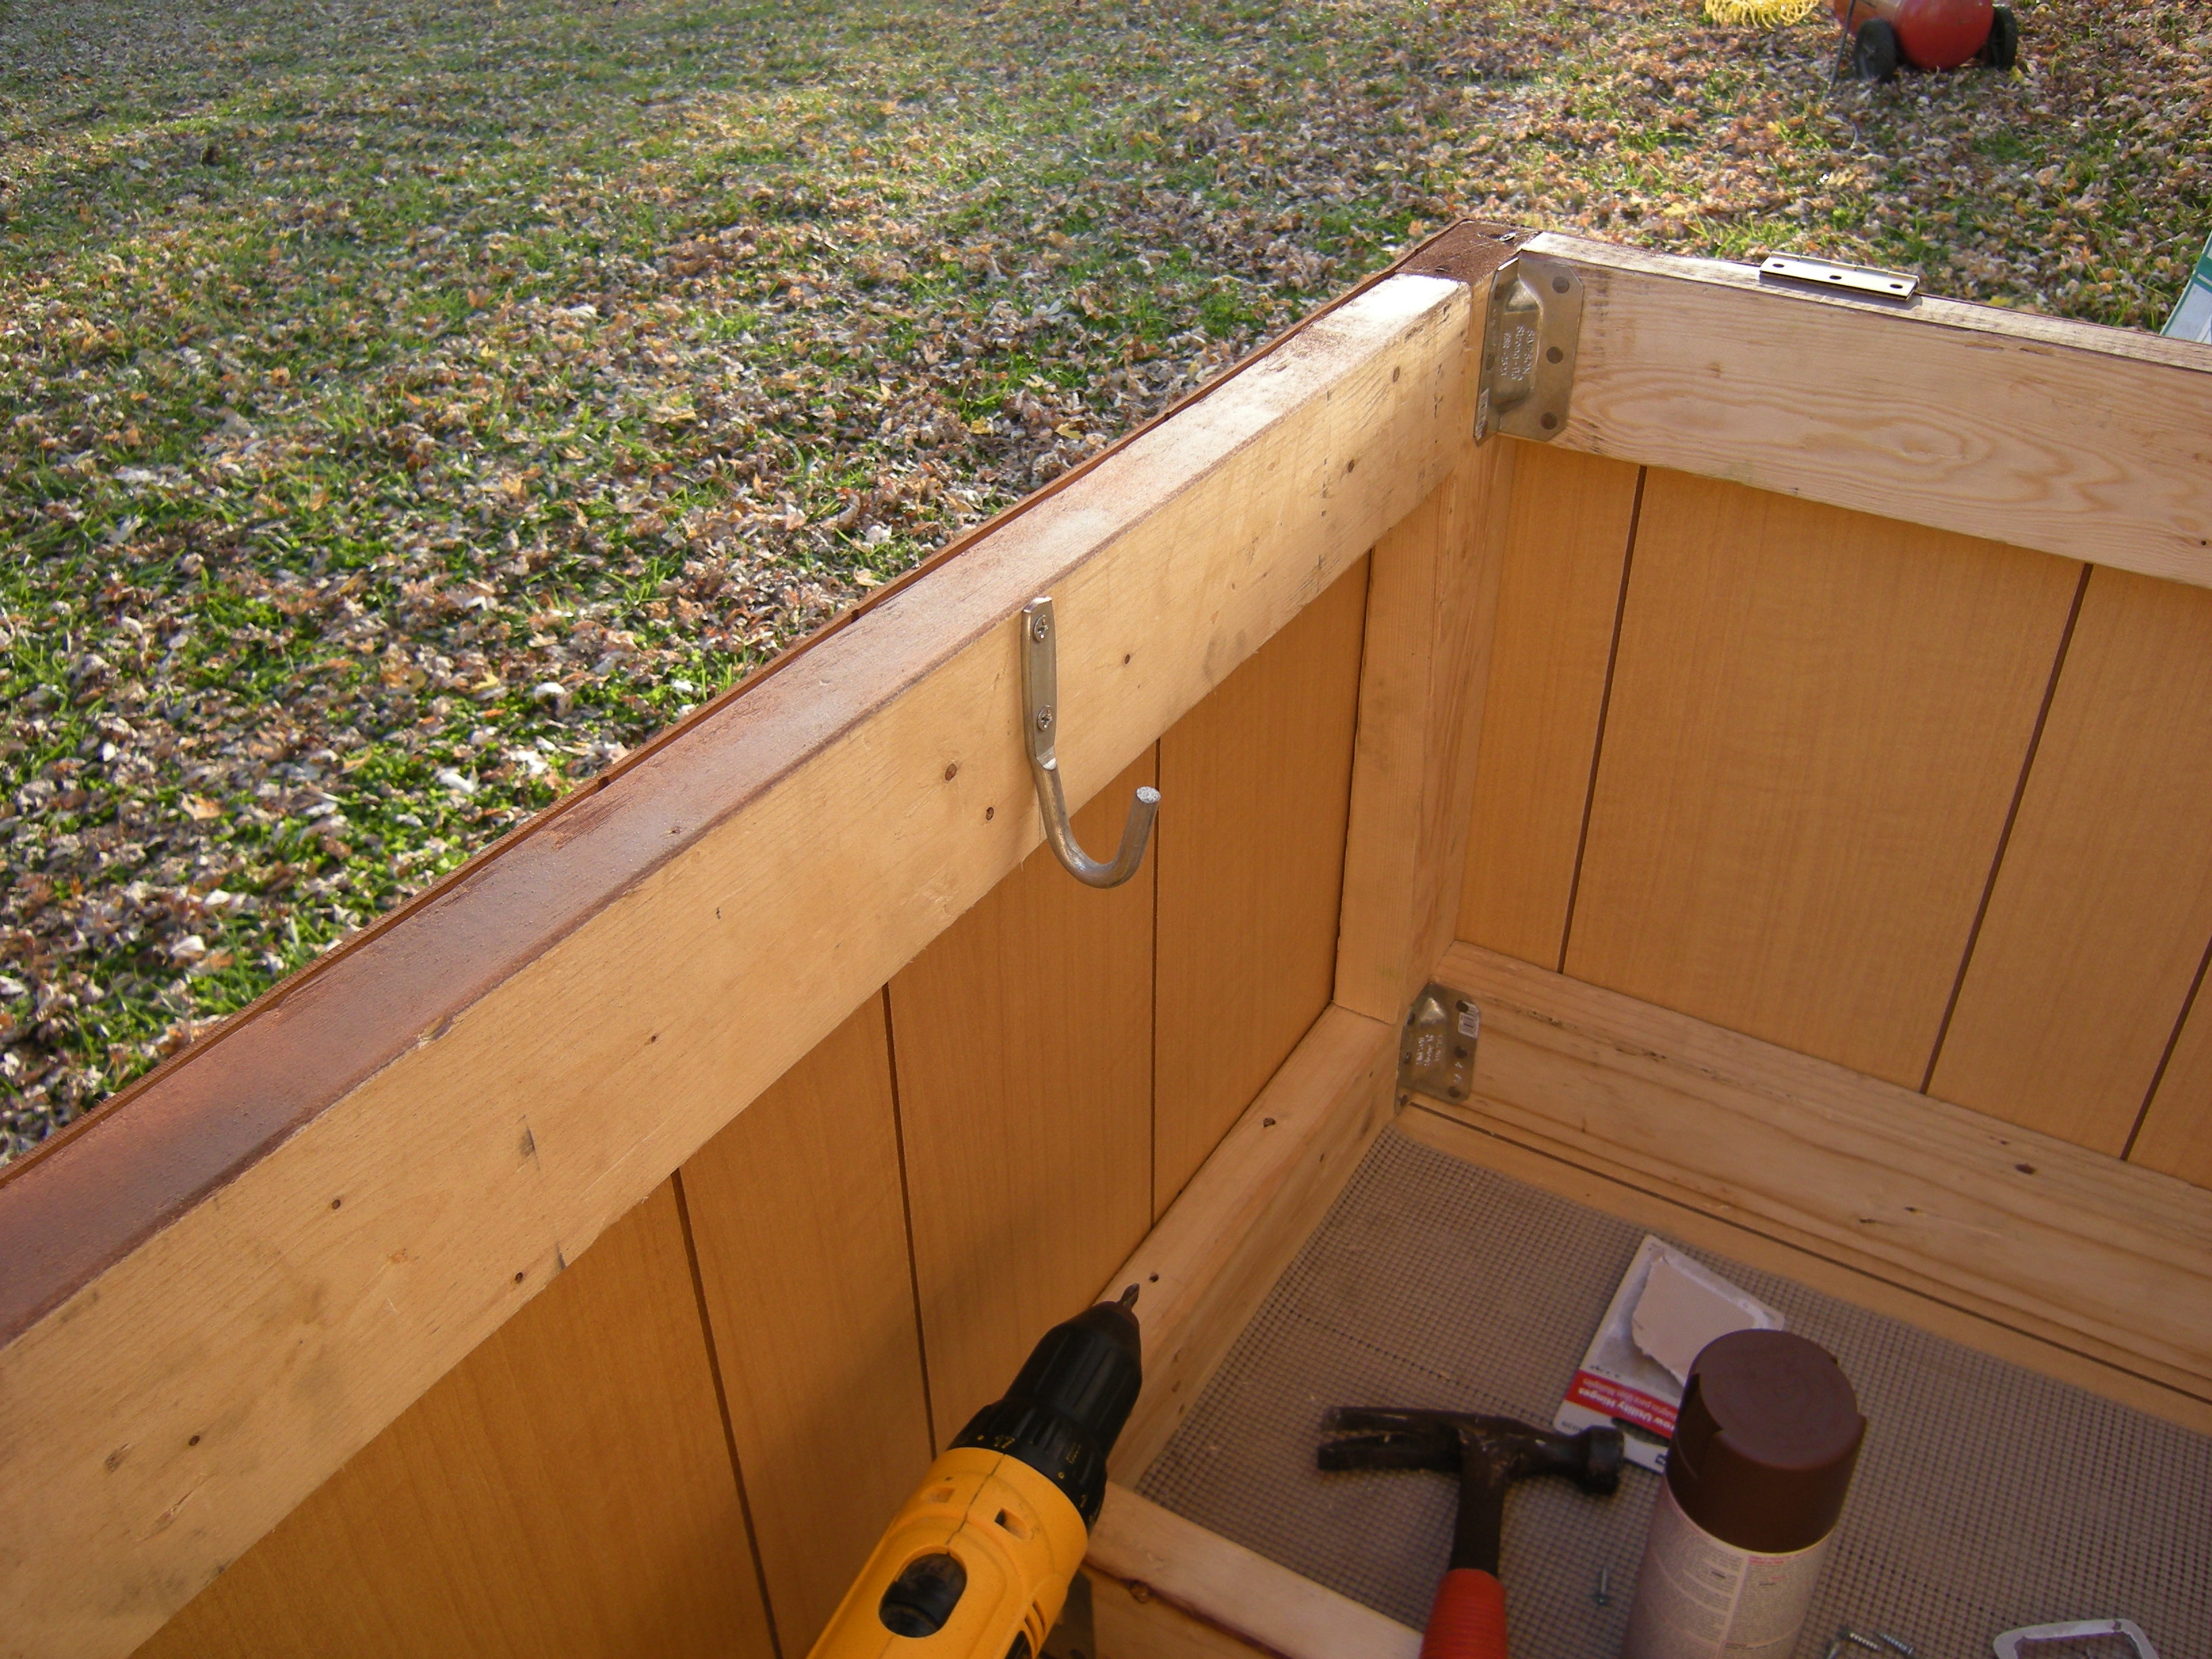
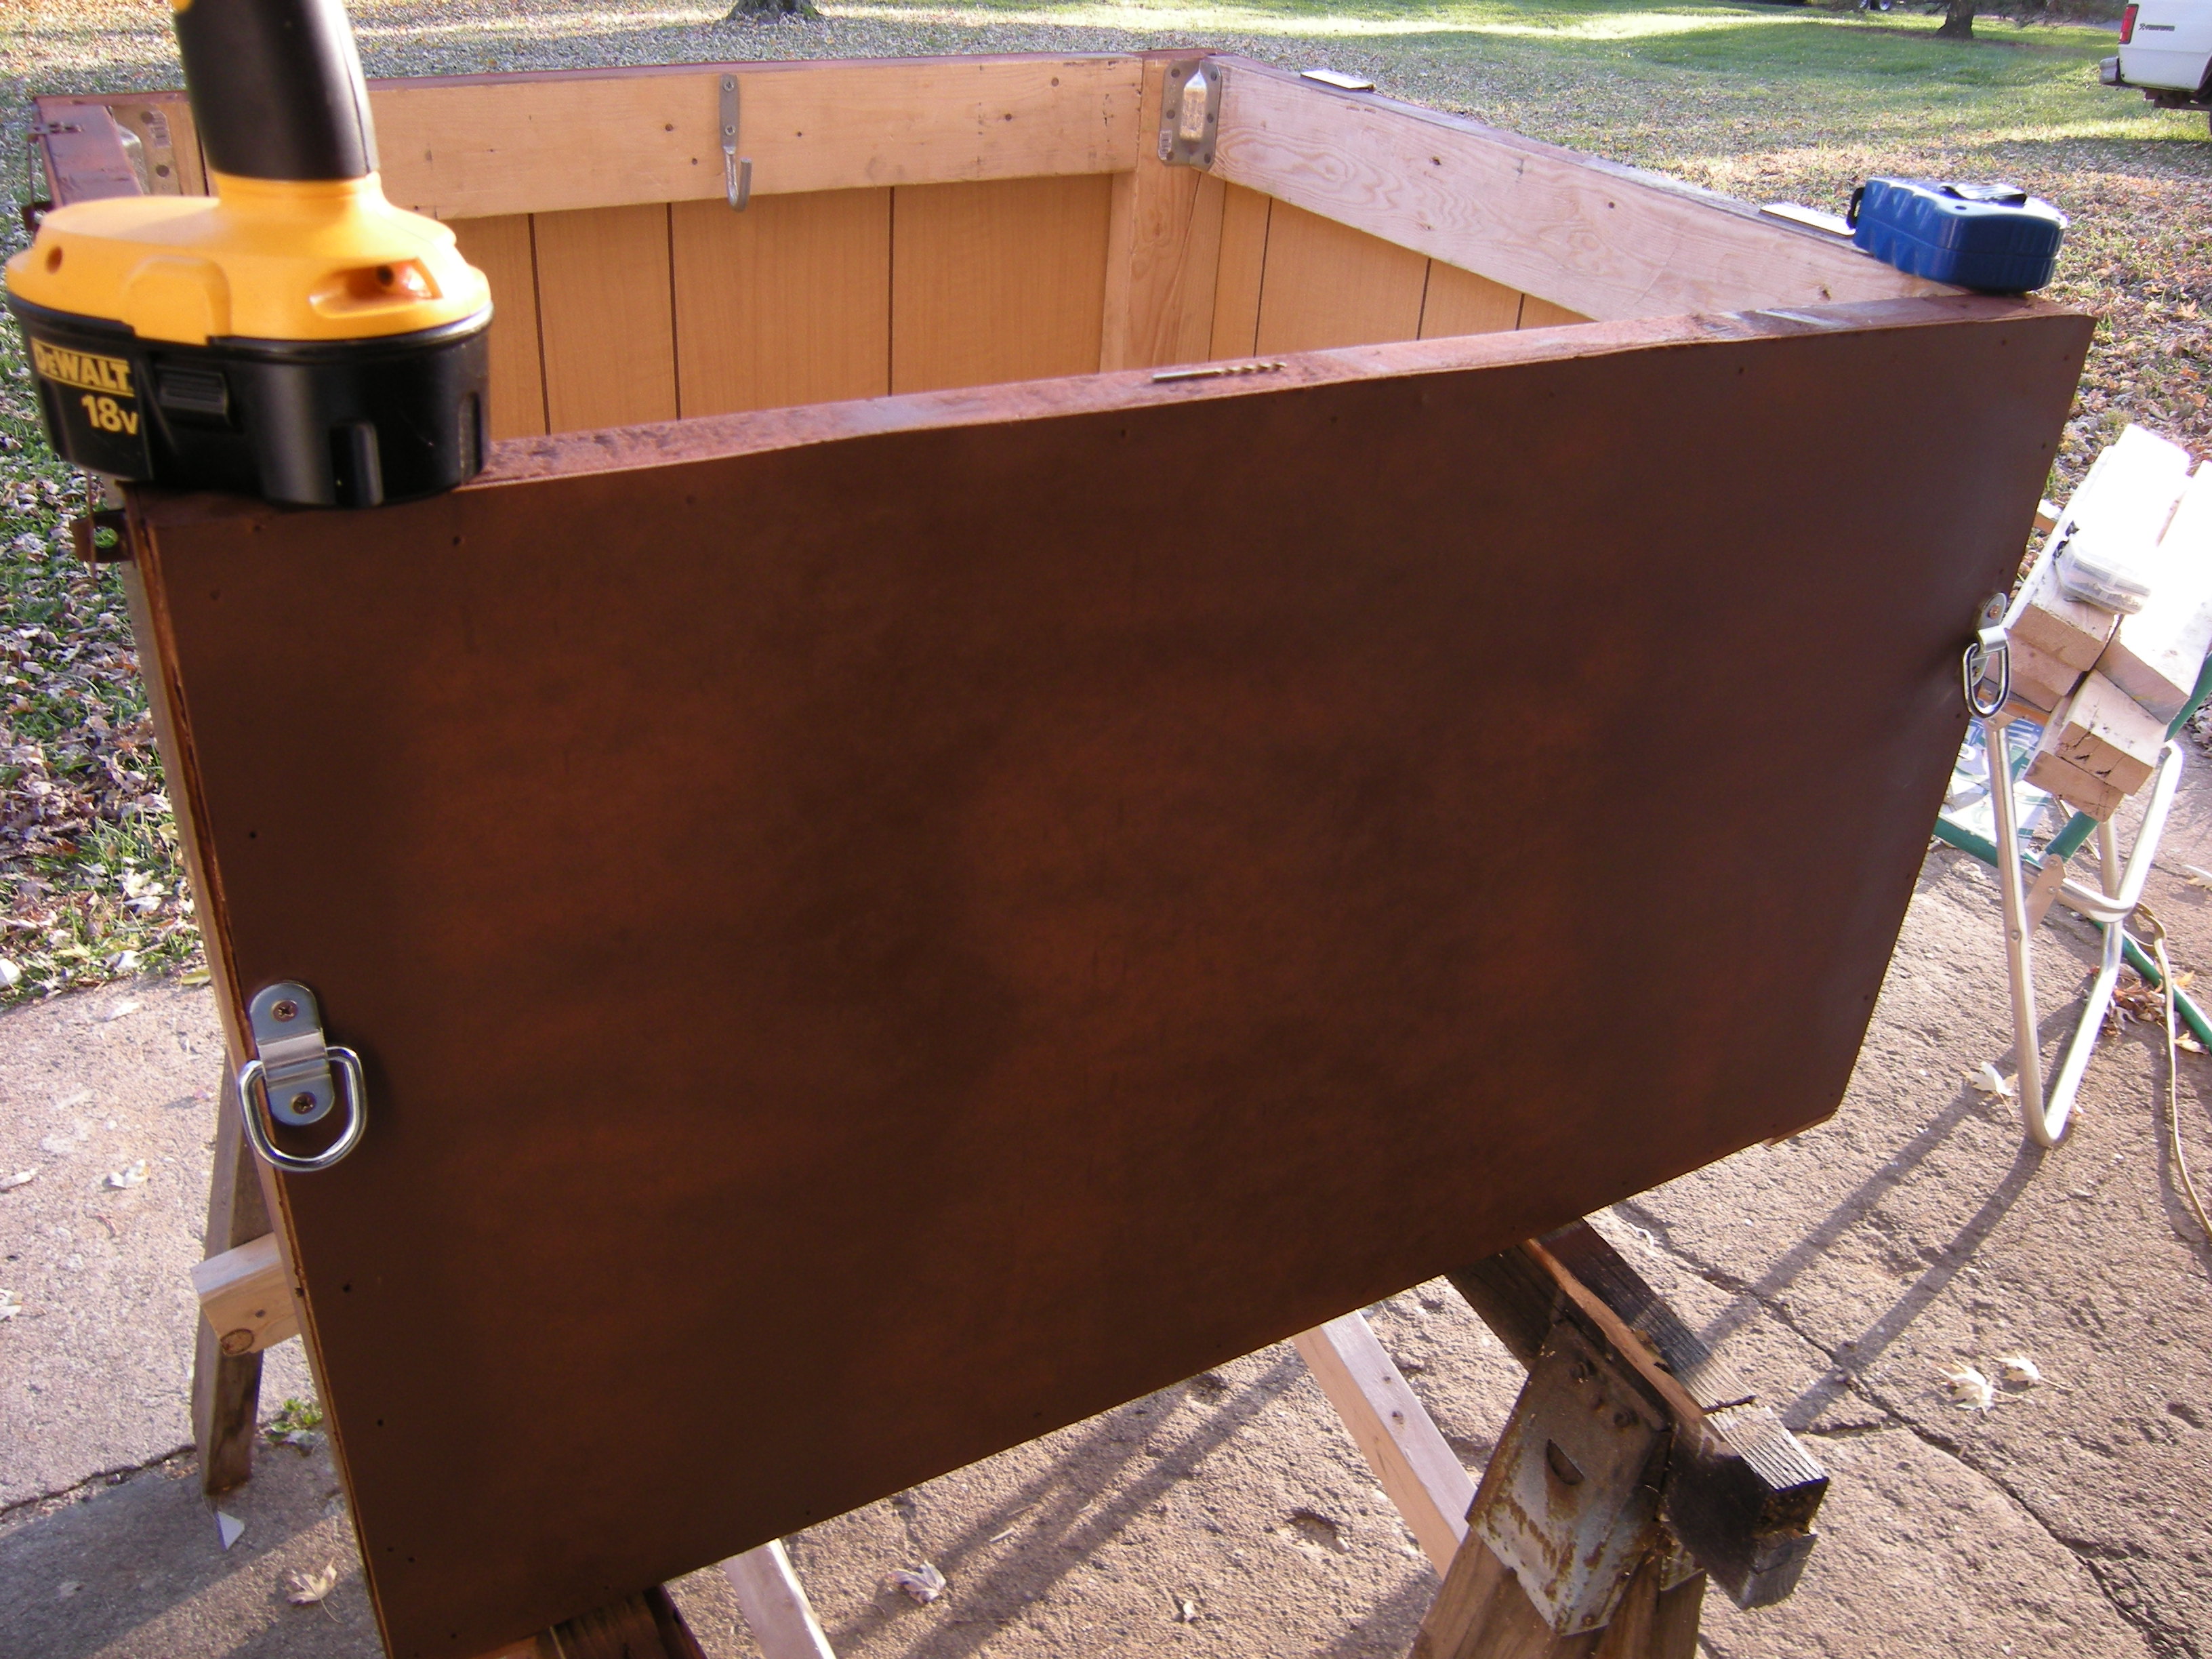
 You will also note from the pictures that brown spray paint was applied to the exterior; however, it was not the best choice. “It only does the trick.” Even where the manufacture label sticker was at showed through the paint.
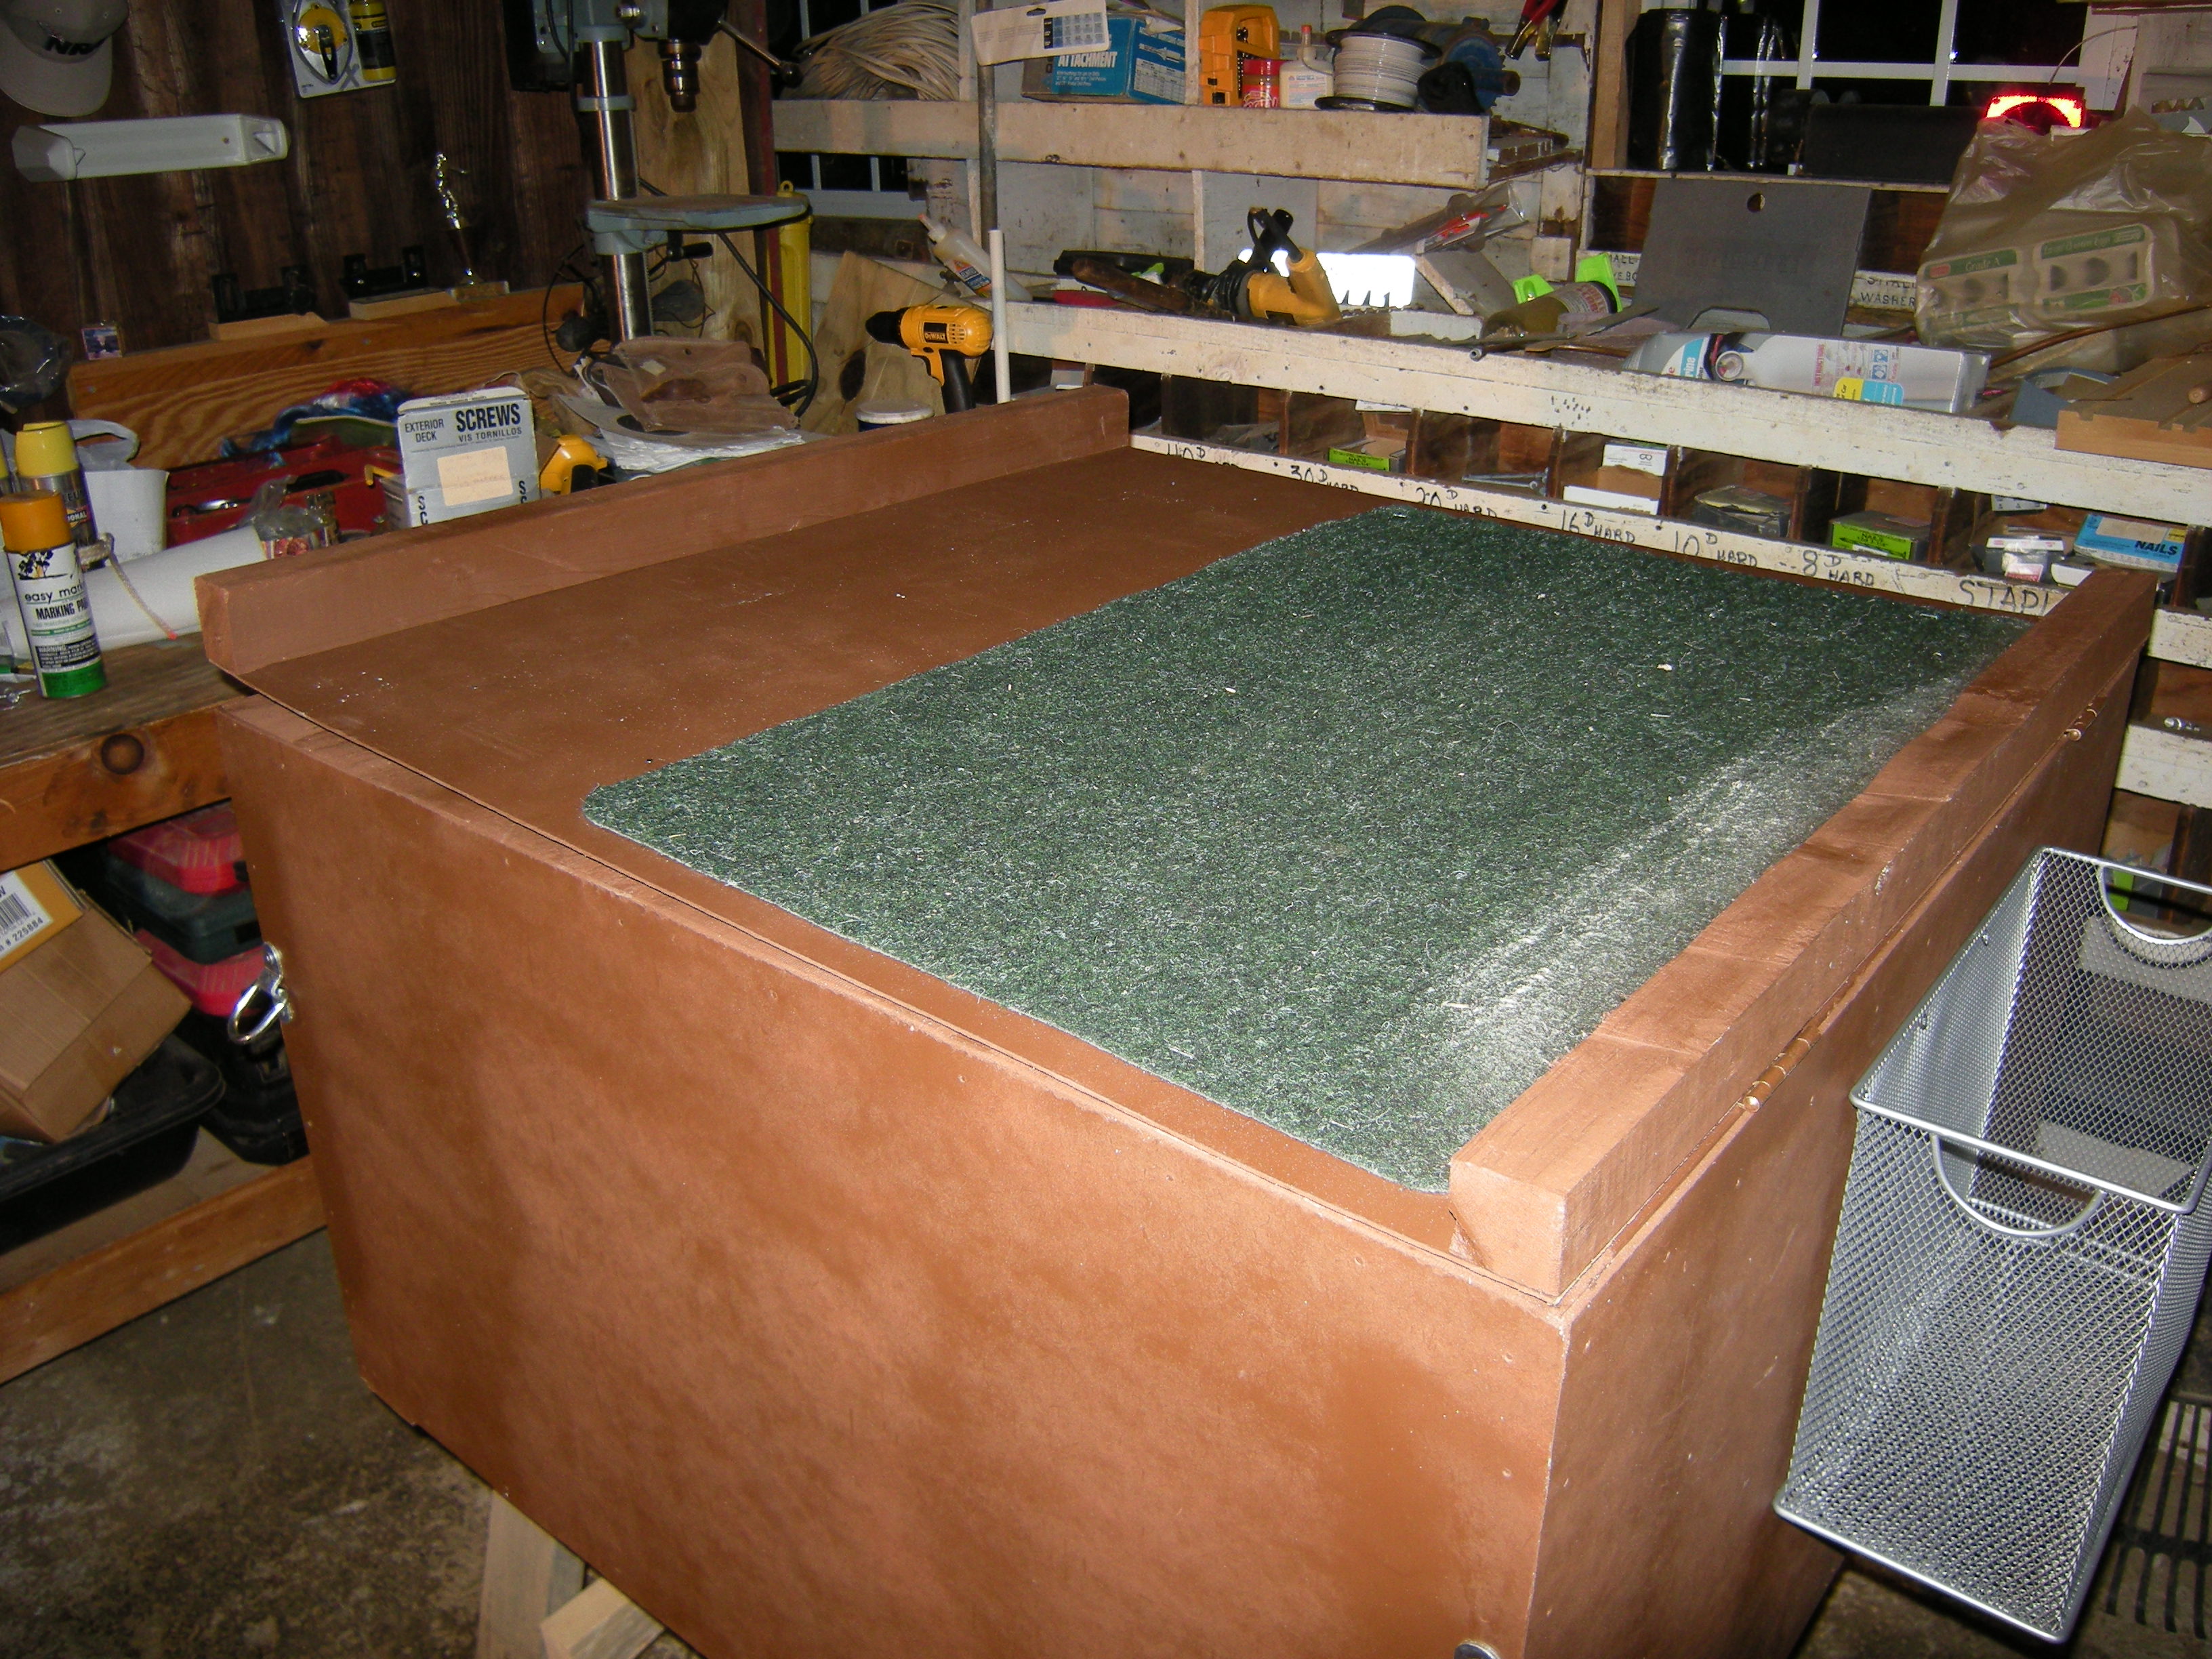
The final and trickiest step of the construction was the lid. I had scratched my mind for a long time as to how the lid should operate in the best interest of grabbing gear from the box with the TJ’s hardtop on and the hardtop off. On, would require entry via the rear gate/glass area and a longitudely hinged lid (like a car hood). Off would allow for lateral access but require the lid to open bi-laterally split (butterfly-like the really old pre-fifties era truck hoods) for ease. Using a butterfly lid design would require more hardware and a support beam bisecting the container. This would limit the size of gear that could be placed into the box. The one-piece lid design was chosen.
The lid was secured in place using a 2”x4” cut in half lengthways- because the thin paneling was not thick enough for the screws. The 2”x2” at each end will also help prevent any cargo on top the box from sliding off.
A door mat was adhered to the lid surface also for effect and to protect the lid surface.
Regarding the lid placement, like the side covers, it was side trimmed with a jig-saw for a smooth but not perfect finish. It as least holds gear! Overall, the lid is not of the best construction methods and can be greatly improved.
Finally the box was tested to fit. Not perfect, but it fit. It was discovered that the seat belt brackets, purposely left in place require the box to be raised an additional ¼” for stability. This in turn, limits the lid from opening wide with the hardtop on the TJ- because of the interior rear glass wiper motor cowl.
Not so much concerned about fit, a handy place to locate maps and other items was the final feature. Rather than spend more time on wood construction, I searched high and low for plastic door “inboxes”. Amazingly, I could only find one of these at an office supply store for $32.00. I purchased a wire mesh box at an unreasonable but better cost. This was applied to the box with short screws and washers.
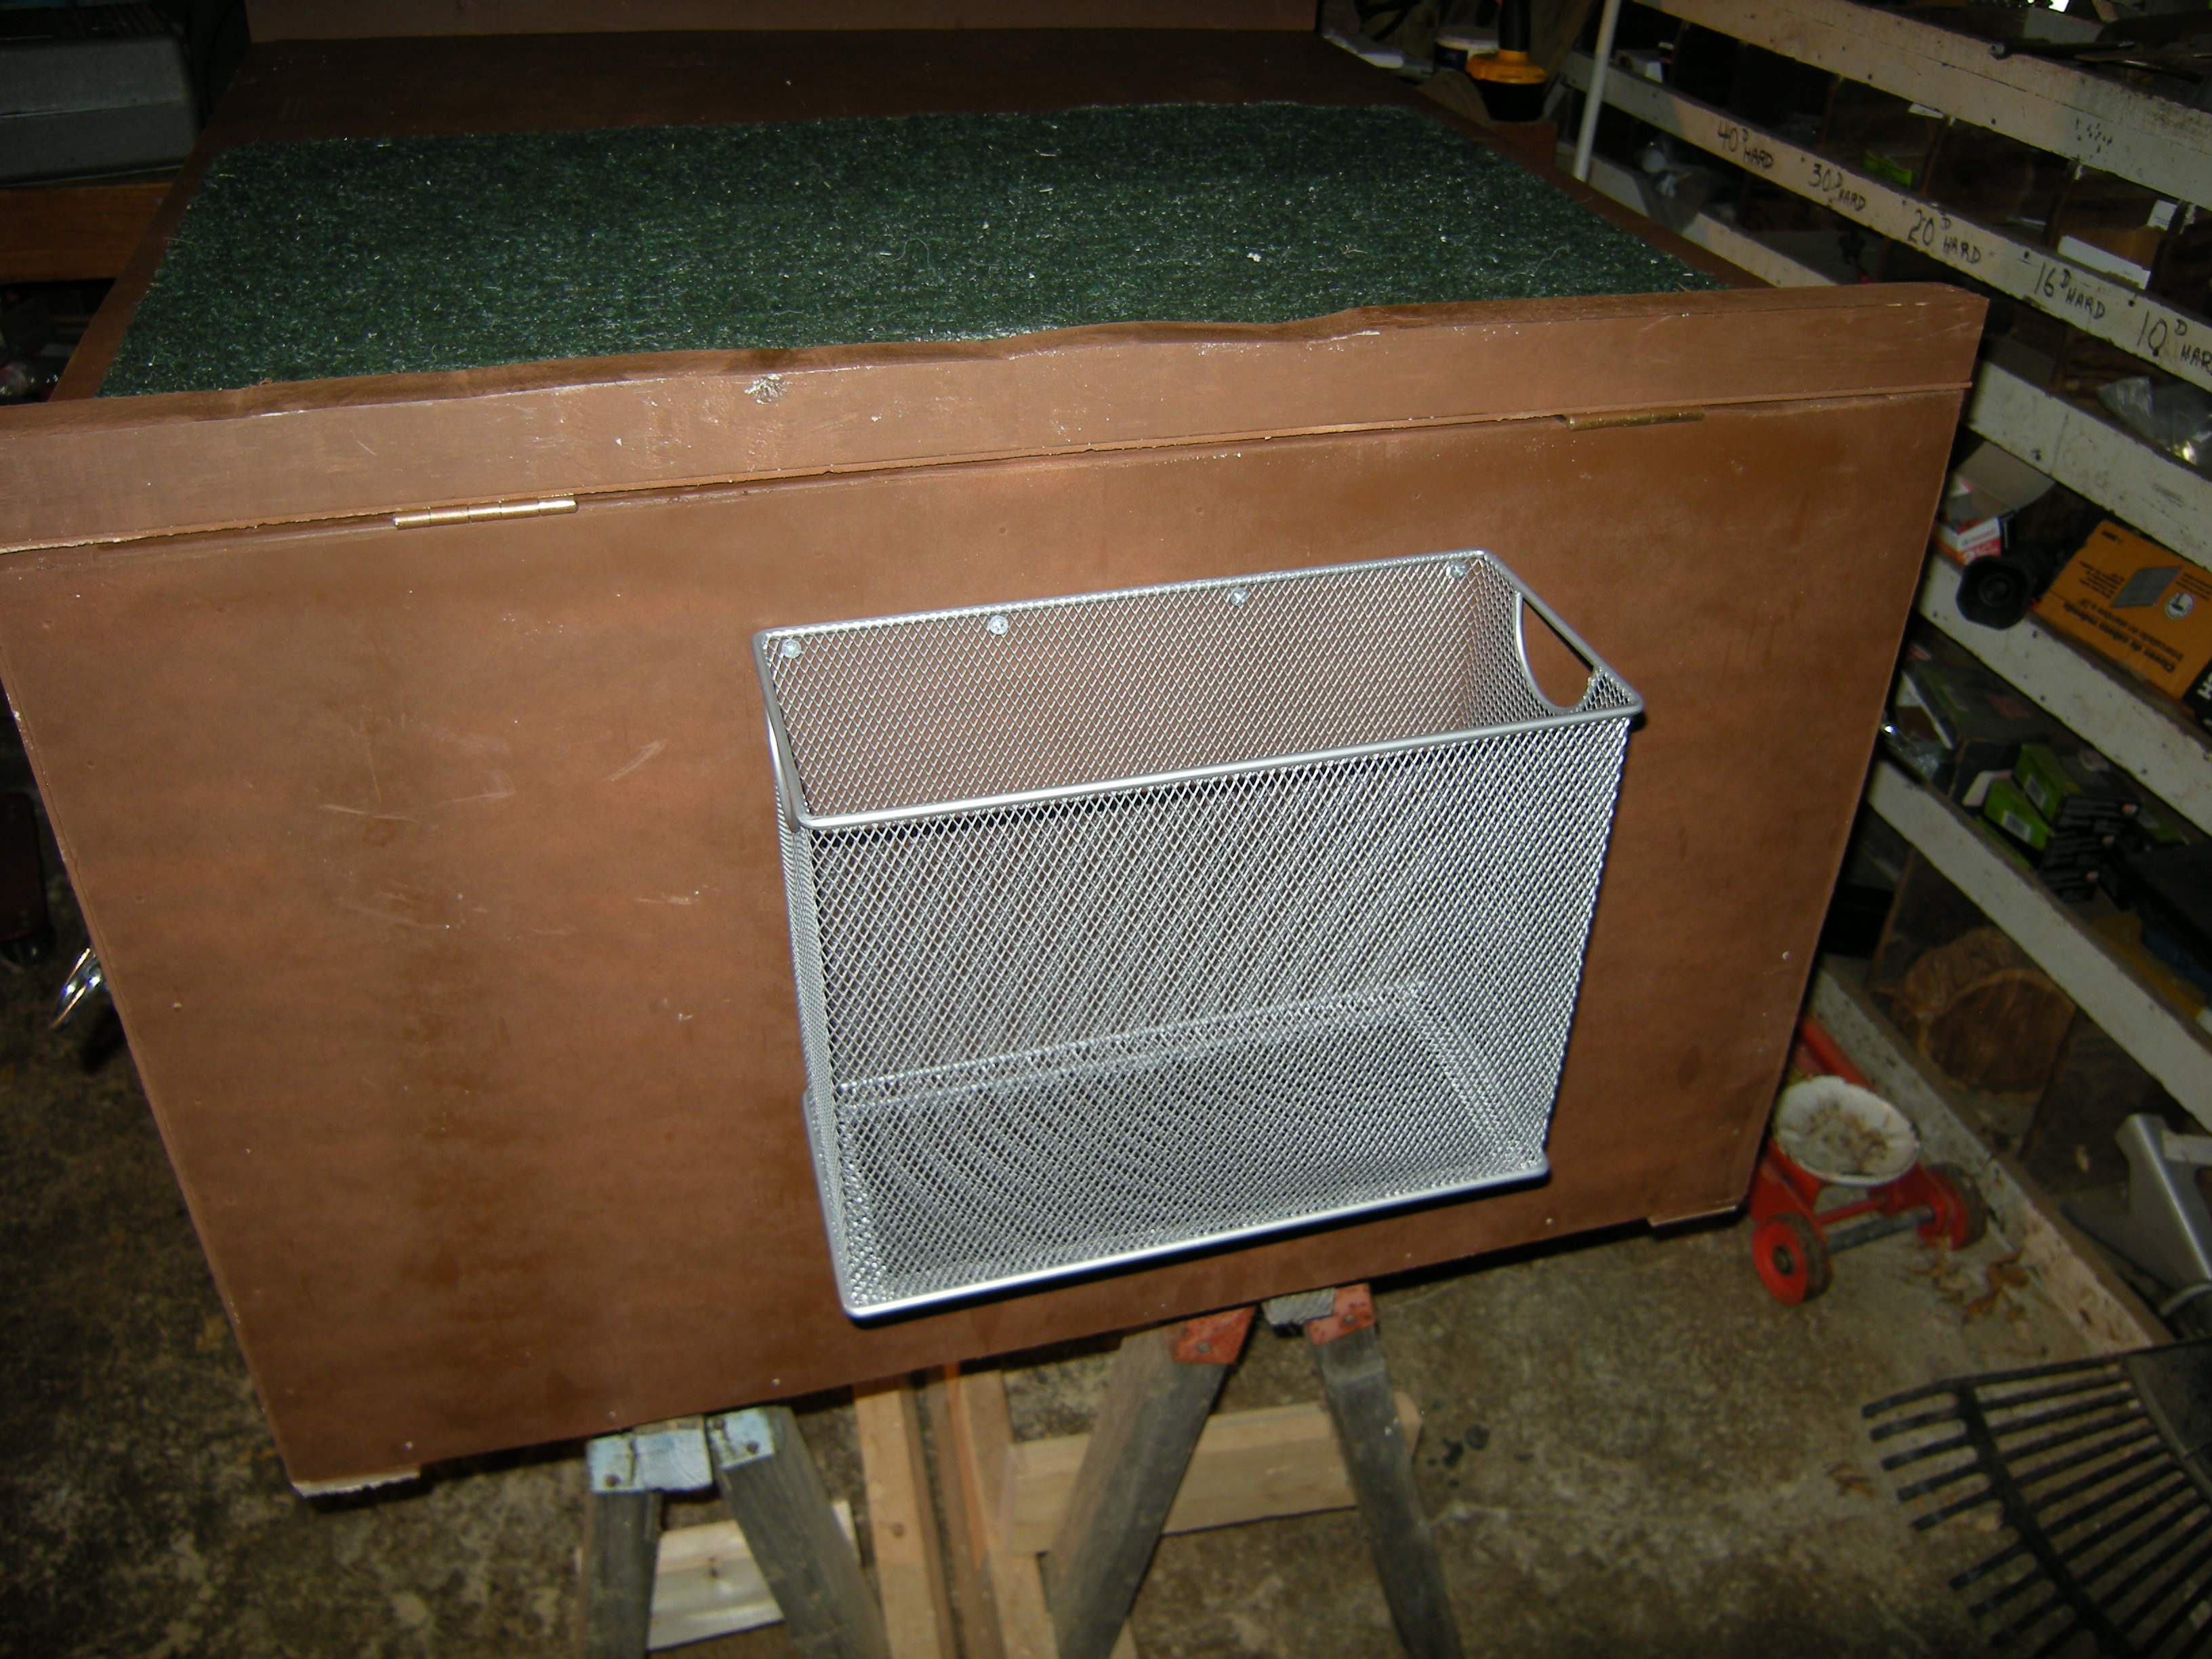
Upon adding the new “map rack” it was found to interfere with the overall fit of the box because of it’s large depth: and likely to eventually tear into the back of the seats. The box as you see it in the pictures above is the current completed stage. At this point, is a little too overweight to easily move.
Post-Build Conclusions & Suggestions:
The overall project was not a failure, nor a complete success. It will be used for other applications as it’s too solid to reshape without extreme hassle. The overall fit is not ideal for use in a stock 1999 TJ sport; by mere inches.
Practically, the height needs to be lowered approximately 2”, and the unit raised by a ¼” to clear the cargo floor seat belt brackets. Instead of a wire mesh basket to hold maps, a slimmer wood assembly could be added. Thicker wood could be used for the lid and include the elimination of the homemade 2”x2” pieces. The location of the tiedown brackets in the TJ floor are also a tiny but largely annoying consideration. Finally, a better equipped shop and knowledge of woodworking would produce a finer quality of craftsmanship; but again- functionality trumps form.
If you are attempting a similar project, the following suggestions may help:
- research what others have done
- develop drawings or plans to work from
- take careful measurements and note the details of what you are working with
- consider having someone else review your plans as a second set of eyes
- measure twice cut once and check your measurements to the vehicle before cutting
- get all your materials at once to save trips. Figure out what quantities you will need ahead of time.
- use quality materials
- askf or help from someone if they have better carpentry skills than you
Hopefully the write-up here will present you with ideas and thoughts/considerations to aid you if you decide to do something similar. Plans to redesign and attempt a improved constructed box are on the table currently and a follow-up article will be presented.